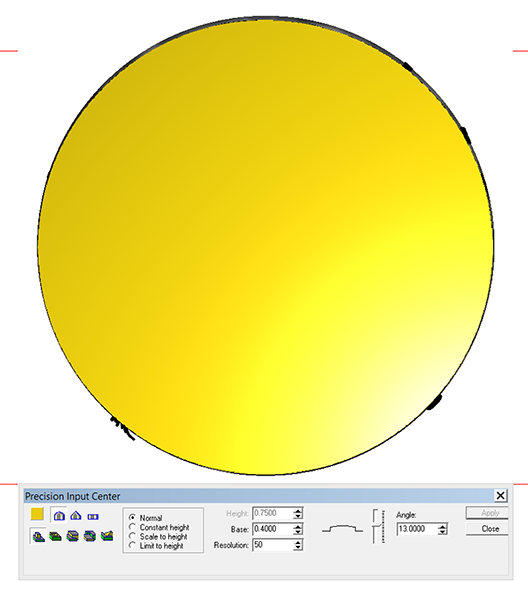
Andy’s name plaque is relatively simple. I created a circle vector using the drawing tools and then did the type and created an outline around these vectors. I selected the circle vector and created the base relief using the dome tool.
I then imported the log end texture (from the TEXTURE MAGIC collection) and applied it to the relief.

I wanted the lettering border to follow a similar contour to the domed relief so I used the offset tool to create a new circle vector. So the first step was to create a flat relief. The height isn’t important.

I then selected this flat relief AND the new circle vector (which would be used to modify it) and then used the same dome settings to create a similar rounded shape.


I then merged highest with the base relief (blue) to create one relief with the letter outline. Don’t forget to either move this now redundant relief to another layer when done or delete it.

The last step was to modify the relief using the letter vectors, once again using the dome tool..

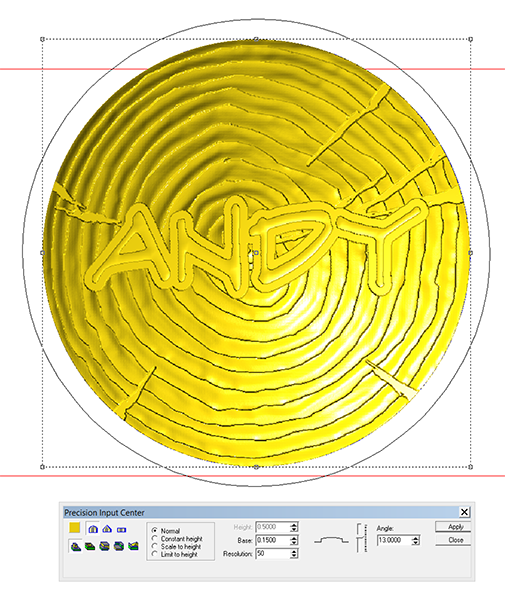
One last check in the 3D viewer to make sure everything was as it should be and the file was ready for tool pathing and off to the MultiCam.

