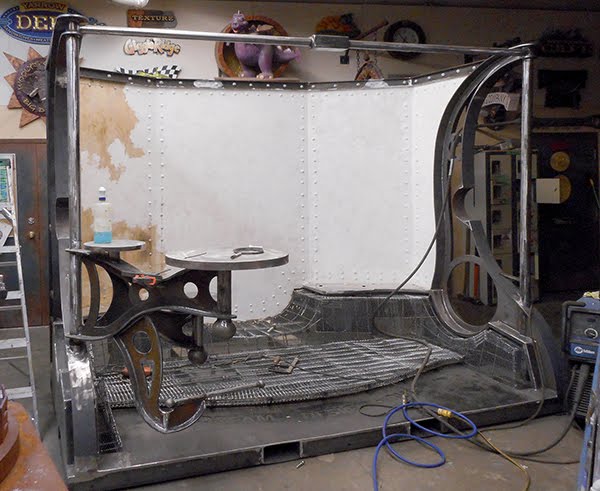
With addition of the top faux I-beam along the top of the back wall the welding done on the front of the booth and it was time to begin the painting process. We had originally planned to have the steel all exposed and rusty but changed our mind to have it a weathered teal green instead. Before we got to that we first had to add the rivets and textured primer coat to make the back paneling look live steel. We used Abracadabra Sculpting epoxy to fashion the rivets.
I carefully laid on three coats of teal green on a steel shelf and allowed it to dry. Then I brought out the finish sander and judiciously went at the corners and edges to scrub off the paint. A little acid sprayed on and we had instant authentic old. I loved it!

With the test successful it was time to recreate that same look on a grand scale. We’ll first brush on three coats, then add glazes and weathering and some real rust. The sculpted concrete work on the pillar supports and floor will soon begin. We are also busy on the pieces which will be showcased in the booth. It’s going to be a wonderful display!

Published with permission from precisionboard.blogspot.com. Source.