The center section of the post is the next assignment. It will be routed on the four axis MultiCam. First I had to determine the scale and shape of the piece. I called up the tracing I had done of my concept drawing. I duplicated the center section flipped it and lined it up before merging it with the first half. I then measured the diameter, length and also did a trace of the profile. These measurements and the vector would be used later.
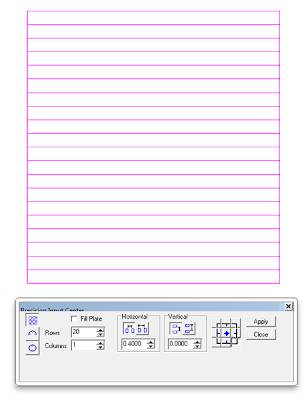
I wanted the post to look like it was turned with flutes winding around. to create these I drew a long rectangle and then used the duplicate menu to create a 12 copies.
I created a rectangle that was 36″ tall by Radius times Pi. I positioned the pieces, rotated the flute vectors so the joining sides would line up. I created two horizontal vectors to line up with the ends, and also lined up the profile.
I selected everything and rotated it so I would create the relief in the horizontal position. First I would create a mesh file of the profile using the sweep two rails function. It is a simple process. I selected the mesh command., then defined the slices and stacks. I tend to use higher numbers than necessary but my computer can handle the large files. The command prompts make it easy. Select first rail, then the second.
Then it asks for the swap sections. Clicking twice on the profile will define the shape all the way across with the same profile.
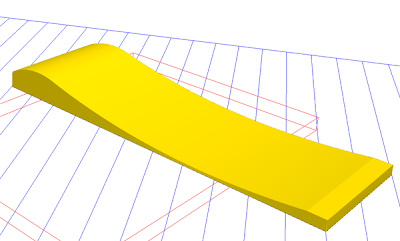
The mesh looks like this when it’s done.
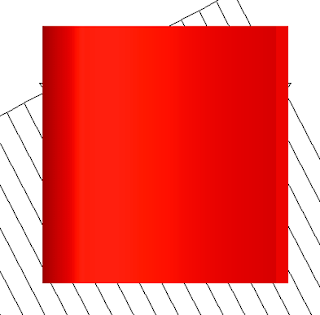
I then created a zero height relief (in yellow). When I hit the render button it only showed part of it. This immediately told me the mesh profile was too low.
I checked the front view and sure enough the mesh file needed to be raised.
The next operation was to merge the mesh with the relief, I selected both the mesh and the relief which lit the combine button. I used the ad to button and hit apply.
In an instant we had a relief in the shape of the profile of the post.
Next up we would create the rib reliefs. I selected the vectors and then used the dome command.
It looked like this when it was done.
I merged the profile relief (as the base relief) with the dome ribs using the add to command.
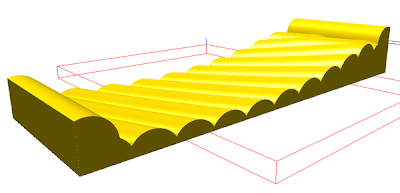
Once I was done I rendered it to check and see what had happened. It looked perfect.
In the 3/4 view I could really see what was happening.
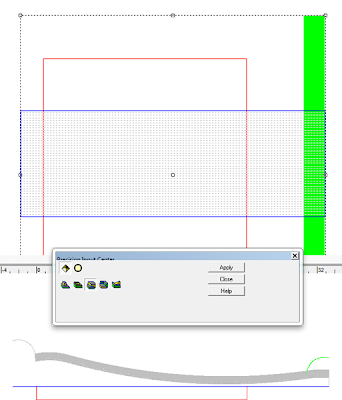
I used the sweep two rails function to create the bottom of the column. as a quarter round. I moved it up into
I did the same for the top of the column.
As easy as that the relief was ready to wrap for the four axis router.
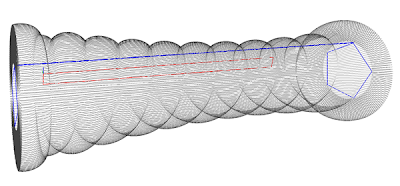
The simulation of the wrapped relief looks like this…
I have to check everything over and confirm all measurements, then I’ll tool path the file and get it ready to send off to the router. Before I can do that I have to route the blocks to shape that I will be glued up for the block. It will have structural steel laminated through the center. I’ll be showing that process next. Stay tuned…
-dan
Published with permission from precisionboard.blogspot.com. Source.

