I love working with bitmaps to create textures. For me it is easy to see how the various shades of black white and grey will affect the reliefs inside EnRoute. Somehow my brain allows me to translate the values easily.
I get many enquiries as to whether we can use photographs as bitmaps. The short answer is generally NO – but with exceptions. A few bitmaps do work with a little tweaking. Others require a bunch of work in a program such as PhotoShop to make them work.
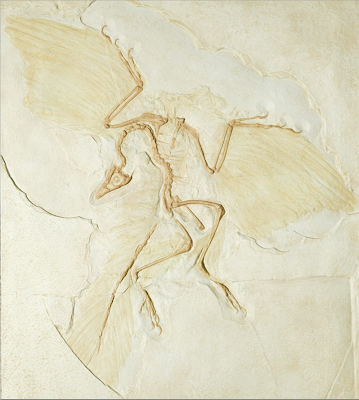
A while back I did a fossil room at MultiCam Western Canada, largely using bitmaps for the textures. In my TEXTURE MAGIC COLLECTION there are a number of fish fossils and skeletons. But this week I received a request for the archaeopteryx fossil. I had to do a google search to figure out what he was talking about. It was one of the bird fossils I had done at MultiCam. It had been flipped to fit as part of a set.
The photographic files I had used there were long gone but it only took a few seconds to locate them again via google. thanks to my friend’s accurate name that he provided me with. I found some shots of the original fossil and many reproductions.
The one I chose to use was the most complete. It would require a fair amount of work to make it usable. All work on the picture was done on a copy, leaving the original behind for reference and other work on other bitmaps.
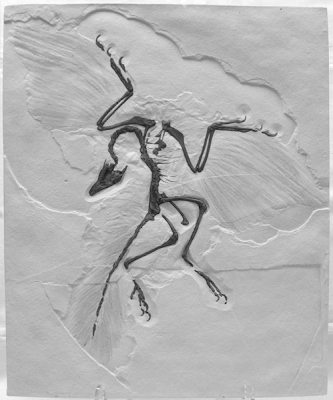
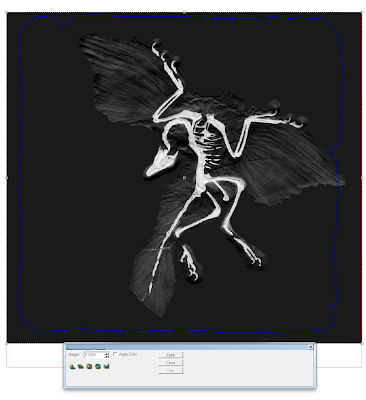
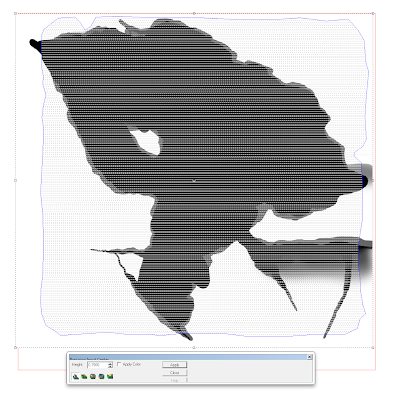
I bumped up the contrast significantly, then made it a black and white image. This was the starting point. I had to keep in mind that white would raise the image, black would do nothing, grays would do something in-between.
I then adjusted the contrast once more, whipping out much of the background detail. I would add this back in by hand to achieve the effects we wanted.
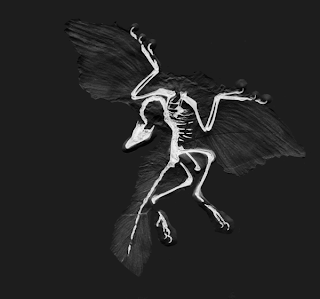
Then I used the eye dropper tool to select the right shade of gray and carefully filled in the background using a brush tool, leaving the feather details behind.
Once I had eliminated the background I inverted the image to create the bitmap file I needed. This was named and saved to be imported to EnRoute later.
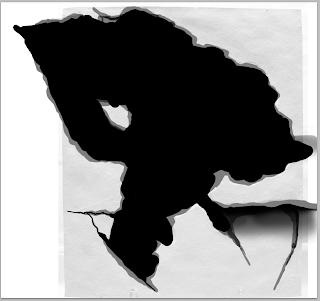
Close examination of the original file showed me that layers of the original rock had been chipped away in the center portion to reveal the bird fossil. The next bitmap I created would mimic this effect. I used two shades of gray with a hard edge brush as well as a big soft brush for one portion to achieve a graduated layer. The light gray behind is the original photograph on bother layer. It will be eliminated when I was done.
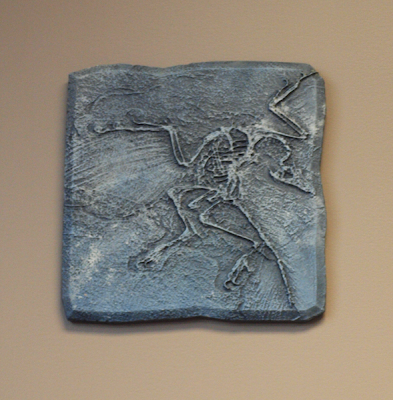
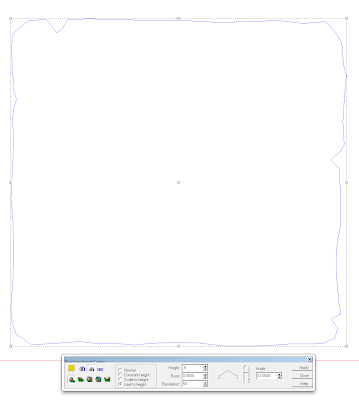
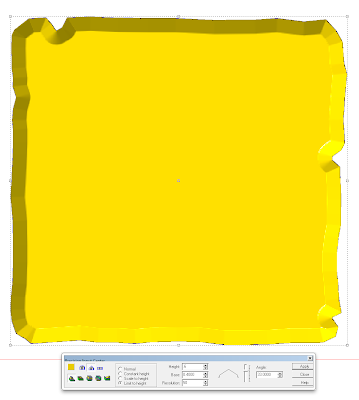
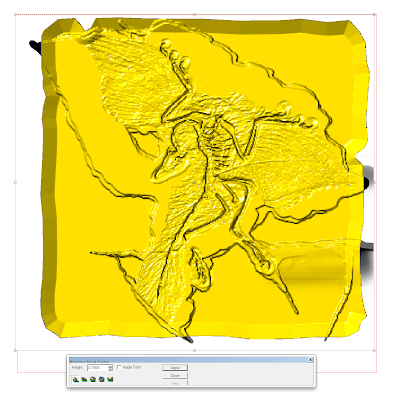
Once I had the bitmaps I needed it was time to kick off the project in EnRoute. I first created a jagged outline of a flat squarish rock. Then using the bevel tool I created a flat panel using the LIMIT TO HEIGHT command with 45 degree edges.
I imported the first of the fossil files I had created and placed it over the relief… then applied the bitmap.
The second bitmap would create the chipped edges to mimic the stone of the picture, revealing the fossil.
Lastly I would use one of my SPLOTCHES textures from the TEXTURE MAGIC DVD to create a little sandstone texture on the relief. As quick as that the file was ready
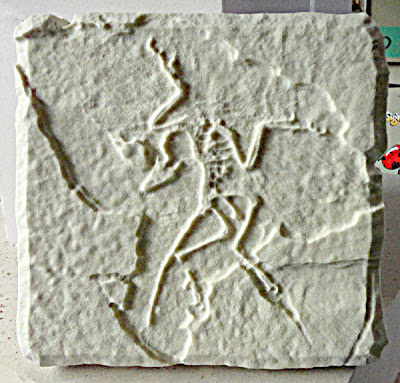
for tool pathing. Seconds later it was on the way to the waiting MultiCam. It would be routed from a scrap of 1″ thick 30 lb Precision Board.
The file took much less time to route than it did for me to write this post. I snapped a quick pic to finish this entry. I’ll give this sample to my grand daughter Phoebe (now seven) – a dinosaur buff since she was tiny.
I’m starting work on a second TEXTURE MAGI DVD collection and these files will be included.
-dan
Published with permission from precisionboard.blogspot.com. Source.
