I recently got a job where I had to do some things that previous versions of EnRoute couldn’t handle. My client wanted a horse’s head. I had downloaded an STL mesh file of a horse head some time ago and routed a sample. My client loved it but we needed it to top a post instead of being a wall mount.
I first imported the mesh file. Unselected it is black. When we select the mesh it turns green.
When we render the mesh file it turns red.
I created a zero height relief, selected both the relief and the mesh, then merged highest. The mesh could now be deleted.
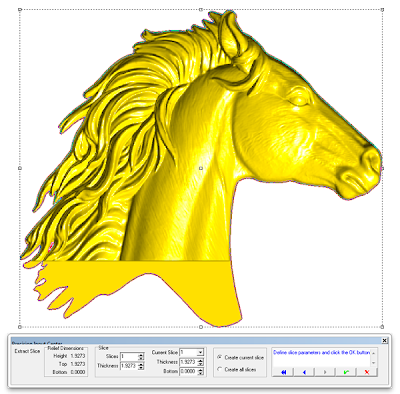
Then I did a zero height slice to remove the background.
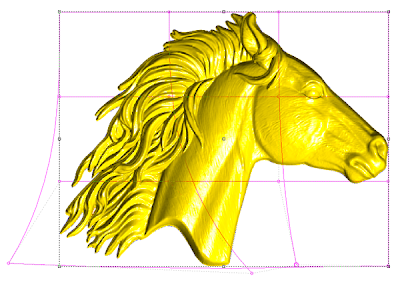
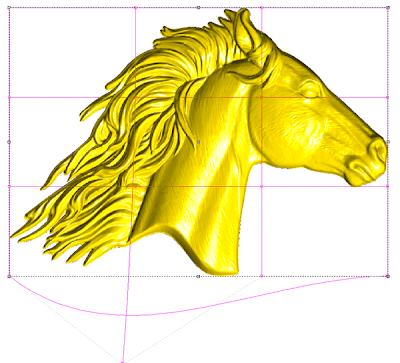
Then it was time to give the new distort tool a workout. I decided to do a little at a time rather than go for big moves and create too much distortion.
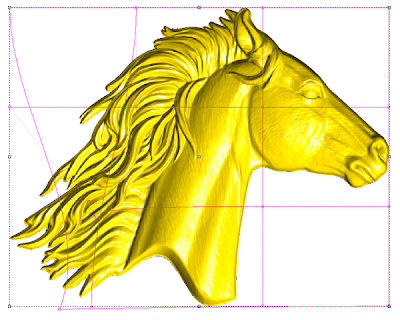
To distort I grabbed the nodes and pulled. I was careful not to distort through the face area of the horse head relief. As you pull the nodes the grid over the relief distort but what happens is not evident until I hit enter. I pulled and stretched in eight operations to achieve the effect I wanted.
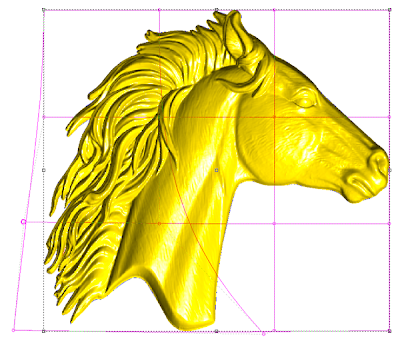
By this point I was liking what I saw. I did one more round of distortion just to widen out the base of the neck.
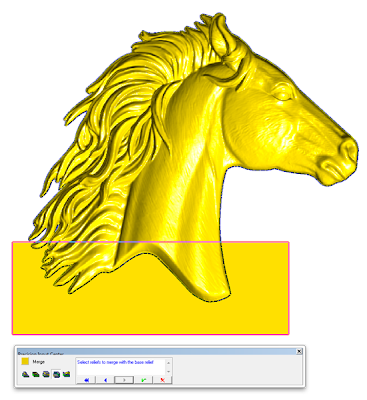
I wanted to clip off the bottom of the irregular shape to make it flat. The was a simple operation. I created a zero height relief rectangle and then merged lowest.
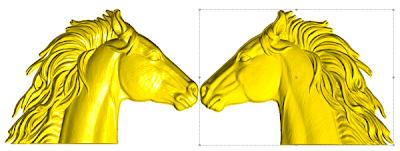
To get rid of the flat part I used the slice tool once more. then I duplicated the horse’s head and flipped the copy. By machining the two sides I will have two halves to glue together making a complete head.


