The beam project was far from finished. While we had a great cake, it desperately needed to be iced and decorated before it was done. We like to do as much work as we can while our projects are still on the ground and handy. Once something like the beam is lifted into position things get a LOT harder and take a lot longer!
Once the welding was done it was time to box things out with some treated plywood. We would staple our expanded lath to the plywood and then trowel on and carve the fiberglass reinforced concrete before painting. This work would be done up on the scaffold. Before the mesh went on we had to decide just how the trim and details would work into the picture. These pieces would be designed in EnRoute and then routed from 30 lb Precision Board on our MultiCam. The cement will go around these pieces.
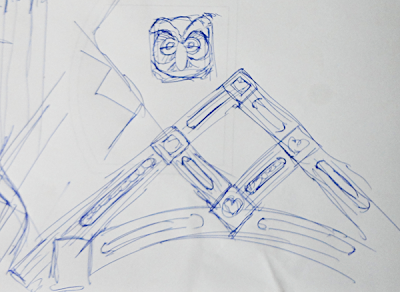
A quick scribble was the first step – just to make sure Janis & I were in agreement on the rough concept. No problem there. The owl was an idea I threw in for the end of the beams. It was decided things were busy enough without adding another element to the mix.
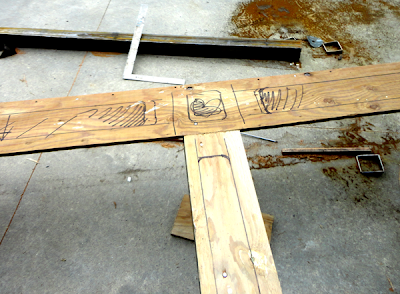
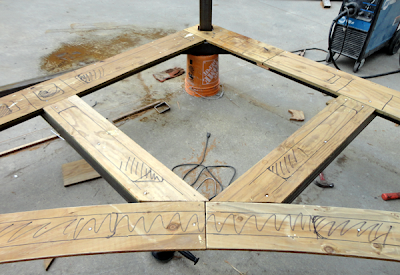
Once the idea was solidified it was time to begin sketching on the actual piece to determine sizes and locations for the fancy routed trim. These too were quick and dirty, reflecting lots of thinking and discussion, weighing every creative possibility.
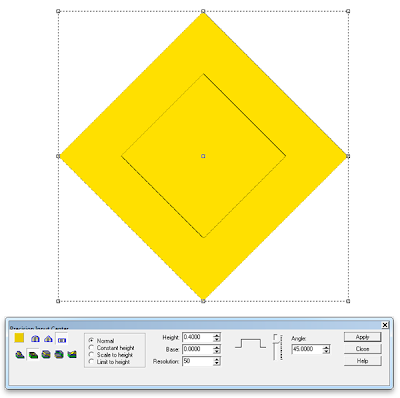
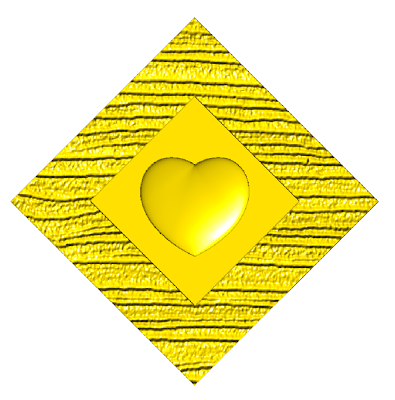
I took a few measurements and notes from our drawings on the piece and then went to my computer to work things out and work up a routing file. The vectors were simple. The beam blocks were square, tipped to diamond shape with a heart in the middle/ A flat relief with a square depression in the middle was the basic relief. It would be routed from 1″ thick 30 lb Precision Board.
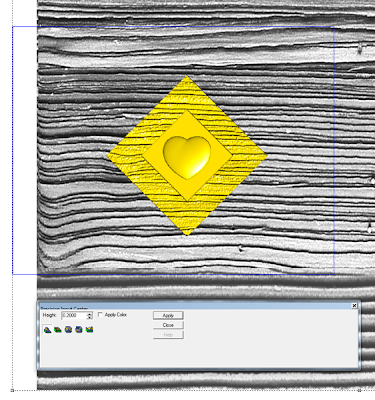
The heart was added to the diamond relief using the dome tool and the constant height command. This makes it a little flatter than the usual tool.
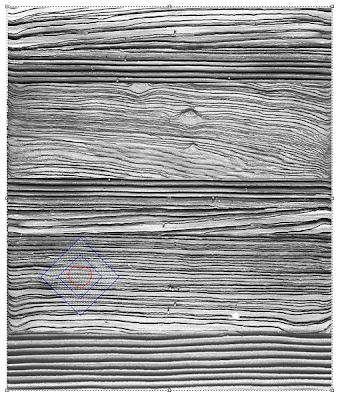
I wanted the outside border to have a raised woodgrain and the sandblasted wood from the TEXTURE MAGIC collection was just the ticket. I imported the bitmap and the resized it until the diamond fit into the section I liked best for this project. You can see just how big I made the bitmap file in relation to the panel we were creating.
I added another vector rectangle around the ones we were using to build our file. This meant we could add texture to the outside border rather than just the middle square. The new outside rectangle reverses the selection to make it a container rather than a hole.
As quick as that this simple file was done.
I duplicated the files six times to create al we needed at once. Three of them were flipped to add variety.
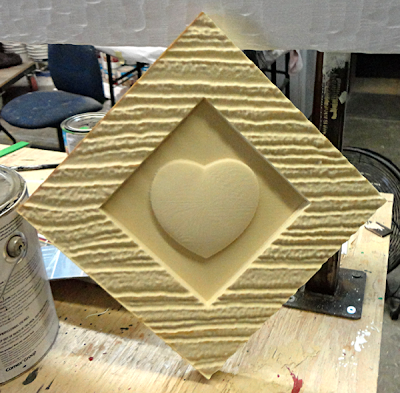
And here’s he file right off the router. A little bit of handwork will finish things off in a jiffy.
Stay tuned to see how it will all fit together…
-dan
Published with permission from precisionboard.blogspot.com. Source.
