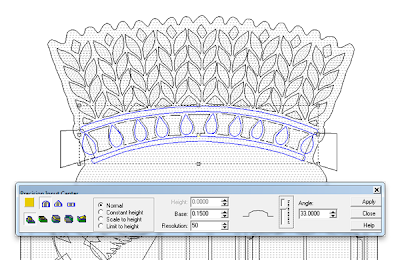
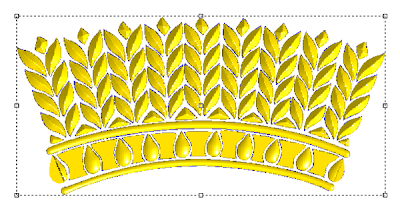
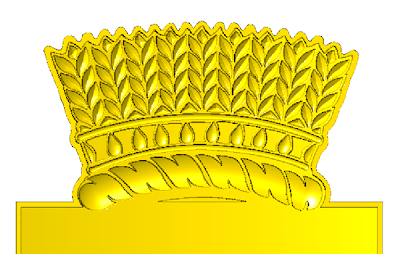
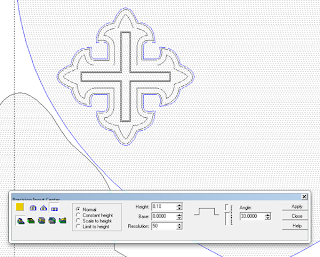
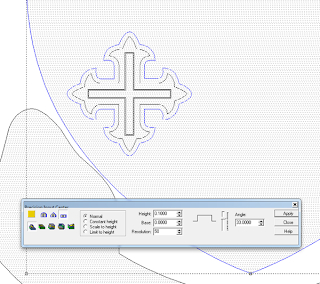
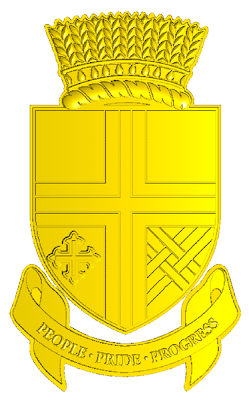
I forgot to grab a screen shot of the next step but I selected the top wheat shapes. I used the prism tool to make the reliefs. The drops and the bars of the crown were next. These elements were domed with a base of 0.15 inches.
The spaces between the drops was to be flat. I used the create relief tool for this task.
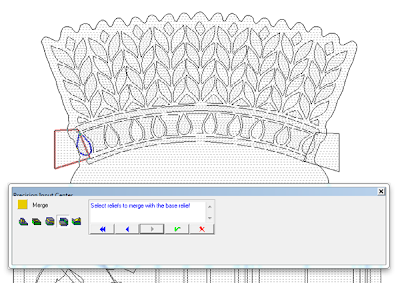
To trim the end drop shaped reliefs I created zero height reliefs These would be merged lowest to the drop shaped reliefs. The operation has to be done one piece at a time.
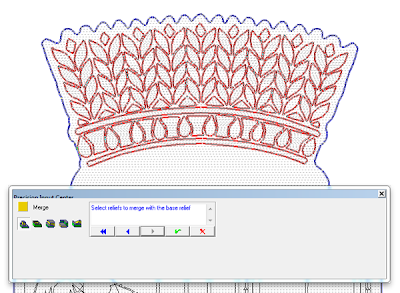
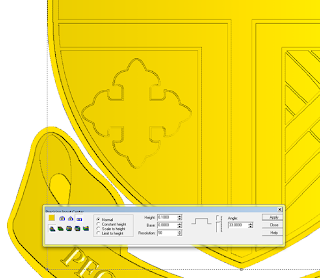
With all the reliefs created it was time to add them to the crest. I used the merge reliefs tool for this task but selected the add to command.
Then it was time to modify the base relief by adding to it using a bunch of the vectors. These were simple shapes – nothing fancy or difficult here.
This leaves only the bird and book to go. I’ll be whipping those shapes up in the next post.

