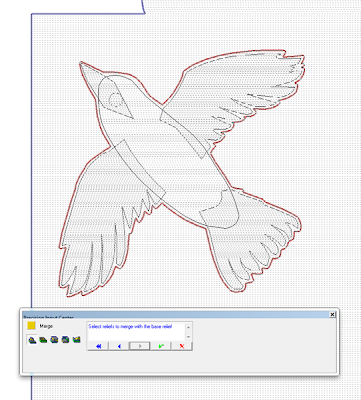
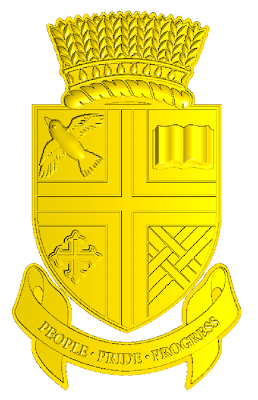
The bird body is done as a domed relief. The beak was done as a bevel relief. Both were merged highest to the outline relief.
The bird was then merged to the shield background by adding it to the base relief.
The last step was to add the eye by modifying the shield relief.
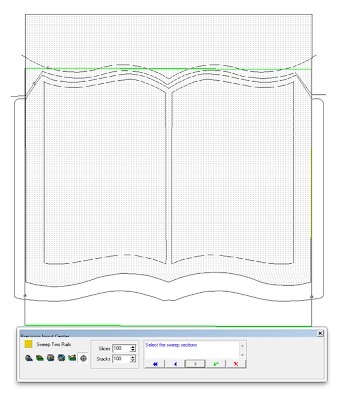
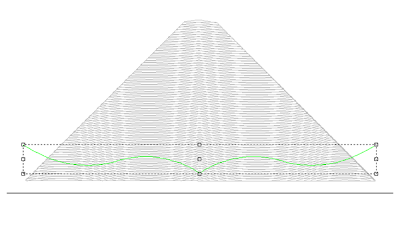
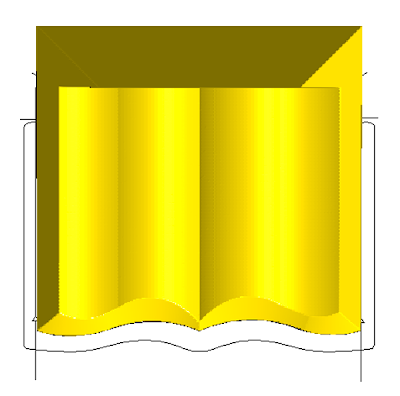
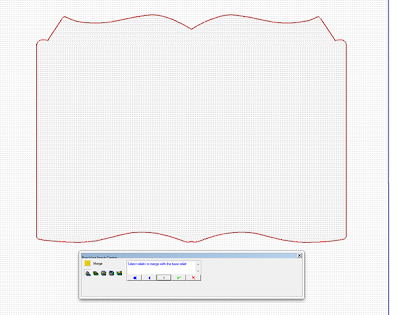
The book was then next step. It took some head scratching as there were a few things that made it tricky… the first being the 45 degree edges on three sides. But after some thinking I figured it out. I created a book shaped vector – shaped like a flying bird. I also made two vertical lines which would be the rails I would use to create the mesh using the sweep two rails function. But first i created a relief using the bevel tool.
The book shape would be created as a mesh using the sweep two rails function.
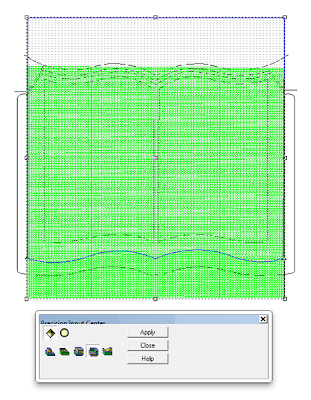
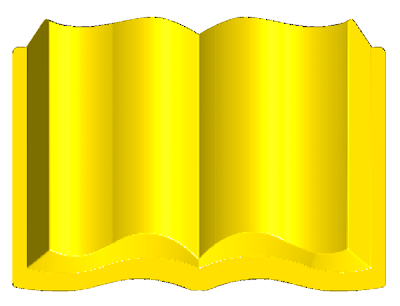
Both the relief and mesh were selected which allowed me to go to the next step using the merge lowest function.
I then created a flat relief that was both the book cover and would also be used to define the top edge of the relief when it was merged highest.
The completed book relief was then merged to the crest relief by ADDING it to the base relief.


