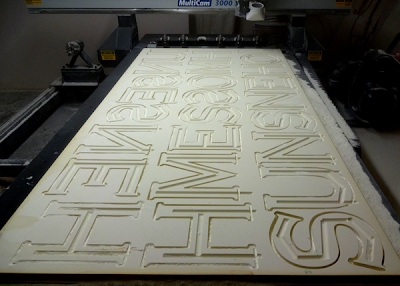
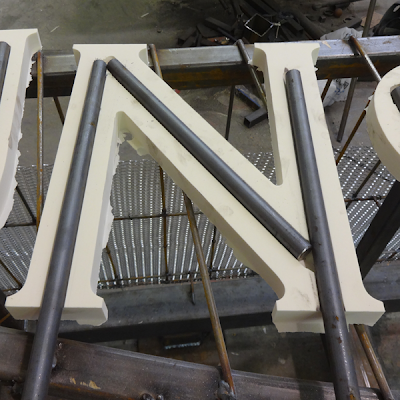
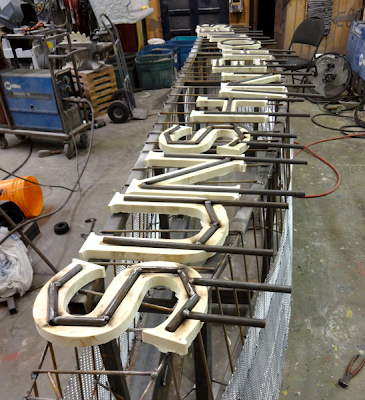
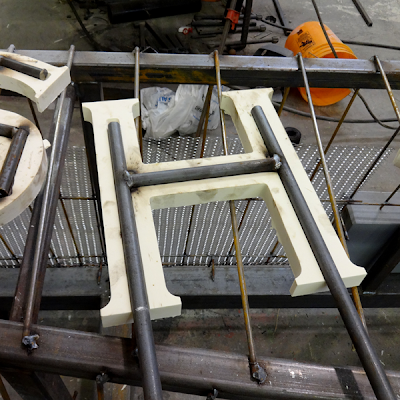
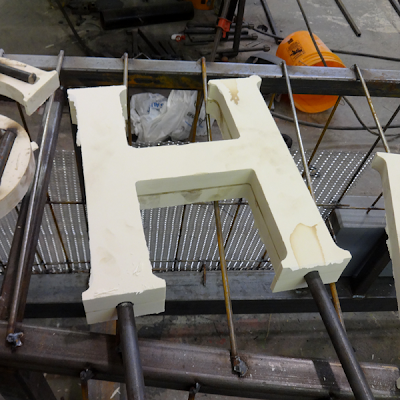
The Sunshine Homes lettering was relatively simple. I would route them in two layers with a half round groove routed in the middle so a steel rod frame could be laminated into the center of each letter with rods protruding from the bottom to weld into he sign base. As usual we started with the vectors.
Into the center of each letter I positioned a 3/4″ wide vector. By routing a half round slot into the back the 5’8″ rod would drop between the layers.
The letters were positioned on a 4′ x 8′ panel, then duplicated and flipped to create the tops.
The files were routed from 30 lb Precision Board in two passes. The centers were done as a fill using a 3/* ball nose bit and with an 80% overlap. They were then cut out using a 3/8″ cutter.


