Have you ever wondered how gold leafing is done? We had the opportunity to speak with Francis Bastow, Owner of Donehere Inc., located in Newark Valley, NY and he shared a couple of his most recent projects, and some gold leafing tips with me. Having been involved in the signage/bronze industry for most of his life, he is now retired and strictly does high-end work for churches.
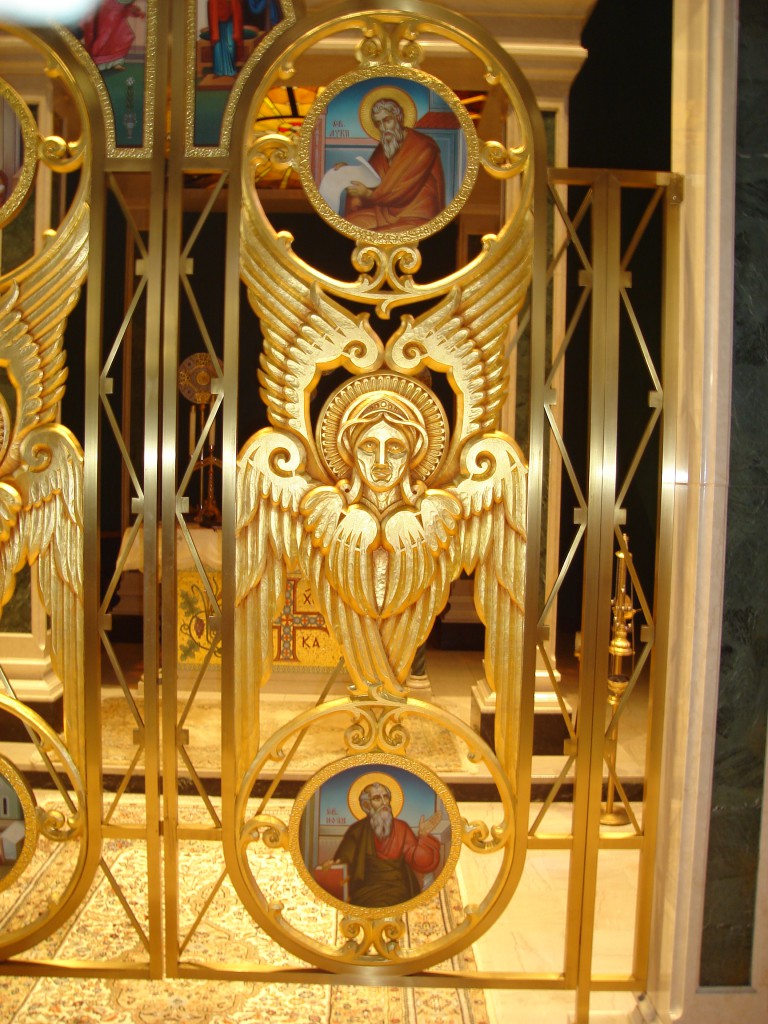
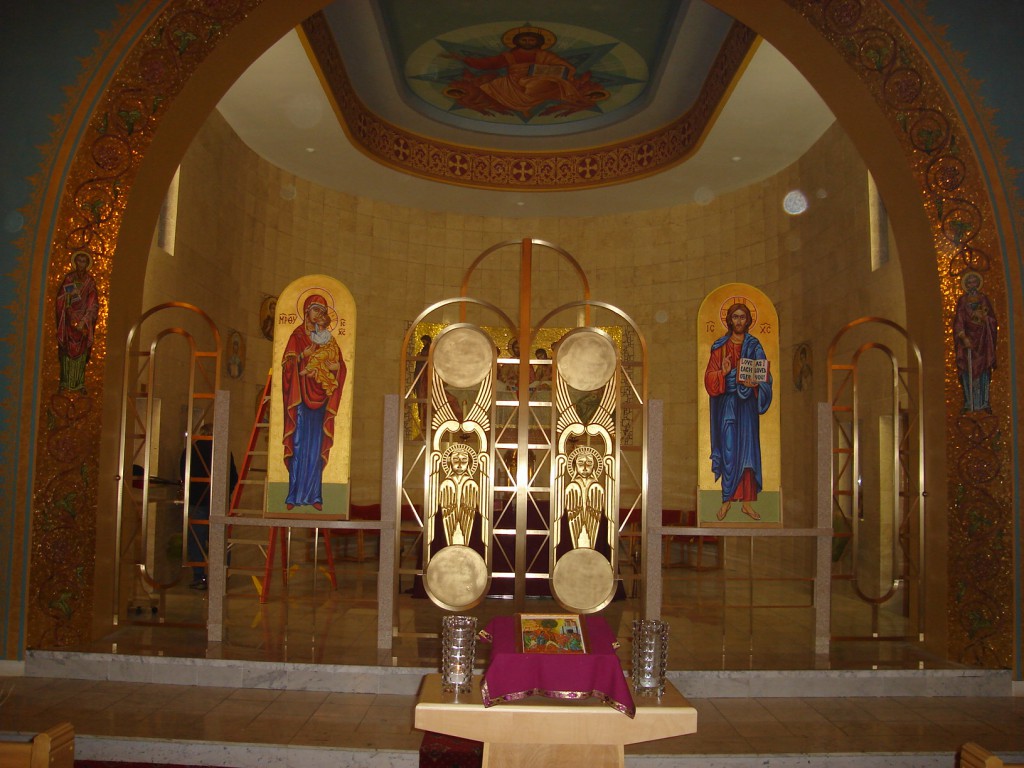
Many of the projects he does involve gold leafing and lots of it. Francis has done work in churches all over the country, and most recently completed 2 separate Seraphim’s for churches in Warren, OH and Binghamton, NY.
Historically, many of the art pieces inside churches are done using basswood. Unfortunately, over time, humidity changes cause basswood to crack. On these last two churches, Francis opted to try Precision Board Plus HDU because it holds up well in extreme temperatures and will not absorb water.
These particular Seraphim’s were designed using ArtCam and routed from Precision Board Plus PBLT-18. Francis then primed them using FSC-88WB Primer/Filler. He then proceeded to the gold leaf stage. While many sign makers use 17k gold when gold leafing signs, Francis prefers to use 24k, which is pure gold. The benefits of using 24k gold leaf are that it will not tarnish, especially when touched by people.
Starting out, he applied sizing to the primed Precision Board Plus – he prefers a “slow” sizing, giving him more time to work. Once the sizing was applied, he knew when it was ready to apply the gold leaf by pressing his knuckle against it, and feeling it slightly stick to the surface. According to Francis, this is an old-timers trick. He then painstakingly applied the 3.5″ squares of 24k gold leaf until the Seraphim was completely covered. Once it was finished, he then applied raw umber to highlight the darker areas for definition.
You can see a great guide on gold leafing by Sign & Digital Graphics here.
Additional info can be seen on Francis’ website at: http://www.donehere.com/.

