During my recent vacation I had plenty of time to think about things I would like to talk about in the future. Visiting Disneyland sure fired up my imagination. But one of the things I have decided to do is go back to the start and go over all the basics of building files. I’ll use the same beginning vectors and over the next series of posts use every possible way I can think of to build the file and in the process create many effects.
I encourage those who are looking to learn the 3D aspects of the software to create a similar vector file and try thing out for yourself. Hopefully you will become more familiar with the virtually unlimited things that are possible.
As we get into the more complex files I’ll tool path a few of them and fire up the MultiCam. Then I’ll take them through the paint process to review all those techniques we use as well. For those who know all this stuff, well, it will be good review.
So let’s get started…
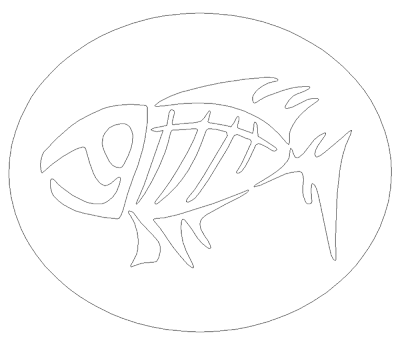
The other day I was driving to town and I saw a decal on the back window of a truck of this fish. I took note and drew it as I remembered when I got home. It is a nice simple image that will allow us to see things that happen as I play with the software controls. I added the oval shape later.
The first thing I did was to create a flat relief. Mine measured 0.5″ tall but you can use any number that you like here. If you look at the input box the angle measures 45 degrees. Since we are creating a flat relief this number does not matter. Just ignore it.
After I hit the apply button the screen image looks like this. It proves we now have a relief but there isn’t much to show us what happened.
To see what happened hit the render button. It had a light bulb icon on it.
The next step is to select both the relief we just created and the modifier – in this case the fish. The relief we just created will be modified governed by the shape of the vector modifier. I used the add button along with the flat relief button. As a value I entered 0.5″ meaning the fish shape should be raised from he relief by 0.5″. Then I hit reply. The screen image did not change visually.
But when I hit the render button it instantly became apparent what I had done. But one piece of information was missing… How high had I raised the fish shape?
To answer that question I double clicked the top view button which then changed my view to top, front, side and a 3/4 render. By double clicking on that view I could better see what had happened. This is important. You need to check this view to make sure everything is done, you go onto next steps that can’t be done.
That concluded our first exercise. For the next version I again created a flat relief. This time I selected the take away button along with the base relief AND the fish vectors to drop the fish INTO the flat relief The top rendering does not look a whole lot different from the first version.
In the 3/4 view what I did becomes readily apparent. The fish is sunk into the base relief. Using the render view is critical to continually check what happened as you work. In doing so one can learn much faster than not using it.
For my third version of the fish I first created a dome shape. In this case I selected the dome tool. The base measurement (the distance the relief comes straight up before it angles off on the face) was 0.2″ The angle determines how steep the start angle is to be. I know from experience (doing this over and over) that 18 degrees would be cool for this shape.
When I render the relief the dome shape is readily apparent.
Once more I wanted to add the fish shape to the base relief so I selected both the base relief and the modifying vector. I made sure the flat button was pushed and added a value of 0.3″ to determine how much the fish would stick out from the dome shape. After I had applied the modification I hit the render button (light bulb)
Then I double clicked the blue top view button (t
op left) to get my 3/4 render. It looked just like I expected it to.
At this point if you are just beginning your head is most likely almost ready to explode. My advice is to try these steps over about twenty times to drill these steps into your brain and make you familiar with what happened each time. If something different shows up when you render then you did something wrong. Don’t sweat it if things go awry…. that’s how we learn.
Have un with this and learn it for next time I’ll up the ante a little and build on this lesson.
-dan


