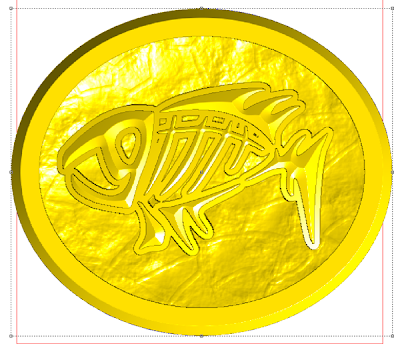
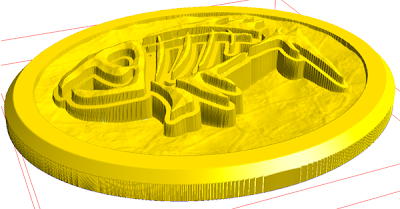
As we get into the fourth version of this fish relief it is getting much more fun. If you’ve practices and memorized the steps in creating reliefs up to this point then this is where the real fun and creativity begin.
This time around I’ll be doing a few things differently because we’ll be adding textures to various parts of the relief in specific areas. To do this we have to do things in a specific order and with multiple reliefs, merging them at the last moment.
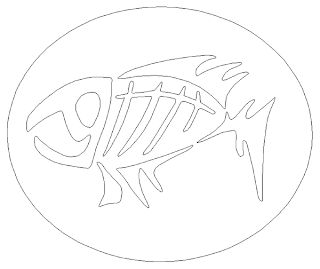
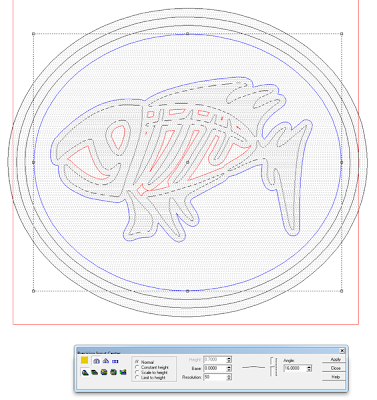
We started with the same vectors as always.
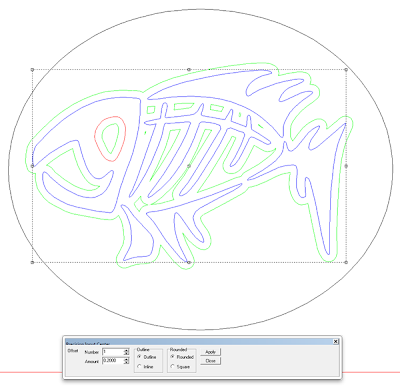
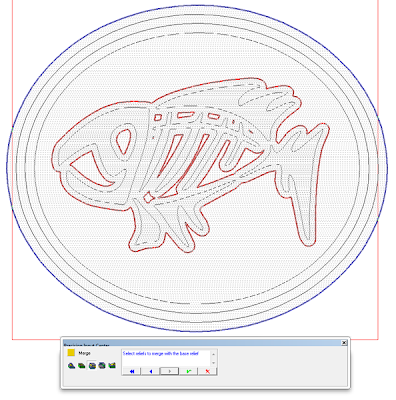
I like to add a border around various components of my pieces. By painting this border dark I can make the element on top really pop. In the case of the fish it also means the small bits will be stronger, simply because they are not as tall off the base relief. So I used the offset tool to create a border 0.2″ away from the fish vectors. In EnRoute when I select the vectors the outline turns blue. Any inside pieces or holes turn red. The outline tool knows which needs an outside line and which goes into the hole.
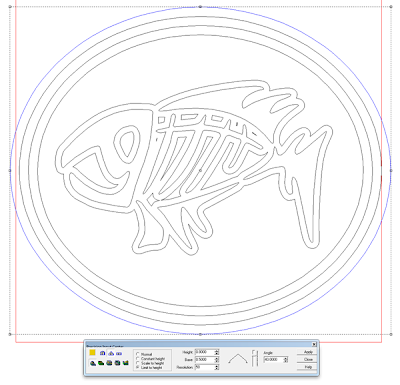
For the three outlines on the oval I put in a value of 0.3″ I also selected the number three to indicate how many offsets I wanted. Yesterday I did the three rings separately. It can be done either way. But if you do it by asking for multiple offsets they will be grouped and then need ungrouping to do our procedures.
I selected the outermost ring and opened the create relief menu. I selected the bevel tool and asked to limit the height of the relief . This created a chamfer edge on the flat relief.
Then we dropped the center using the dome tool and take away to create a dish shape in the middle. This is all review from the second example.
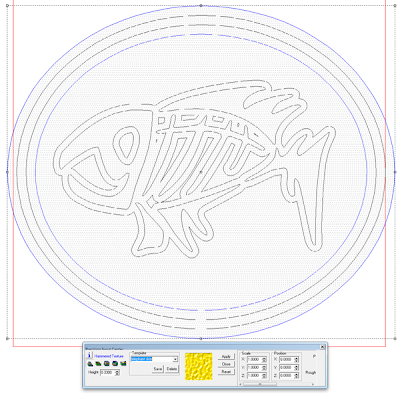
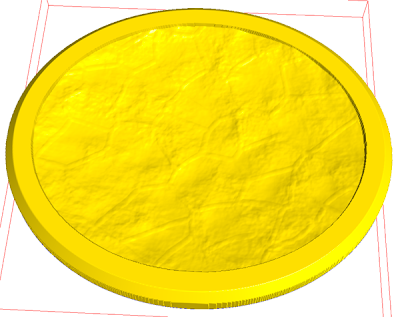
In EnRoute you can create texture two different ways… one with bitmaps (which I have yet to show) an the second way is with parametrics. This handy, dandy tool creates unlimited and controllable textures using hidden mathematical formulas (that I don’t ever want to even think about). I just know they work real handy and smooth. I selected the relief and the inside oval. This would modify the base relief using the selected vector as a template. I selected a texture called ELEPHANT SKIN. The only parameter I adjusted was the depth. I made sure it was adding the texture to the relief and then pushed apply.
As quick as that we had the coolest texture in the bottom of the bowl.
Then it was time to add in the fish, domed like the last examples, except this time it would have a smooth border around it. I would dome the border and then add the fish to the top of this dome shape. The border would be built as a separate relief. I created a flat relief 0.7″ high. The number is irrelevant.
Then I selected the fish outline relief and the smallest oval. This would be used a a template to modify the original relief. I selected the dome tool and ADD TO RELIEF entered an angle of sixteen degrees and then apply. The fish border relief then domed up perfectly.
Then I went
into the front elevation view. It looked good when it was rendered but when I turned off the render I could see the fish border outline was a little high compared to the bottom of the bowl. I used the down arrows to nudge it down until I was happy. At this point the fish border relief stuck down below the bottom of the base relief but it didn’t matter. I would take care of that shortly.
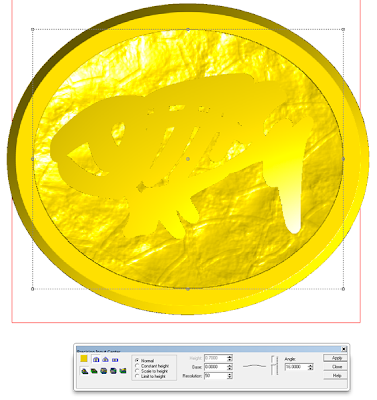
The next step was to MERGE the fish outline to the base relief. I opened the merge menu and selected MERGE HIGHEST. Then follow the prompts. First select the base relief (the big oval) It turns blue. Then push the blue arrow to take you to the next prompt screen.
It then asks you to select the relief you wish to merge. I selected the fish border. It turns red. THen hit the green arrow to apply.
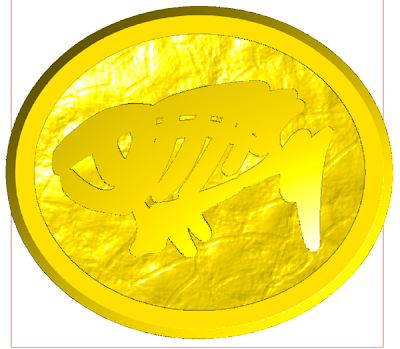
I hit render to make sure it did what I thought was going to happen. It looked good.
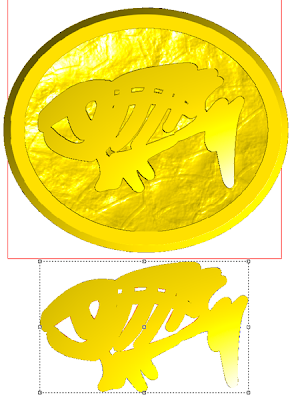
The thing to remember however is that when you merge a relief to another it only alters the base relief. It leaves the one you are adding intact and unaltered. This must be moved to another layer and made in active or else deleted.
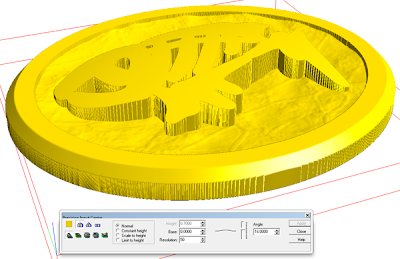
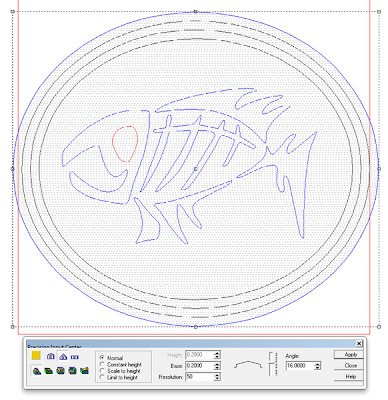
Then it was time to add the fish. It would be added to the base relief which now has the fish outline as part of it. I selected the base relief (outside oval) AND the outline of the fish. I decided I would make the fish with a bevel. Creating bevel shapes with vectors of different widths can do some pretty funky things with the crown of the reliefs changing height depending on the width, since the angle is constant. EnRoute had a constant height button that alters the angle of the bevel but in this case he different heights looked pretty cool1
It is no secret that I LOVE texture and so I decided I would add some texture to the fish. I would use parametric textures once more for this exercise. But this time I wanted something a little more subtle so I went with a texture called PARCHMENT. I made sure the AD TO button was selected and also altered the height to 0.1″ I selected the outside oval (base relief) and the vectors of the fish to create a mask and then hit apply.
Predictably the fish alone received the texture.
