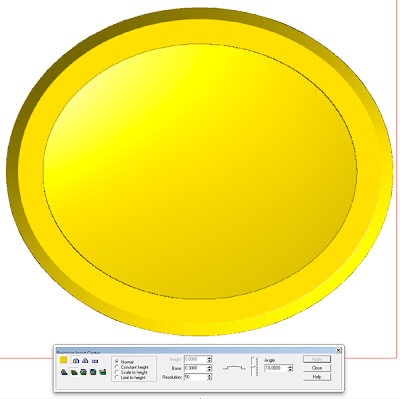
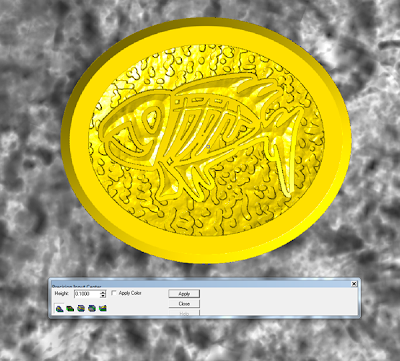
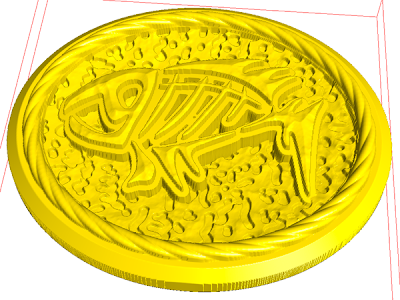
For our sixth version of the fish relief I did not start at the beginning. The chamfered edge relief with the sunken center was already done. To see the previous steps go back and review the fourth installment of this series.
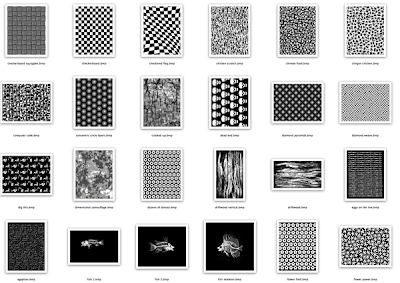
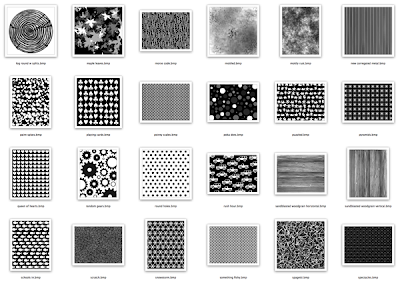
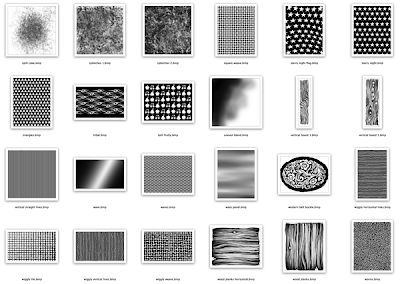
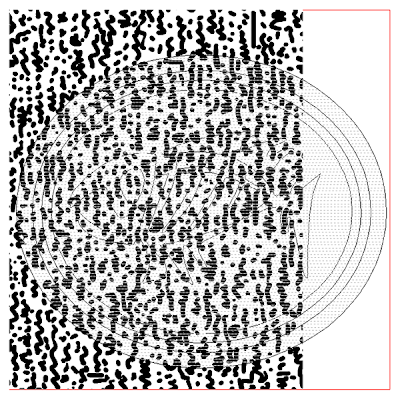
This time we would be using bitmap textures. The ones I am using are from my TEXTURE MAGIC collection. There are one hundred and five textures on the disk – plenty to choose from. Here’s a sampling. To get information about purchasing this collection go to TEXTURE MAGIC COLLECTION
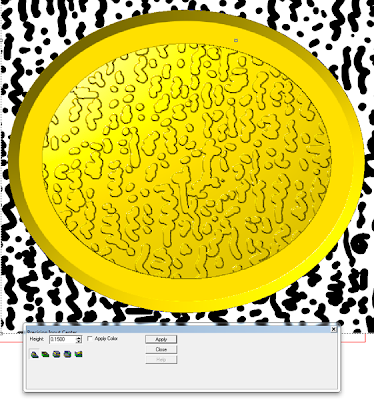
Since my file is relatively small I need to make the bitmap substantially larger for my 1/8″ bit to fit into the grooves of the pattern we will create. To access the apply bitmap menu I need to select my relief and the bitmap. I selected AD TO, entered a value of 0.15″ and then hit enter. In an instant the bitmap texture was applied to the relief.
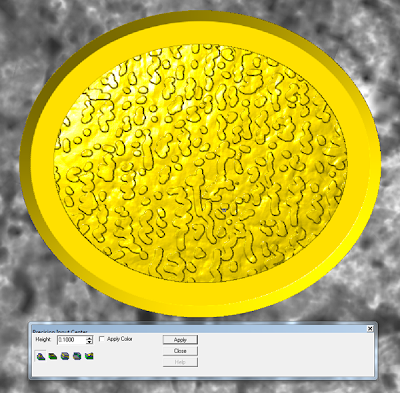
Then I opened another texture (one of my favorites) called SPLOTCHES and went through the same procedure, first making it bigger and then applying it to the relief. This time I entered a value of 0.1″ making the texture a little more subtle.
In the next few steps I built a flat relief using the fish outline, then domed it up and merged it to the base relief. These steps have been covered previously in this series.
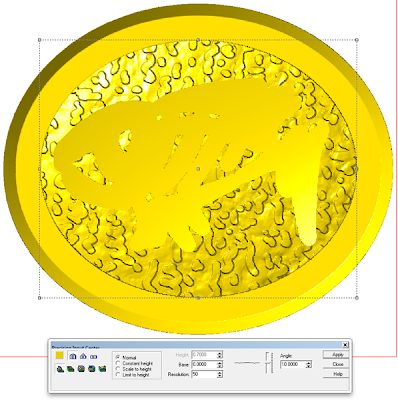
I then used the fish vectors and prism tool to add the fish to the relief. (also covered previously in this series) Then it was time to add the ‘SPLOTCHES’ texture again but only to the fish this round. I opened the splotches bitmap, selected it, the fish vector (it will act as a mask) and the base relief, then opened the apply bitmap menu. This time I wanted the texture to be subtle so I entered a value of 0.1″ and then hit apply.
Then I created a rope mesh once more using the extrude function. This was nudged into its proper place vertically and then MERGED highest with the base relief. This was covered in a previous post in this series.
Next time I’ll be tool pathing the last two files and getting ready to send them off to the multiCam. Stay tuned…
-dan
