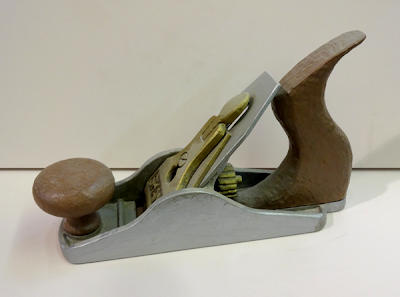
One of our current projects is a sign for a finish carpenter. The design requires an oversized woodworker’s plane perched on top of the sign. I had built such a plane as a sample a while back which I considered using but for an outdoor sign it needed simplification a little, mostly to allow water to drain from the inside portion. This time around I’ll also put my client’s first name on the blade clamp. It is all about the details!
The vectors didn’t take long to produce in EnRoute. The plane will be produced as a series of slices. cut from 0.5″ and 1.5″ 30 lb Precision Board.
I duplicated the vectors for the number of pieces I would require and grouped them according the thickness of material they would be cut from.
For the adjustment knob and the front handle I used the revolve tool. This mesh was then merged to a zero height relief. The two halves would be routed and then glued up afterwards.
The blade clamp would be routed separately complete with my client’s first name. I am using the ‘bowl technique’ that I described in a previous post. A zero hight relief formed the basis for the bowl. In this case I would build the relief on top of that.
The clamp face relief was made to be 0.4″ thick by modifying the bowl relief.
Then ‘BRENT’ was sunken into the relief 0.15 inches using the subtract command.
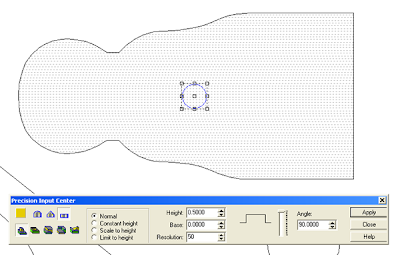
The last step was to build the tightening screw. I created a flat relief 0.5″ tall and then merged this highest with the base relief.
The files will be cut as offset cuts and island fills from two thicknesses of board.
I’ll be tool pathing it in the next couple of days. Stay tuned…
-dan
Published with permission from precisionboard.blogspot.com. Source.


