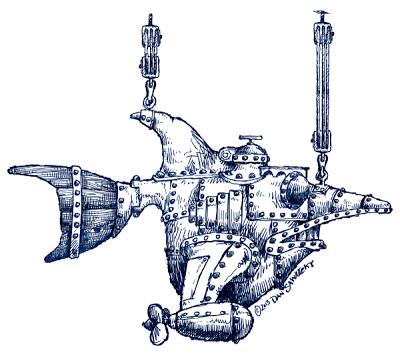
In between all of the paying and house projects I’ve managed to squeeze in a few minutes here and there to work on the mechanical fish challenge project as well. Although the end of summer is still a ways off I’ve learned to push on the front end to avoid all nighters at the back end. I suspect my ‘competition’ has yet to learn that. 🙂
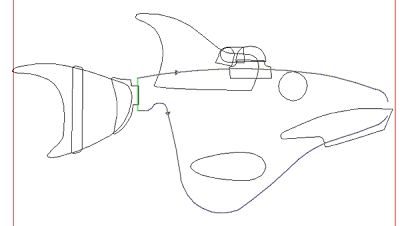
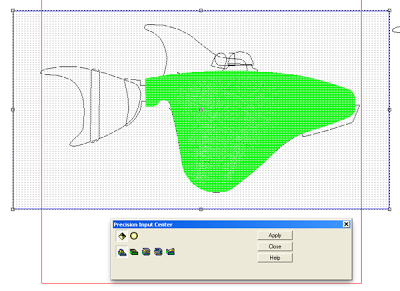
Rather than use a high end 3D program I love to build complex files using EnRoute. With a little planning and some creative use of the available functions some pretty cool stuff can be imagined and then built. As always it started with the vectors. I Imported the original drawing and then traced the outline and basic shapes by hand. It didn’t take long to achieve the vectors I need.
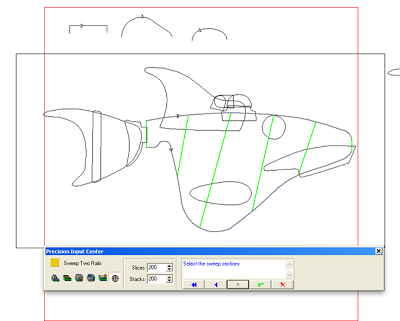
While I was at it I also created some vector profiles with which we would form the body using the sweep two rails function in EnRoute.
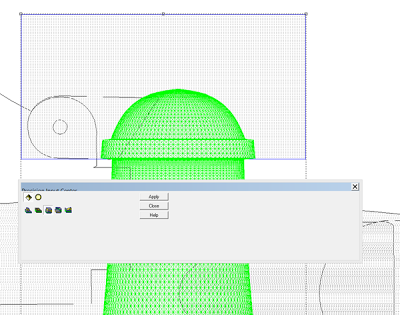
When you open the menu the prompts lead you through the steps. You have to make sure your vector lines are going in the same direction of weird things happen. The little arrow heads on the lines make it easy to see what is going on. The flat profile was for the tail end of the fish, the egg shape for the middle and the round shape was for the nose.
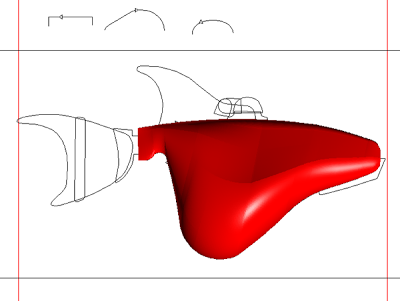
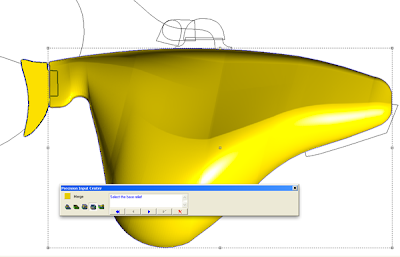
I created a mesh first. I would later merge highest to combine it with zero height relief.
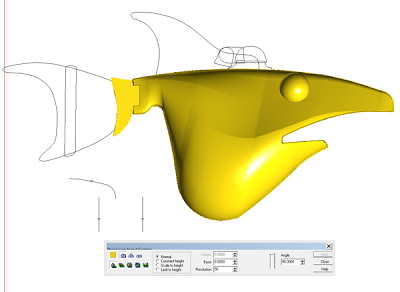
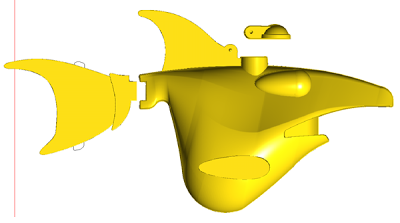
THe tail section was created as a flat relief. Then the eyeball was next using the done tool and as a separate relief.
I duplicated the eye and then created a zero height flat relief which I would use to slice half the second dome off with using the MERGE lowest command. I then distorted the half circle by merely stretching it out. I positioned it behind the round eyeball and merged highest with the two separate pieces and the body of the fish.
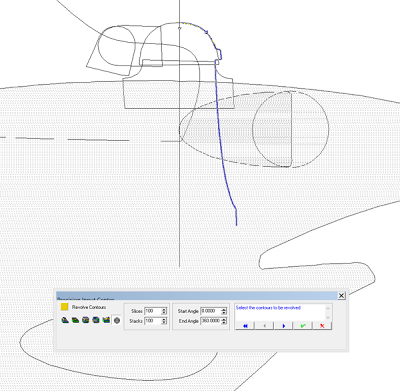
The conning tower/hatch was next. I would use the revolve tool to create a mesh.
I then created a zero height relief which I would use to create a separate hatch. I repeated the process with the bottom section and then merged highest with the base relief (fish body).
The teeth of the mechanical fish was next. Once more I created a mesh file using the sweep two rails. I then merged it with a zero height relief. This was tweaked to fit, positioned and merged highest with the fish body.
The fin and tail were created by making flat reliefs and the ast step was to create some wing mounting point
