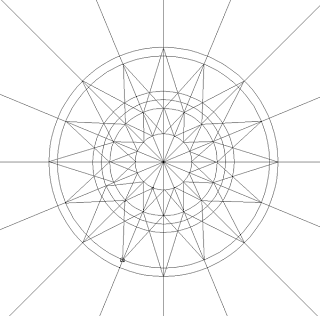
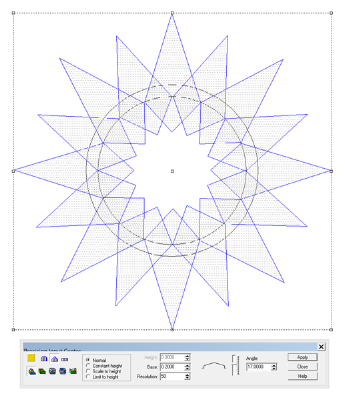
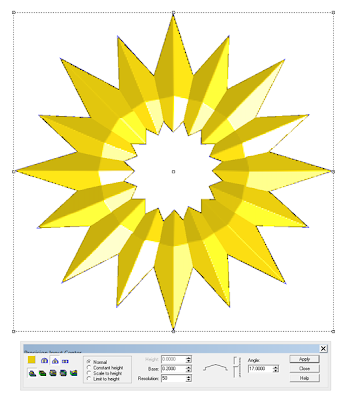
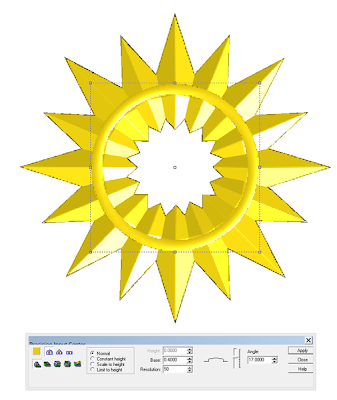
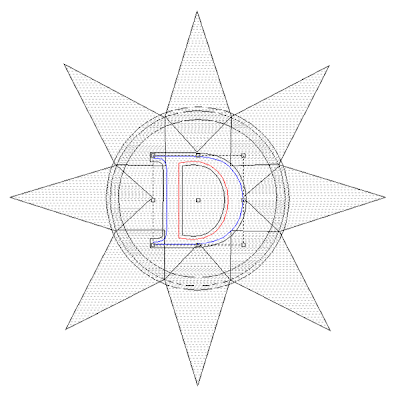
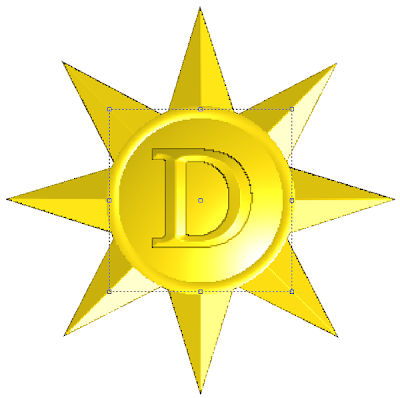
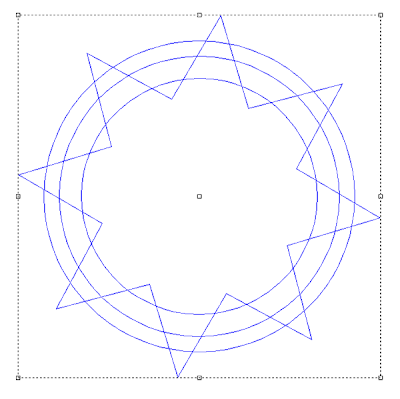
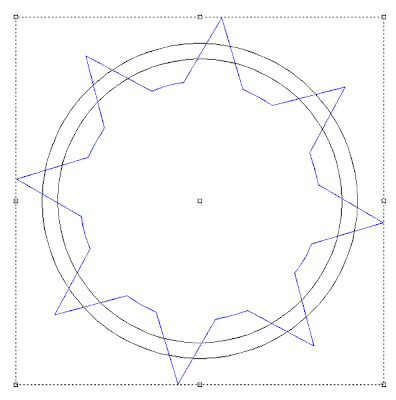
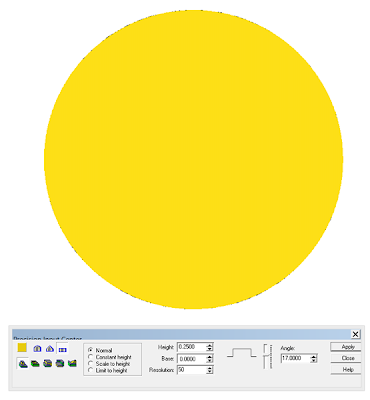
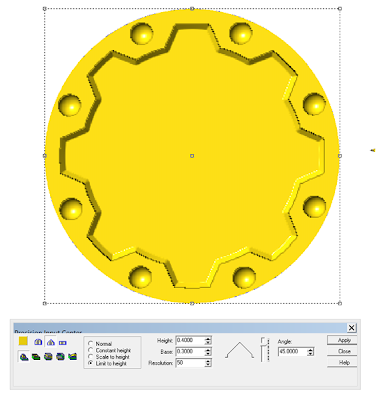
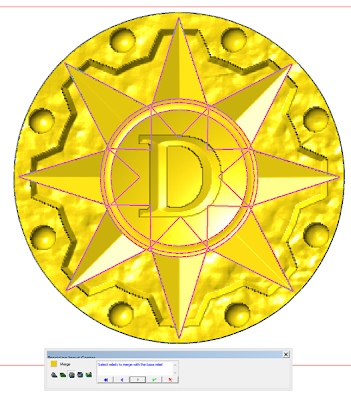
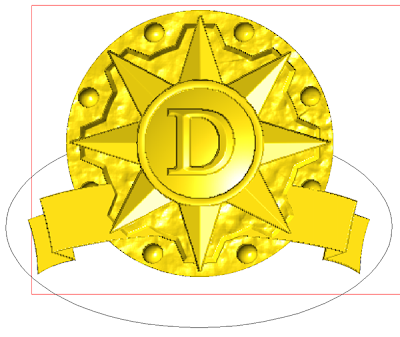
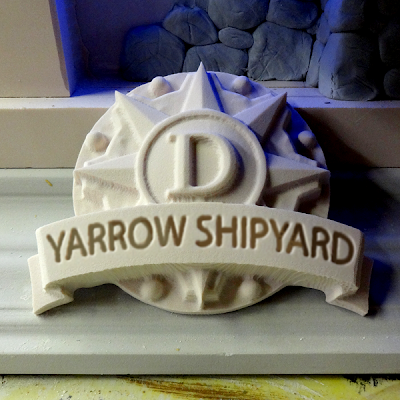
I was no happy with the compass and it was time to make the background gear and circle reliefs. I used the star drawing tool to create an eight pointed star. Then I used the inner circle to trim the inside points. The outside points were trimmed using the jigsaw cutting tool.
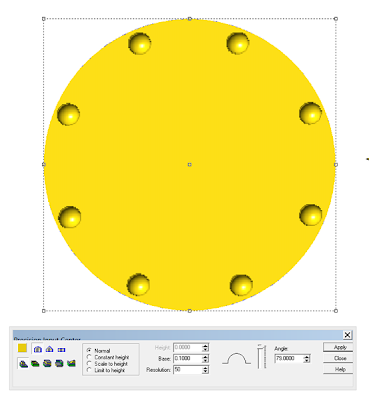
I built up the relief in sequence, adding rivets as a second step.
I wanted a gear with a bevelled edge and so I used the limit to height command to do this for me.
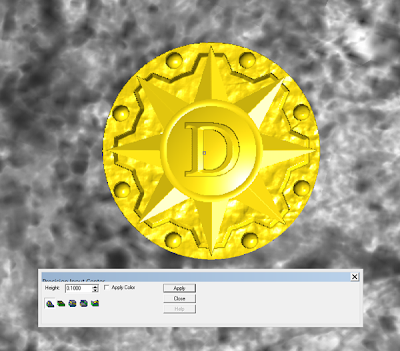
Then I added a little texture with a bitmap from the TEXTURE MAGIC collection.
Then everything was positioned vertically and merged highest to form my final relief.
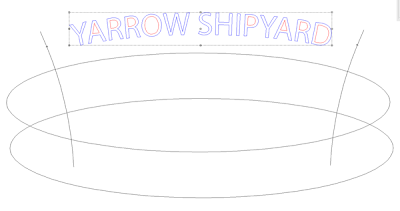
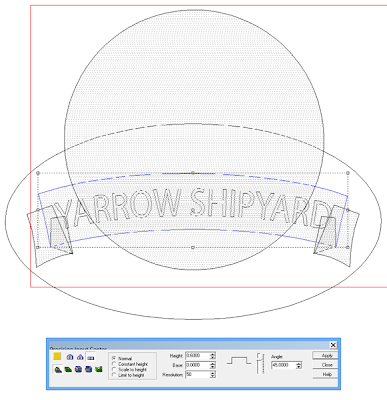
Building and adding the scroll was the final step. I did the lettering and basic lines for the scroll in Illustrator, then imported them into EnRoute.
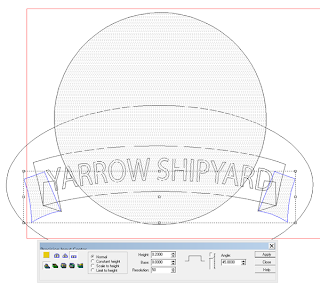
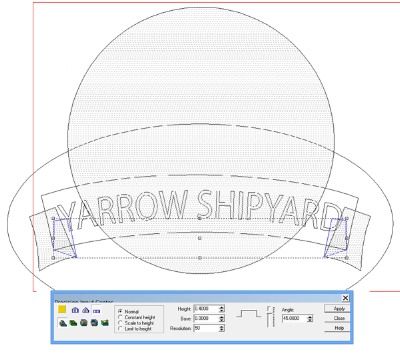
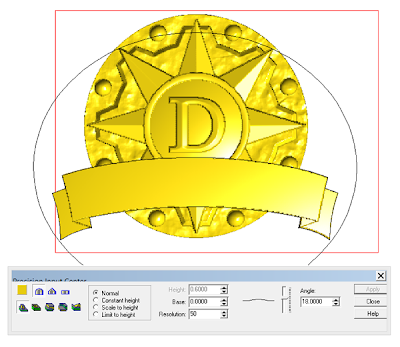
I positioned and sized the scroll over the previous relief, then built the final scroll and the underlying folds. These were then made into flat reliefs of varying heights. Once all of the scroll bits were built I combined them to form one relief.
When I hit render I had what I was looking for but it needed to be arched to come over the gear and star. I would use an oval vector to modify the scroll relief. It took a bit of experimentation to get what I was looking for.
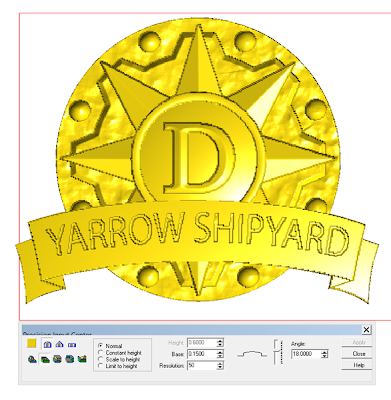
The last step was to sink in the lettering.
The name plate was then sent off to the MultiCam for routing from 1.5″ thick 30 lb Precision Board.
