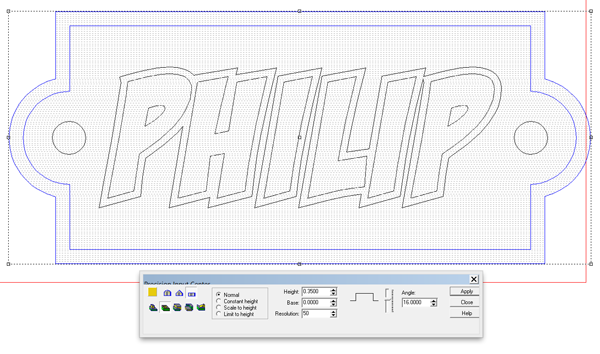
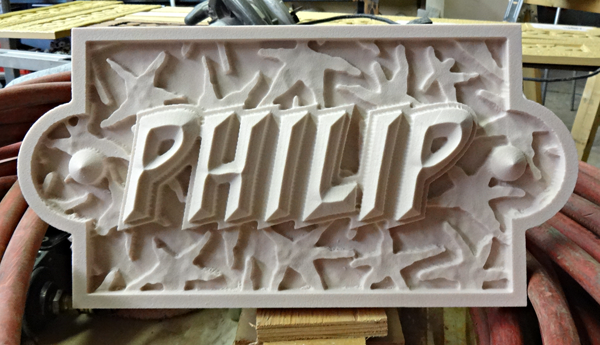
Then I dropped the center portions of the plaque by 0.35″ . It is deep enough to allow two layers of texture bitmaps. which is the next step.
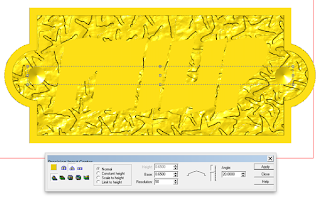
The first bitmap is called frantic stars (from the TEXTURE MAGIC COLLECTION) I applied it with a value of 0.15″ which means the white was raised by 0.15″ The black areas didn’t do anything remained flat.
Then I imported the splotches bitmap into EnRoute and applied it at 0.1″.
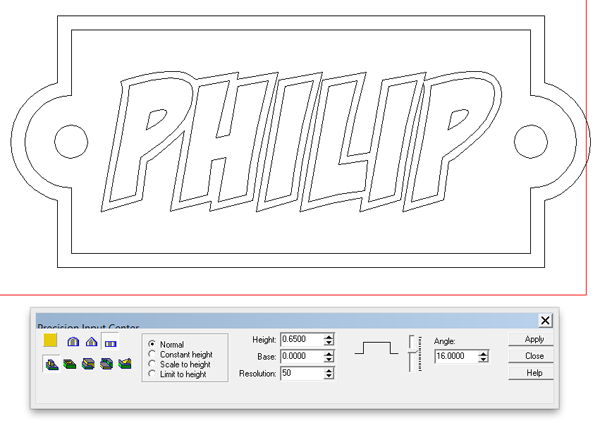
The lettering border was created as a separate flat relief at 0.65″ tall.
The decorative round bits were the next reliefs to be crated using the bevel tool. I looked at the front view to make sure they were in position vertically.
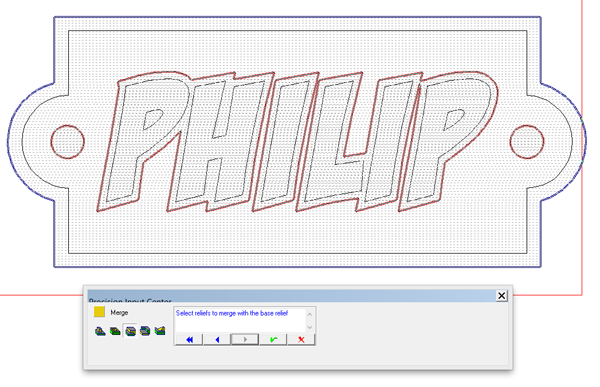
The round cones and the lettering background were was then merges highest with the background.
THe last step before tool pathing was to create the prismatic lettering using the bevel relief tool.
