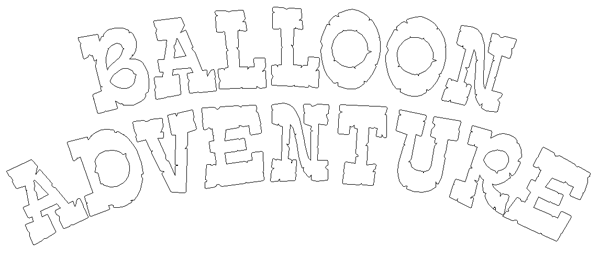
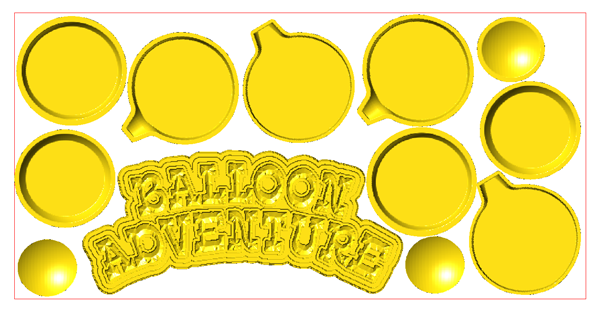
I then modified this relief by selecting both it and the next inner vector. I added to the first relief and in the process raised the next border.
The letters were then created by modifying the original relief one more time using the letters as my mask. I used the bevel tool this time with a base of 0.2″ I also used the constant height function as the letters had thick and this portions. This altered the angle to create all the same height on the top point of the bevels.
Then we were on to the balloon portion of the sign. I created the vectors in and then used the revolve tool to create a mesh.
I then created a zero height relief in a rectangle surrounding the ballon. I selected both the balloon and mesh to allow me to merge them together. I used the merge highest command.


