I often get asked to create routing files for other shops. It’s not a job I want to do. But from time to time the project offered is something that intrigues me. In these rare cases I offer to create the file and then do a step by step on the blog. I don’t sell or give the person my work but rather show them how to do it. In the process it is my hope they follow along and perhaps know how to do this kind of job by themselves next time. By posting it to the blog other readers can also hopefully learn or be inspired to do creative things with this amazing software, router and modern materials like Precision Board.
The file I was asked to help out with this time was challenging. Their client had asked for a giant six foot, elongated globe with a banner draped around it. The banner would sport their logo. The globe needed to be lightweight and portable for trade shows. I talked with the sign shop owner for a while and we batted around various options. In the end they decided they would route the file in layers out of low density Precision Board and then hard coat it before painting on the details. With that process in mind here’s how I would create this file. I’ll deal with the project in two posts, the first creating and slicing the file and then in the second modifying the slices to make the ball hollow. If you aren’t familiar with the program I suggest you look up the terms and processes in your manual to understand the steps I’m taking. Here we go…
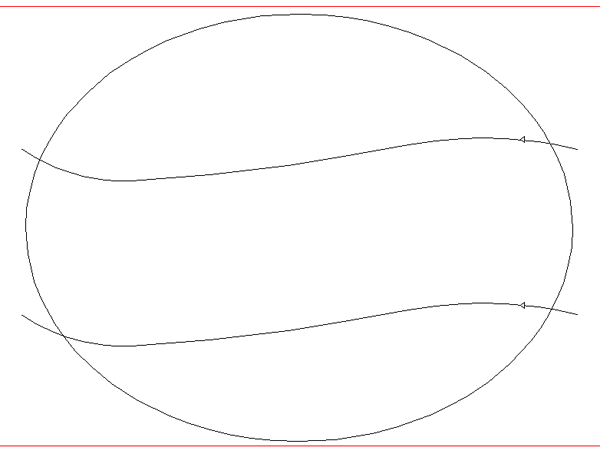
I first imported the logo into to trace the rough shape. The banner in the logo was stylized and would work to wrap around the globe so I instead approximated the shape, making sure each end line up as the two halves of the globe would be joined back to back to assemble the project after it had been cut.
I then used the offset tool to create a line around the oval that was two inches larger. This is how high the banner would be spaced off the surface of the the elongated globe/
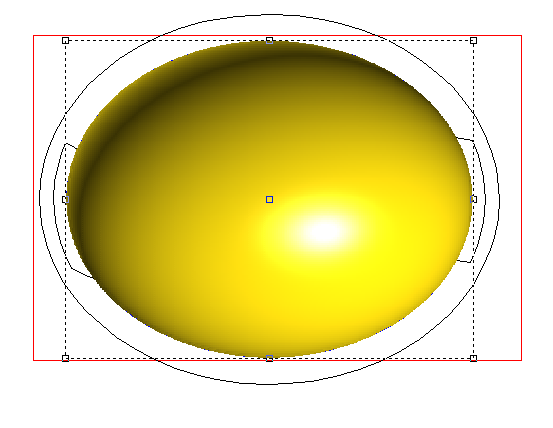
Then I selected the original oval and used the dome tool to make the globe.
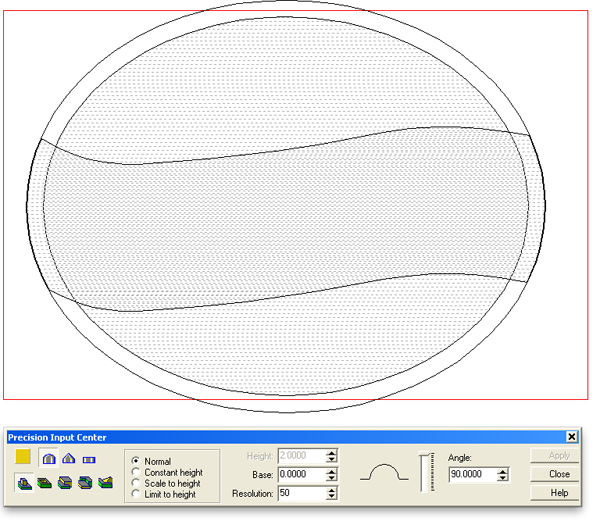
The to create the banner vectors I moved the globe relief out of the way, then used the jigsaw tool to create the vector shape between the bottom and top banner shape and the two inch offset oval. I then made a two inch thick flat relief. It’s hard to see in the screen capture but I also created a scone offset oval just a tad bigger than the original. I uses this vector to modify the flat banner relief using the dome tool with the same input numbers as the original globe. This spaced the surface of the banner two inches off the surface of the globe.
Here’s the front view.
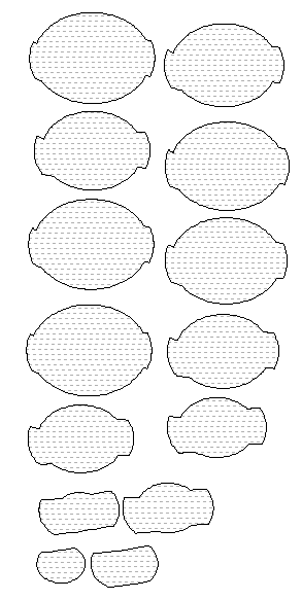
Then I selected the slice tool and added sliced until they were less than 2″ thick. Make sure you ask the program to create all slices. Hit enter. Instantly you get your slices. Here’s a few views of the result.
I then spaced them out and positioned them all on the same plane. As ‘EASY’ as that we’ve created the files for half a a 3D logo. These files will need to be duplicated and flipped to make sure they fit onto the back half.


