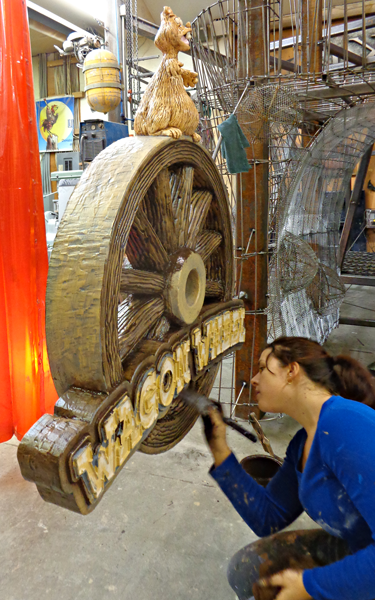
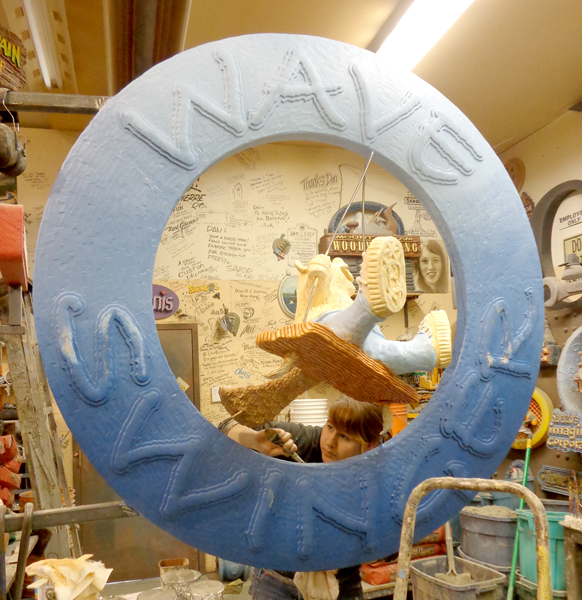
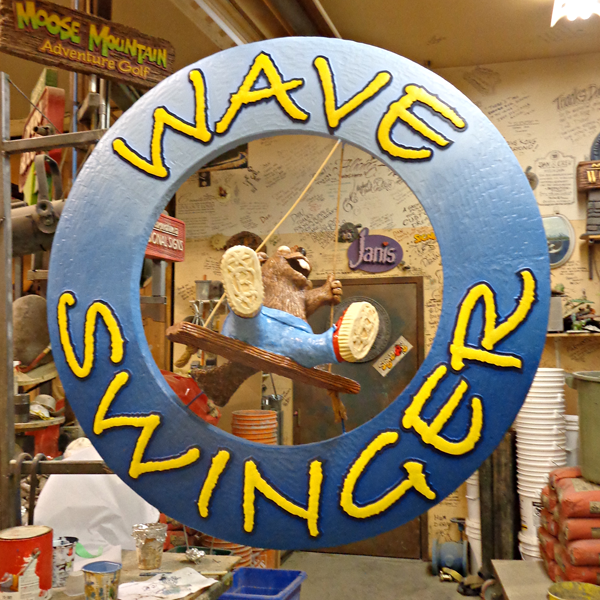
The painting of our signs and features almost always follows the same steps and order. If we decide to prime the 30 lb Precision Board it is because the want to add a little more texture. The 30 lb board doesn’t need primer to fill the pinholes or roughness normally found in lighter densities. We use the FSC-88WB primer made by Coastal Enterprises, the same folks that make the board. While most shops use primer to smooth out the work and sand it to make sure we use the heavy bodied primer to ADD texture. It dries without shrinking of cracking and the purposeful brush marks add texture.
Once the water based primer is on and dried thoroughly we proceed to our base coats. In our shop we hand brush pretty much all of our work. We use a top quality house paint for the bulk of it and have had great results for many years. We use a brand called General Paint. It is only available in Canada I’m told.
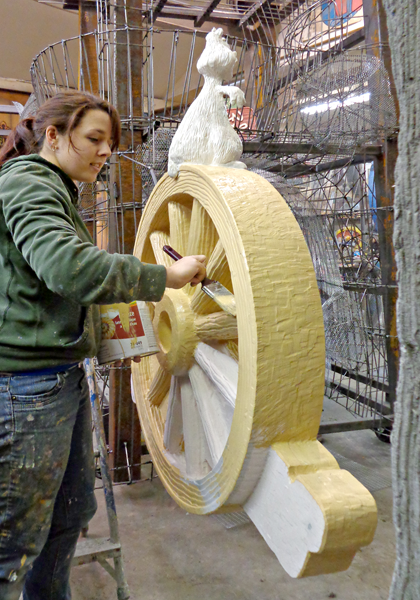
We always apply a minimum of three base coats of color, more if it is a low hide color. Typically with the use of fans to speed drying we can get two coats of paint on each day. When we paint we always start with a very light version of the final color. The various areas of the sign, in this case the wagon wheel (yellow tan) and the prairie dog (off white)are painted one after the other building up the coats until they are covered well. In this shot Kendra is applying the first base coat.


