Having the right tool for the job is a pretty important aspect of being a sign maker. Sometimes that tool can cost $10,000 or sometimes it could cost $10. The thing is, when you need it, you need it. Talking with Steve Kolacz, owner of GrafiXhouse Design Studio in Garner, NC, about a recent sign he made, revealed a situation we believe all sign makers can relate to.
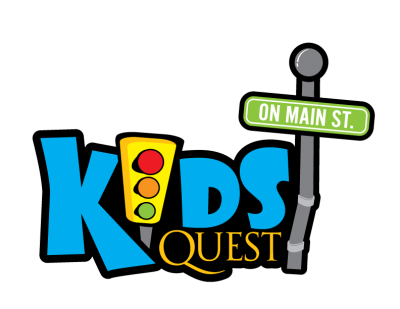
Steve’s job was to build an interior sign for a church that could light up at the flip of a switch to let kids know when it was time for them to go into the service. His first step was to design the sign in Adobe Illustrator, followed by selecting the materials he would use for the job: Precision Board, PVC, Dibond and Lexan.
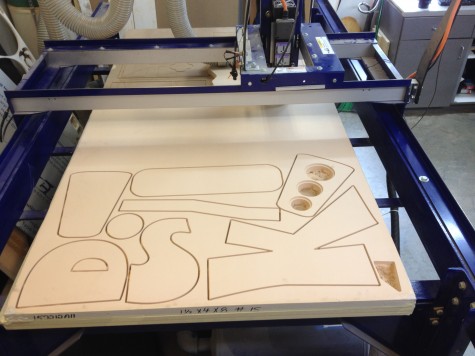
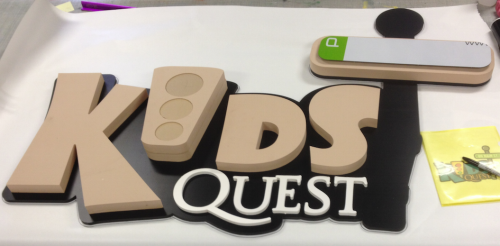
Each substrate was cut in turn on Steve’s ShopBot CNC machine, and put together with a combination of VHB tape and 3M Epoxy.
Wedge-Cut Quandary
Needing to make a wedge cut on a piece of Precision Board to create a downward-sloping, faux stoplight, Steve found himself in a tough spot – he couldn’t make the cut with his bandsaw because the piece was too big, and he didn’t want to do it on his CNC machine because that would have meant creating a file and spending much more time than necessary on a piece requiring only a single cut. He even asked his neighbor (which is a custom cabinet shop) next door, the ones with the giant table saw and wood working equipment if they would cut it, but they didn’t want anything to do with it.
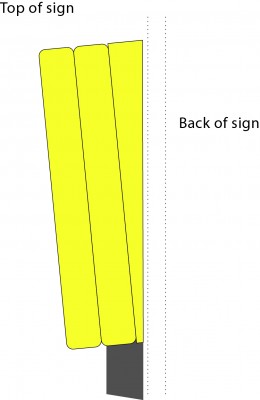
Diagram showing the wedge cut Steve needed to make
Bow Saw To The Rescue
In his own words, “after running out of options, and wanting to get this cut over with, I did a slow look around my shop and saw my bow saw in the corner of my eye. I picked it up, walked over to the table and one-handed cut that wedge no problem. All I needed to do afterwards was sand it smooth with my disc sander. The whole process took about 5 minutes. It would have never worked with wood,” says Kolacz.
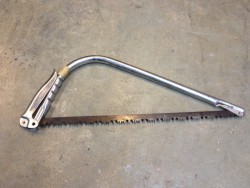 Steve’s bow saw
This mid-sign incident, while not catastrophic, really says a lot to us about what it means to be a sign maker – an unforeseen circumstance needing to be remedied by some quick thinking.
Since the stoplight needed to light up so the kids would know it was time to put the blocks down and get ready for some churchin’, Steve wired LED’s into the yellow stoplight housing and covered each opening with a translucent piece of Lexan.
The entire sign was primed with Kilz Latex Primer and painted with a combination of acrylic and enamels, with the “Quest” portion being airbrushed with a Behr Latex paint. All in all, a beautiful multi-media sign!
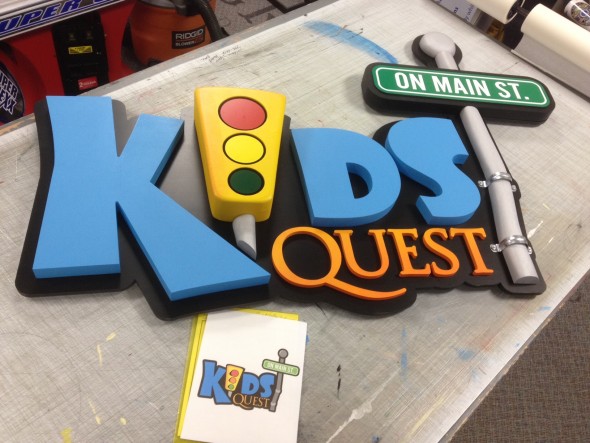
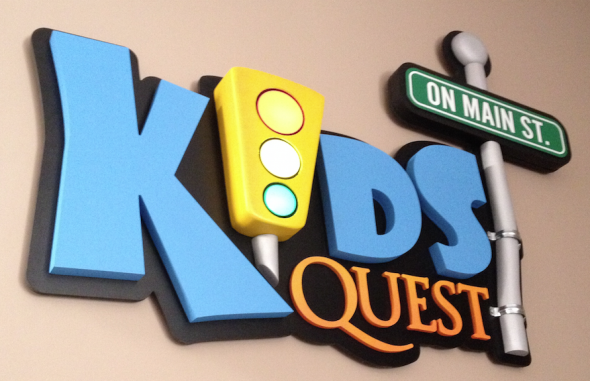
Steve Kolacz has owned GrafiXhouse Design Studio since 2002. Additional works of art, signs and illustrations can be seen on his website at: www.grafixhouse.net.
We’ve also featured Steve in two previous articles:
The Art of Hand-Carved Signs/Grafixhouse Design Studio
3-D HDU Signage: To Rout or Carve?