We are down to the final details on the house project. Through the construction we did over 200 routing files and created thousands of pieces. Now we are down to the last few at last.
The side wall of the house is plain with no windows and so to break up the plainness we added purloins to the lower rock section of the wall. Into these we placed routed heart panels in keeping with the theme of the exterior of the house.
On the other side of the gate we have a tower which houses all the services (water, power and telephone/data for the house and shop. The gate post on this side is a taller version of the fence corner posts. Since we wanted a heart panel on this piece it meant I had to create a new one to be routed.
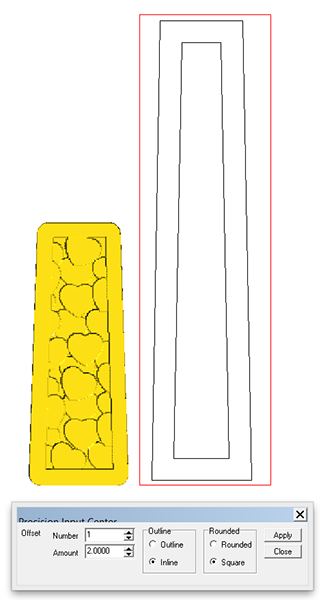
I started by opening the old file of the shorter panel. I had save it with some of the right sized heart vectors just in case I needed them later. I created a rectangular vector around the plane. This was used as the starting int for the new taller panel.
I then angled the sides of the vector to align with the sides of the old one Then I stretched it out to be 42″ tall.
I then used the outline tool to create an inside vector that formed a 2″ border.
I then rounded the corners of the panel using a 1″ radius.
Then I created a flat relief of the center portion of the panel. I would merge(highest) the different layers of hearts to this panel in later steps. I then pulled in the three different angles hearts arranging them down the center portion of the panel. These hearts would be the highest of the three levels of when we were done.
I then added enough heart vectors to fill the panel. Before I went on the the next step I merged highest the heart shapes to the original rectangular relief. Once merged, the original hearts were deleted. With those hearts out of the way the next steps were easier.
I then went down the panel selecting every second heart which I then created as the next tallest eight reliefs. These too were merged highest with the background relief.
The second heart reliefs were eliminated.
This same procedure was repeated one last time on the lowest level of heart reliefs.
-dan


