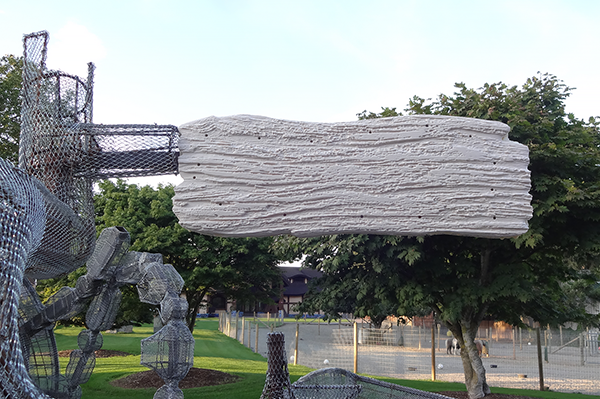
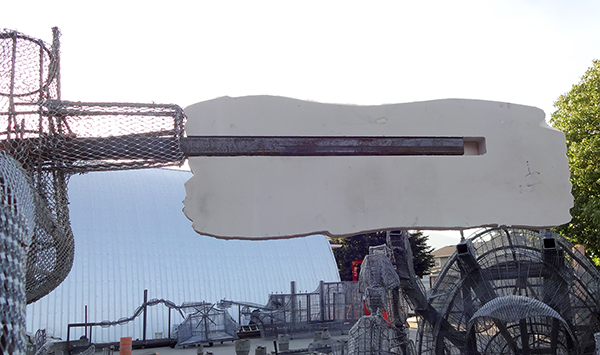
Once the MultiCam had done it’s work it was time to assemble the pieces over the welded frame. I first used the air house to blow off the dust from the Precision Board. I used PB Bond 240 glue a one part product that is activated with water moisture. It’s made by the folks at Coastal Enterprises, the same people who make Precision Board. I spread a layer over the back of the sign, aligned the middle to it and then screwed then together. I’m told it isn’t necessary to screw the pieces, only clamps but I like the extra insurance the screw offer. I countersunk the heads of the screws and we’ll fill in the holes before we begin painting. I then positioned the sign over the sign frame. Here’s the back view of the sign.
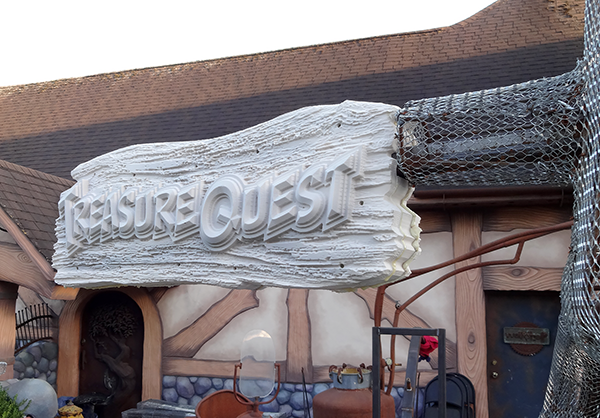
The front view of the sign (without the front of the sign) shows how the pieces fit over the frame. I then spread a layer of glue over the reverse side of the front piece and aligned it with the other pieces. A few more screws finished the assembly.
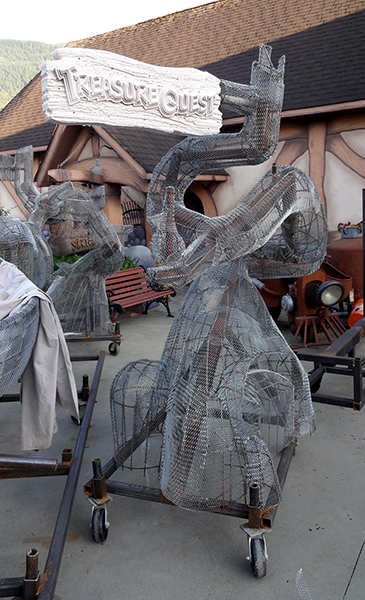
Before we begin the painting process I’ll use a die grinder to texture the edges of the driftwood sign by hand. Then I’ll use some sculpting epoxy to create a stack of gold coins and perhaps a string of pearls on the top. We’ll sculpt the fiberglass reinforced concrete tree branch right up to the sign as well.


