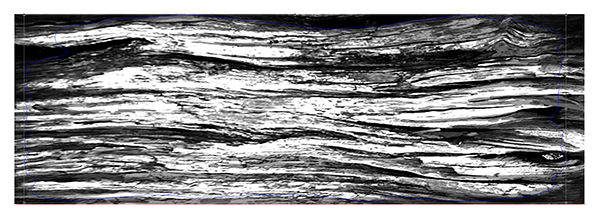
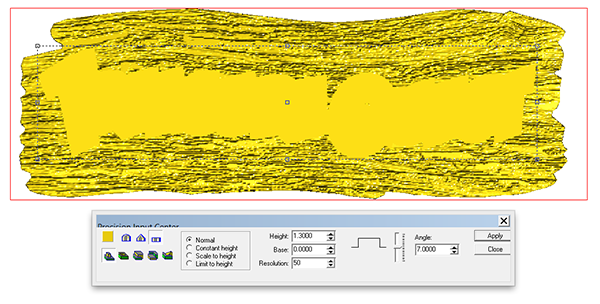
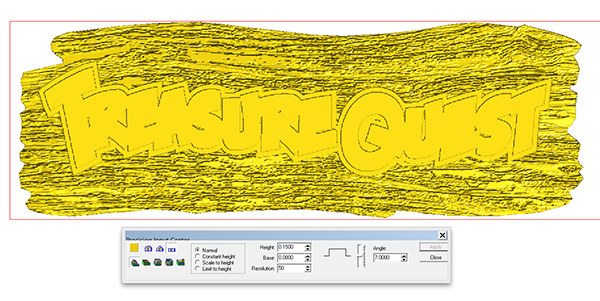
After creating the lettering and tweaking it to my satisfaction it was on to making the reliefs. I first opened my driftwood bitmap from the TEXTURE MAGIC COLLECTION. In EnRoute the imported bitmap opens as defined by the plate.
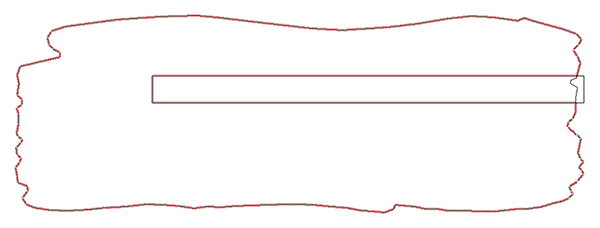
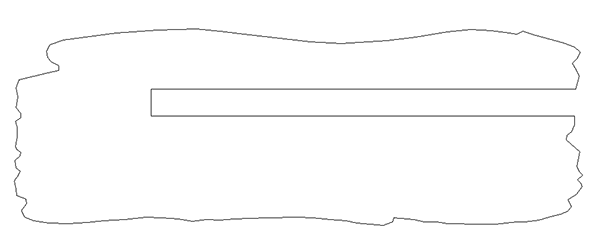
I then stretched it out to make the shape I desired. I then used the drawing tool to create the jagged outline I wanted for the sign.
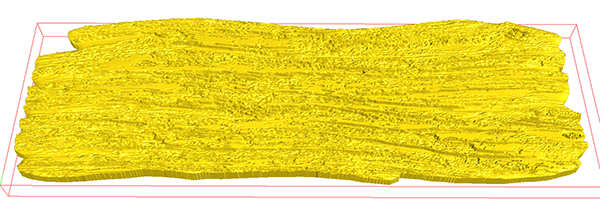
I then selected the vector shape and used the dome tool to create a relief. When you use the dome tool on an irregular shape it doesn’t come out perfectly smooth. Since this would be a rough piece of driftwood that was perfectly OK.
I then applied the bitmap to the relief.
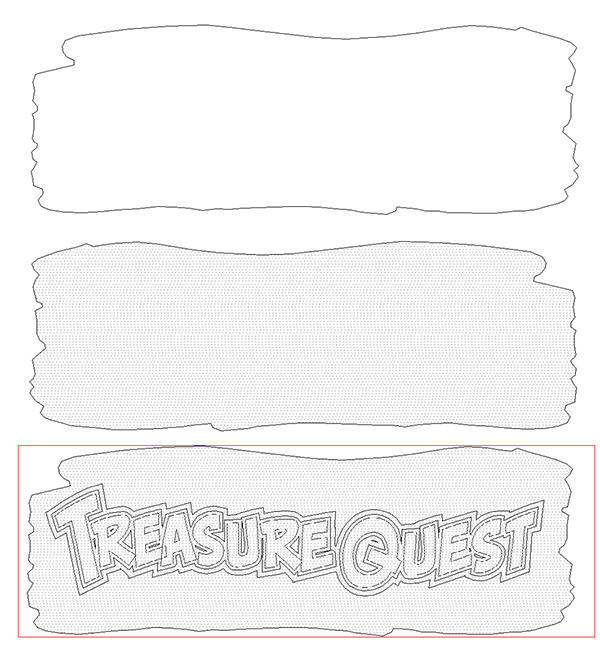
I then duplicated the relief three times, flipping the center one to make the back of the sign. The top one I took back to a vector outline as it would be a offset cut to create the center portion of the sign.
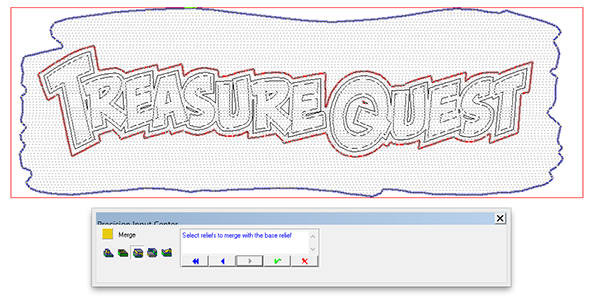
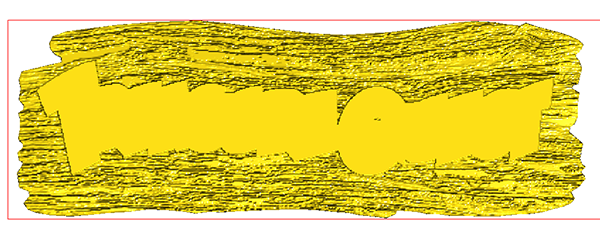
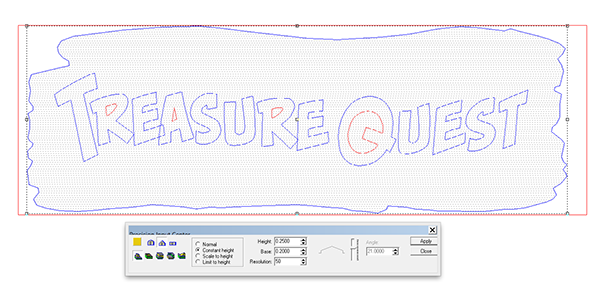
Then it was on to creating the letters for the sign. I started with the outside border, creating a flat relief. This was positioned vertically and then merged highest with the original relief.
Now I modified this relief by first adding the next letter bordering.
The last step was to modify the relief one more time by adding the bevelled letters. I used the constant height option.
With that the file was ready to tool path and then send to the MultiCam.
sembled over th
e armature. Stay tuned…

