Jim’s nameplate was pretty straightforward save for one detail. I wanted the background texture to poke through the lettering border and into the lettering. I also wanted it to perfectly match what was around. Once again how and the order we do things in was the key.
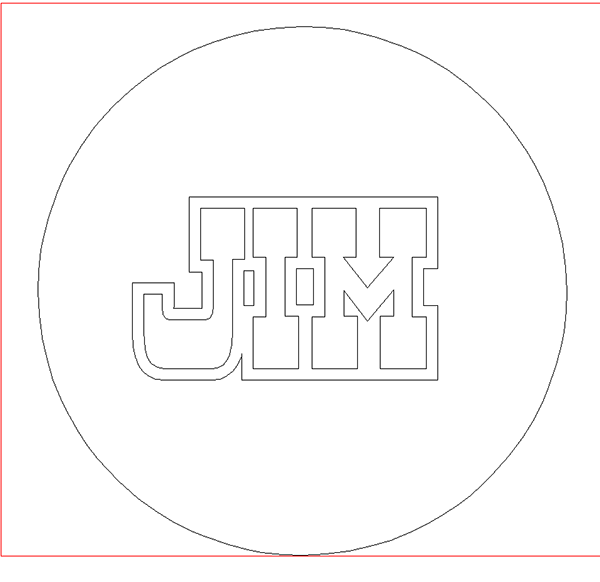
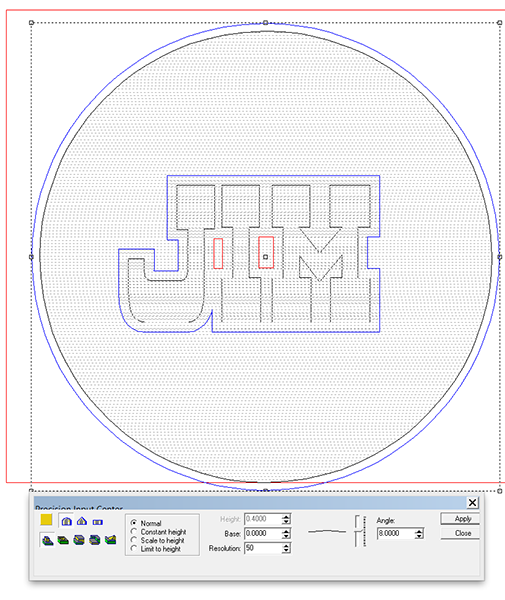
As always I started with the vectors.
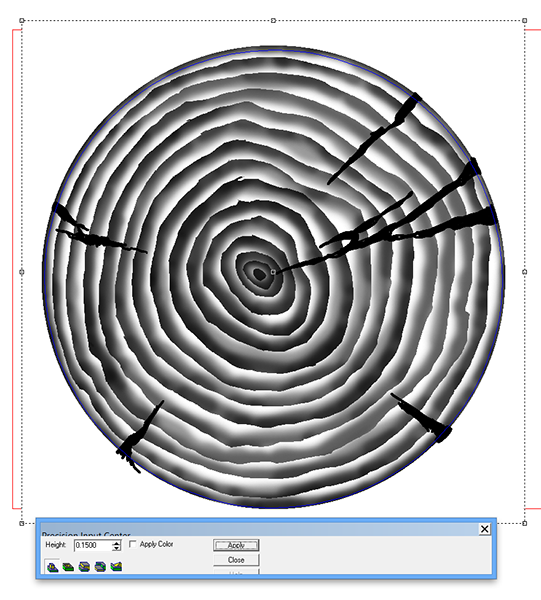
I then added the texture of a log end (with splits) using one of my bitmap textures.
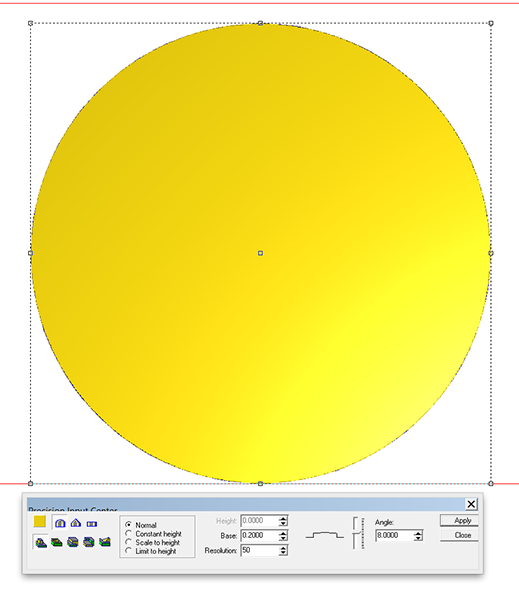
Then I created a flat relief using the lettering border. Note I also drew another circle vector around the original log end relief.
This new vector circle was used to modify the lettering border relief using the dome tool at the same angle as the original relief.
I then went to the front view to position it up vertically so it stuck up above the texture of the log end grain.
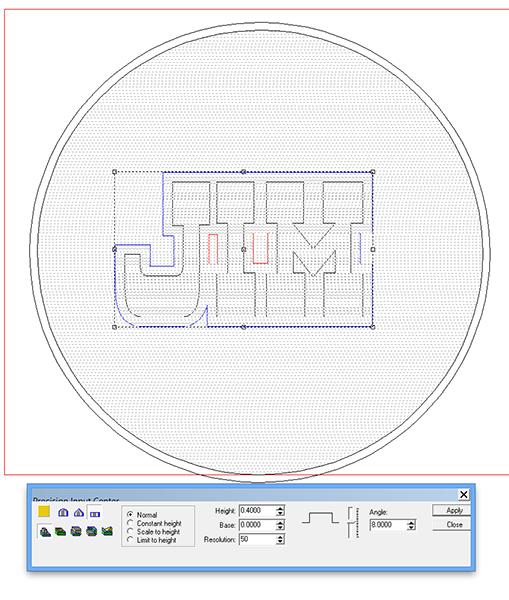
I then modified the original log end (add to command) using the lettering vectors. By adding to the original relief the end grain of the log was pushed upwards within the lettering vectors. This pushed the lettering through the slightly domed lettering border relief.
From the top it looked finished but I wasn’t quite done.
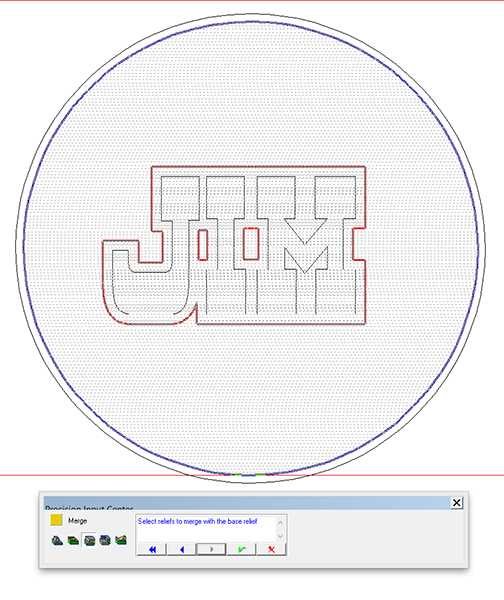
We had to merge the lettering border with the base relief using the MERGE HIGHEST command.
