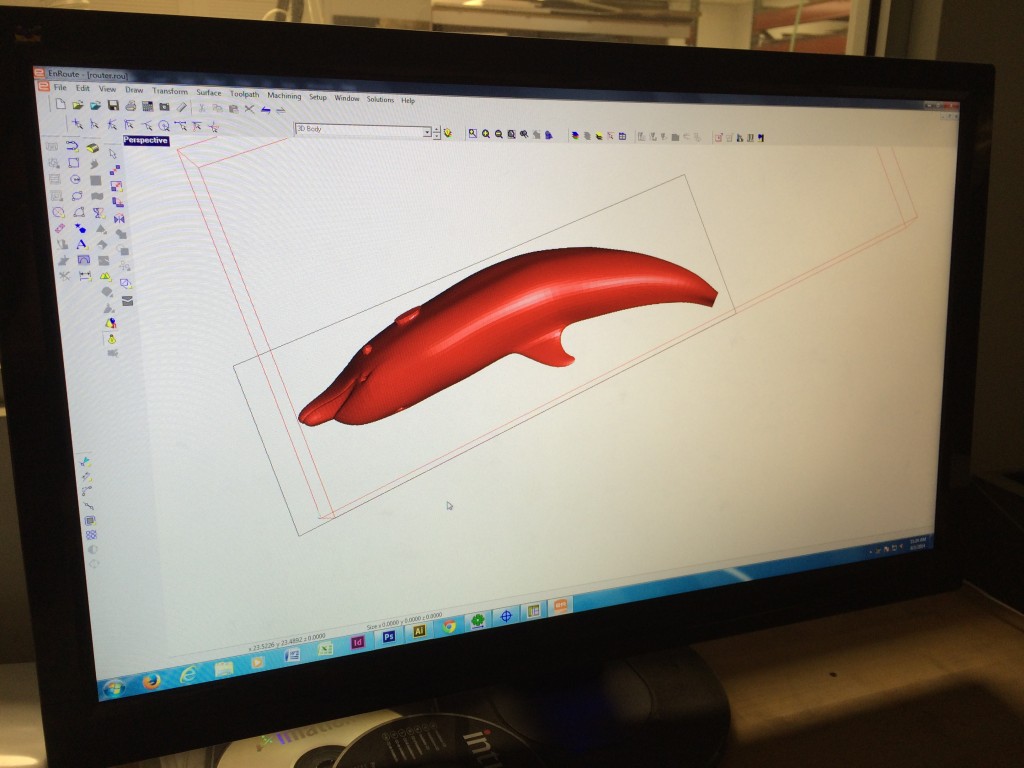
We recently had a great opportunity to work with an artist client of ours. His piece incorporated a five foot long three dimensional dolphin. Of course we immediately said yes to the project and jumped right in.
We started by sourcing a 3D Model of the “perfect dolphin” for the job – the client reviewed all the options and once he settled on the final shape we began our work.
In the 3D model we removed the fins which will be cut separately and attached later.
From the 3D model we created a relief for each slice, 2 slices per side. Our material will be 4″ thick 15lb Precision Board HDU. All of the design work was done directly in Enroute Pro. 
Now we’re ready to start cutting the HDU on our MultiCAM 3000 CNC. We start with a long 1/2″ Foam Bit on the rough pass to remove the excess material quickly. Then move to a 3/8″ Ball End Mill for the finish pass.


 Once it’s all glued together we’ll sand the facets off for a smooth surface.
Now its time for the fins!
To cut the fins we decided to cut each fin out of 1 piece of foam. So we cut the first side – then reregistered the foam block on the table and cut the second side – giving us a seamless 3D part.
Now its time to send all of these parts to the paint shop for some steel, finishing and painting.
Fist the steel frame needs to be welded and set inside the dolphin. This will give the piece a lot of strength and we can hide the support bracket that will bolt to the steel stand. 
 Once the welded frame is complete the dolphin can be screwed and glued together. Then the first coat of primer is sprayed.
All the holes will get filed and the crew will sand and sand and sand until perfect. The final paint and clear coats applied and the finish will look like glass. Here is the dolphin in all its glory at the gallery in Germany.


