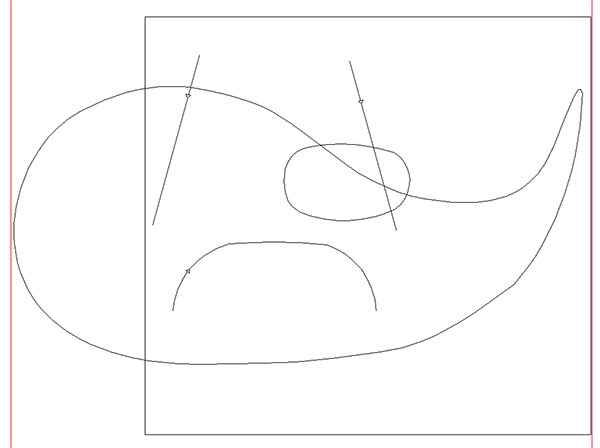
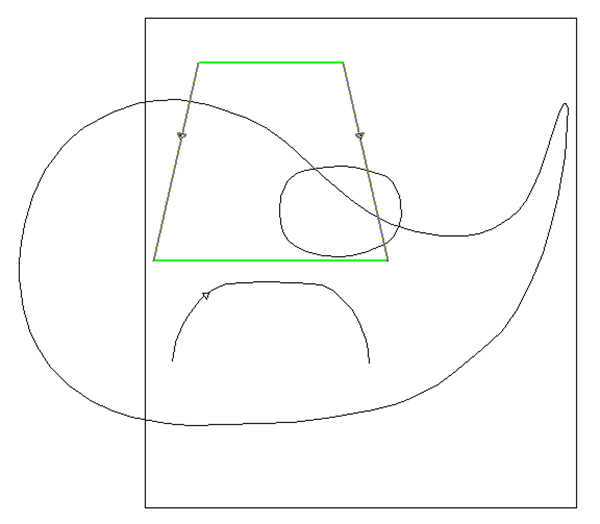
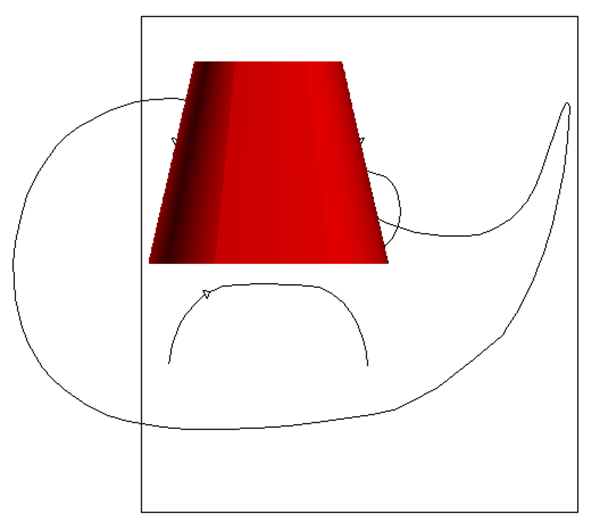
I first used the extrude function to create a mesh object.
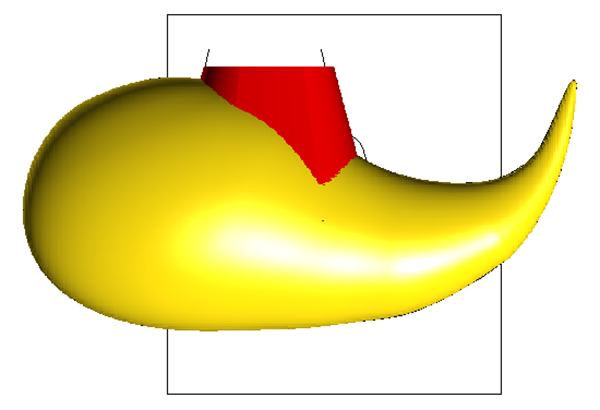
Then I used the teardrop vector to create the body of the KRAKEN. I then flattened out the sub body in the front view and sized and positioned the conning tower (mesh) to fit.
I created a zero height relief and then merged the mesh to it.
At this point I realized that I had made the square zero height relief too small to encompass the submarine body. I backed up one step and stretched the zero height relief and then merged the mesh once more. Then after deleting the original relief I merged (highest) this relief with the sub shape. Take note of how I positioned the flat relief to effectively cut off the front of the teardrop shape.
This is the resulting relief of that operation.
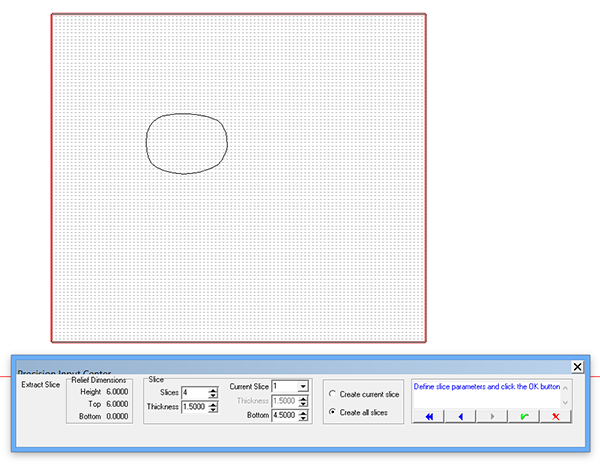
Next up is the slice, where we’ll create the layers that will fit inside the Precision Board we are routing it form. Since we are using 1.5″ thick material the sub was sliced four times.
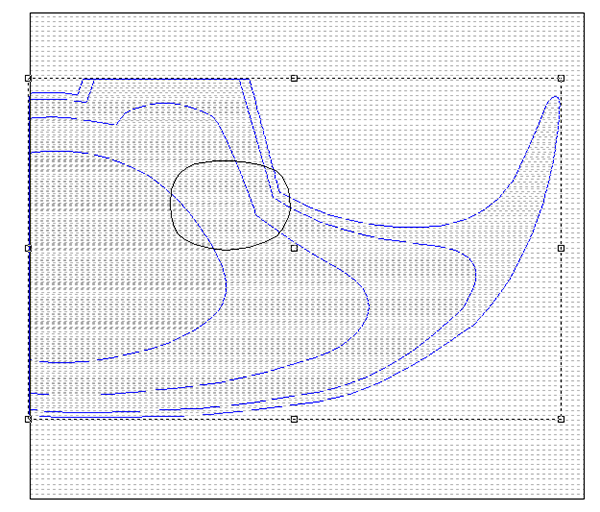
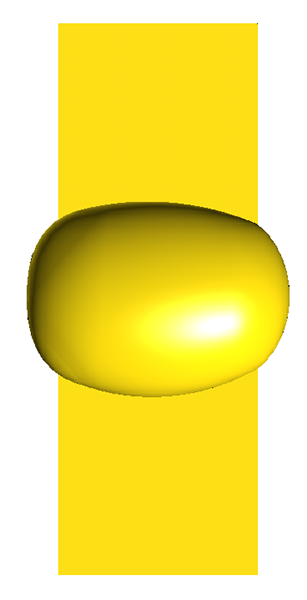
The engine halves were created using an oval vector and the dome tool. Then I created a zero height rectangle under it. By merging highest with this rectangle I would slice the ends off the egg.
I duplicated this shape flipped the copy and then duplicated the two pieces. Four halves would make two engines.
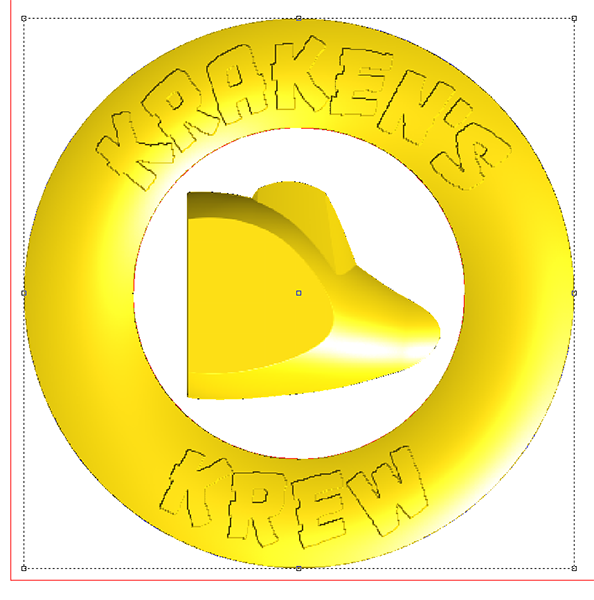
Then it was time for the lifesaver/sign. I use the dome tool to create the basic shape.
The lettering was added using the add to command and the flat relief tool.
The four pieces necessary for one half of the sub were duplicated and flipped. Then everything was arranged to fit on a 48″ x 96″ sheet of Precision Board.
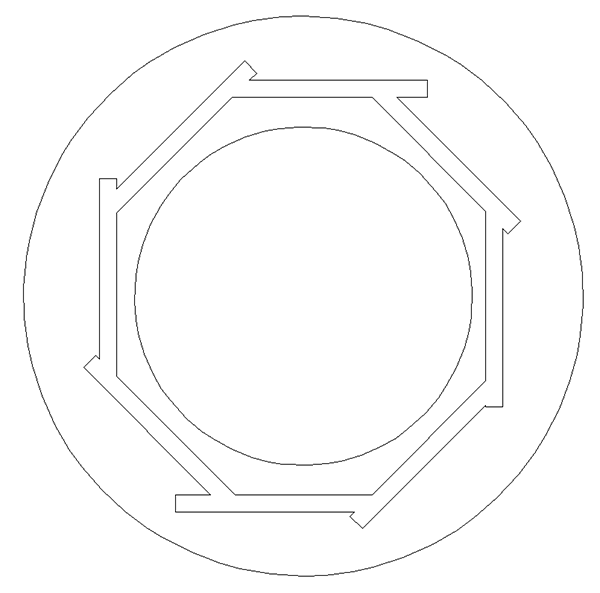
I created one more piece for the sign – the middle layer that would house the welded steel frame. The weird shape opening is to allow me to cut steel with a 45 degree cut on one end and then be a random length (with a square cut on the other. This meant I didn’t have to be precise with my cuts and this sped up the building process.

