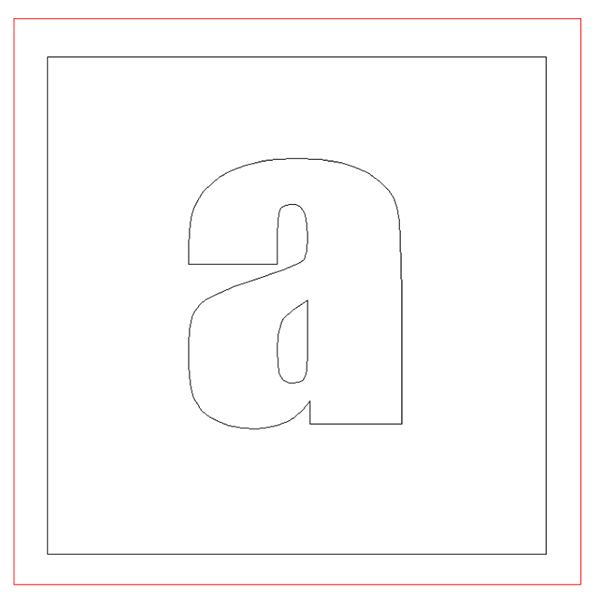
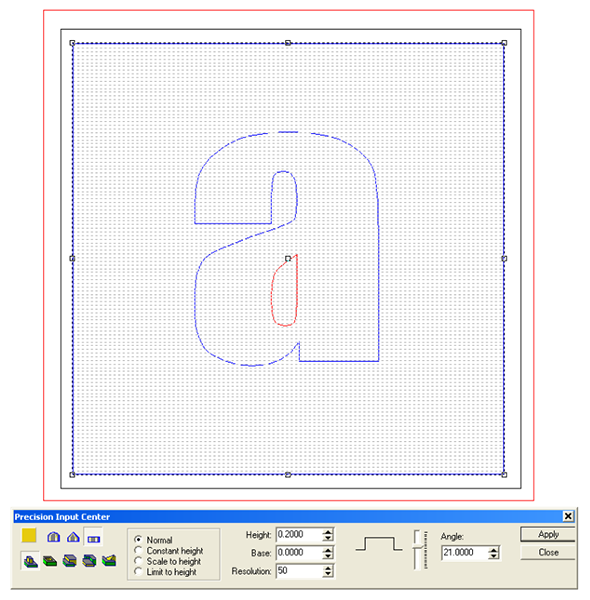
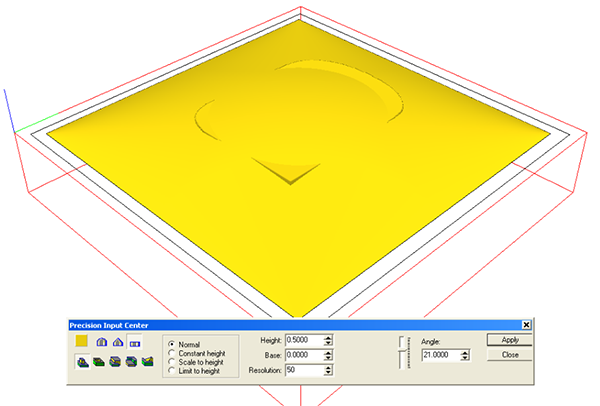
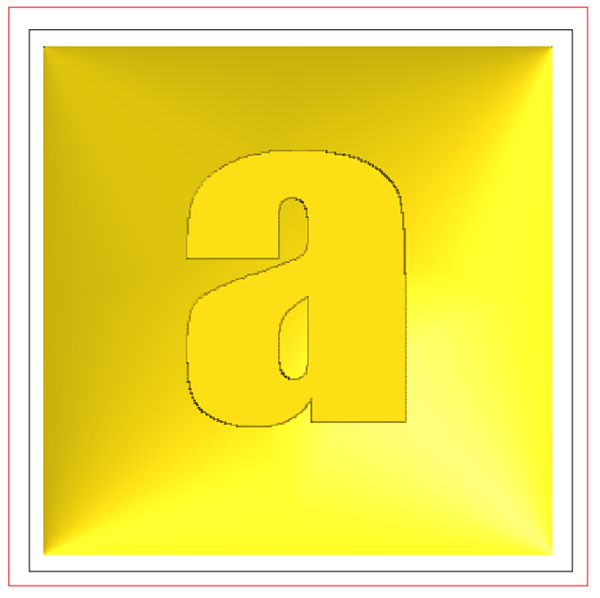
Our first step is to create a domed relief. I opened the CREATE RELIEF (yellow loaf of bread) command and then selected the DOME tool, ADD or CREATE A RELIEF button and adjusted the angle to 17 degrees. The default angle of the dome is 45 degrees. Then I hit the apply button. Through experience I knew what I would get but to check I double clicked the TOP button (top left corner) to see all of the views. Then I hit render (light bulb). It looked just as I expected.
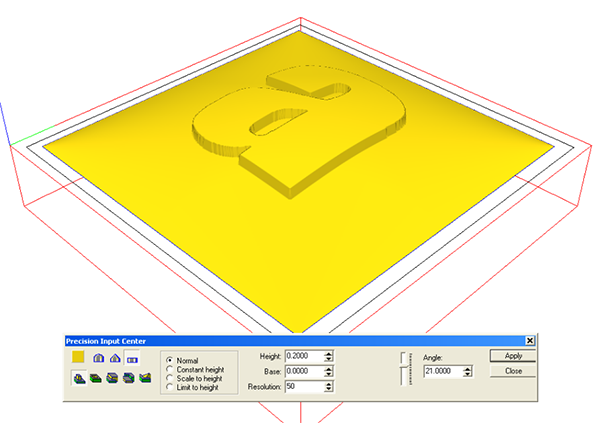
Then I selected the outside of the relief and the ‘a’ vectors. I opened the create relief box (yellow loaf of bread). This time I wanted to modify the relief by adding the ‘a’ to it so I selected the ADD TO RELIEF button. Since I wanted to raise the letter equally from the surface I next selected the flat relief button. I then entered a height value of 0.2″ Then I hit APPLY.
When I rendered the relief (light bulb) I liked what I what I saw but top views can fool you unless you look close and know what you are looking at.
I double clicked the TOP button (top right corner of the top view) and when all four views opened I double clicked the PERSPECTIVE button. This gave me a closeup of the relief which I could rotate to make sure I liked what I saw. Notice how the ‘a’ follows the contour of the domed square. This is what I was looking for. All is good.
Now suppose I instead wanted to retain the dome on the square but wanted my letter to remain flat on the top. I use many of the same steps but do things slightly different to get this result. Create the vectors and dome the top of the square as before. Then use the CREATE RELIEF to make a separate relief of the ‘a’. The height of the ‘a’ does not really matter as we will have to do some adjustments to get what we want.
To see where I was at I hit the render button (light bulb) When the relief was rendered the ‘a’ was just peeking out a little from the domed square relief. No problem.
TO fix this I went to the front view with the letter ‘a’ still selected. I could see the box tucked into the dome. With only the ‘a’ still selected I used the up arrow to nudge the ‘a’ upwards until I was happy.
Again go to the top and perspective views to make sure you have achieved what you were looking for.
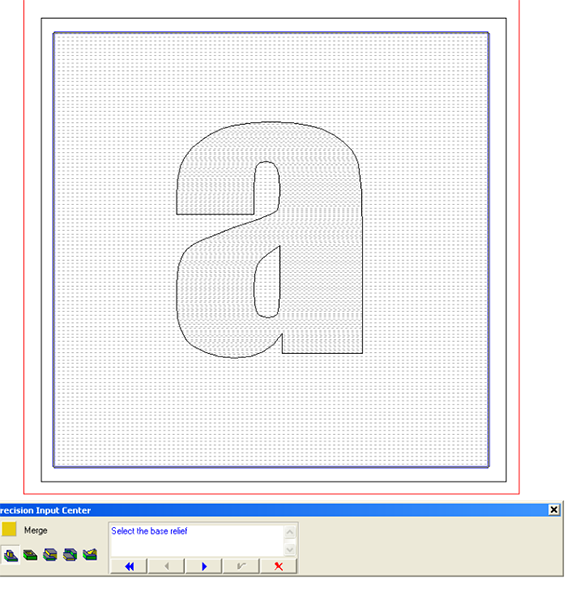
The thing to remember at this stage is that we still have two reliefs. If we were to tool path it like it is the letter would first be routed and then the domed square. The letter would then be gone. I know this from experience. So we have to merge the two reliefs together. To open the tool for this you need to select the MERGE button. This looks like the two mountains being pushed together. (yellow and green)
Once the box is open it is simply a matter of following some simple steps. The first prompt asks you to
select the base relief. It will turn blue when you select it. This is the relief you wish to modify. (generally the biggest one) Now in the screen capture I have not yet done it but for this operation you need to select the MERGE HIGHEST button. (this is the middle button. Then push the blue arrow
After you push the blue arrow the box will prompt you to select the reliefs you wish to merge with the base reliefs. As you select them they will light up in RED. It is important that you select them one at a time and not group them first to try and save some time as this will not work. When you have all of the reliefs selected hit the green arrow.
Now let’s try one last thing for this lesson. Create the vectors once more. Then dome the square and create a separate flat relief of the letter ‘a’. Go to the front view with the ‘a’ selected but without the render on. Notice the ‘a’ is tucked down inside of the base relief. We are going to modify the base relief using this sunken letter in much the same fashion as we did when we added it to the top.
The only difference is this time we used the MERGED LOWEST command instead of MERGE HIGHEST.
The results in the top view look identical but the results were very different in the perspective view.
