There are often a number of ways to accomplish any given task in EnRoute, sometimes with subtle differences in the results. To be an accomplished user of the software we need to become familiar with as many as possible and then use the one that suits us best.
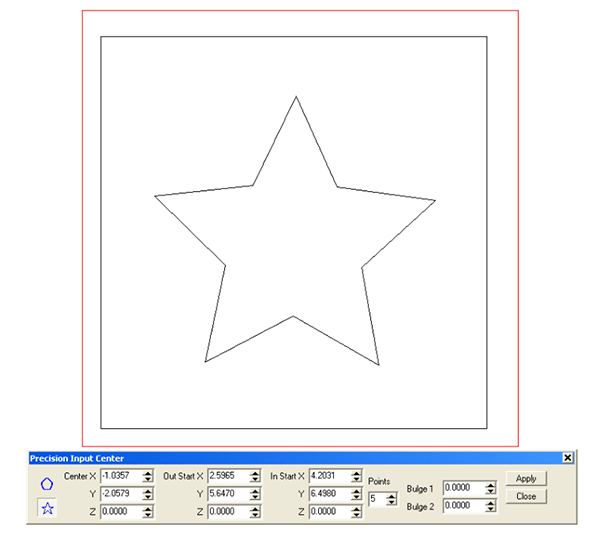
Today I wanted to show how I like to use the ‘LIMIT TO HEIGHT’ function. As with all of the lessons so far I first drew a square vector to create the base relief. Then I used the star maker. It is simple to use. I input 5 for the number of points and then created the vector.
I selected the square vector and opened the create a relief menu. I then selected the bevel tool and the create or add to button. Then I selected the LIMIT TO HEIGHT button. I entered two values into the boxes… the base height (vertical measurement) and the overall height that the relief would be limited to. The angle of the bevel was set to 45 degrees
The result was a 45 degree bevel around the outside.
I then selected the square relief and modified it with the star vector. I used the same settings for this example.
As always it is important to check in multiple views to make sure the result is what you expected.
Stay tuned for more cool things in the next posts. -dan


