EnRoute has many cool tools that can be used individually or together with other tools to create anything I can imagine – and that’s a lot. Last week I was building some faux hydraulic cylinders for a display and the mesh tool proved to be the simplest and quickest way to get exactly what I needed in a hurry.
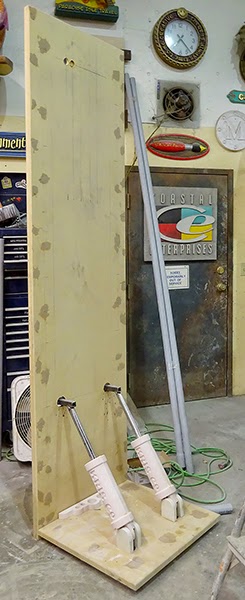
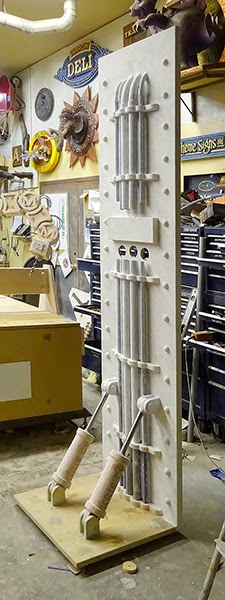
The cylinders are a small part of the MultiCam display for their booth to be held at the International Sign Association trade show in Las Vegas next month. This is the TV stand which I will use for my presentation.
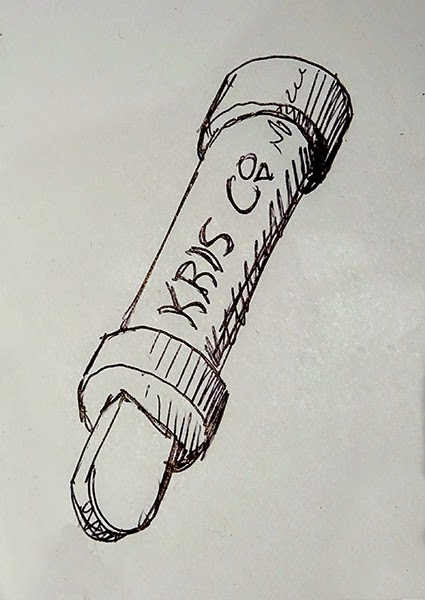
I started with hand drawn artwork as per my usual. This artwork defined the basic look of the finished piece but did not lock down every detail. We always get better ideas as we proceed.
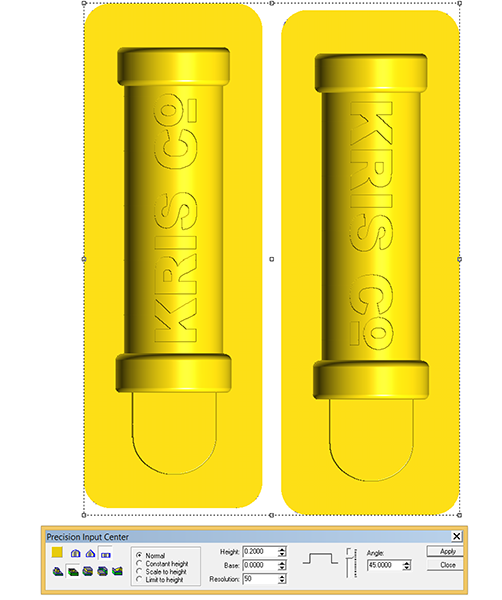
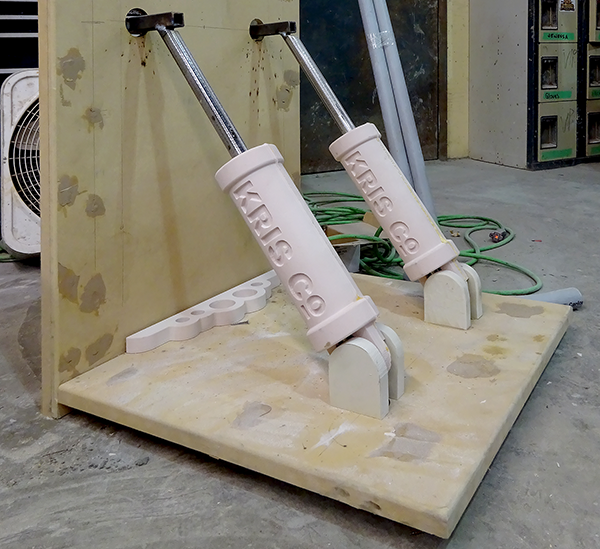
The original thought was to fasten the vertical piece to the backdrop the client would provide but as I set about beginning the build we decided to include a horizontal base so it would stand on its own. To make it a little sturdier some angle braces on the bottom were in order but they couldn’t merely look like angle braces. We decided to camouflage then as hydraulic cylinders in true steampunk style. For an extra bit of fun I added Kris Co embossed into the cylinders – a nod to my friend Kris Hanchette, president and general manager of MultiCam.
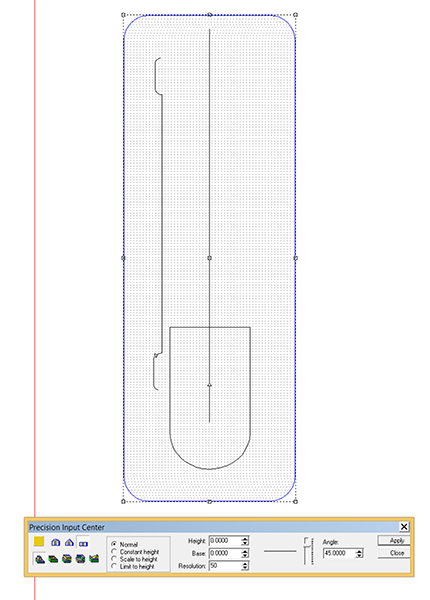
The first step was to use the rectangle to create a zero height relief.
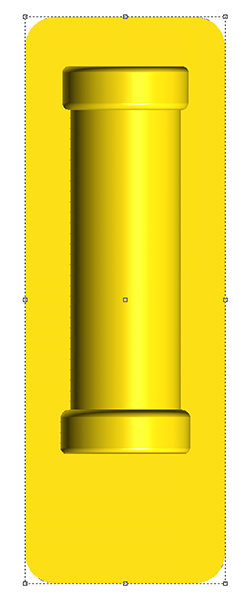
I then selected this relief before opening the mesh creation tool. In this fashion the mesh tool is used to modify the relief rather than creating a mesh shape alone. The menu takes you through the procedure easily.
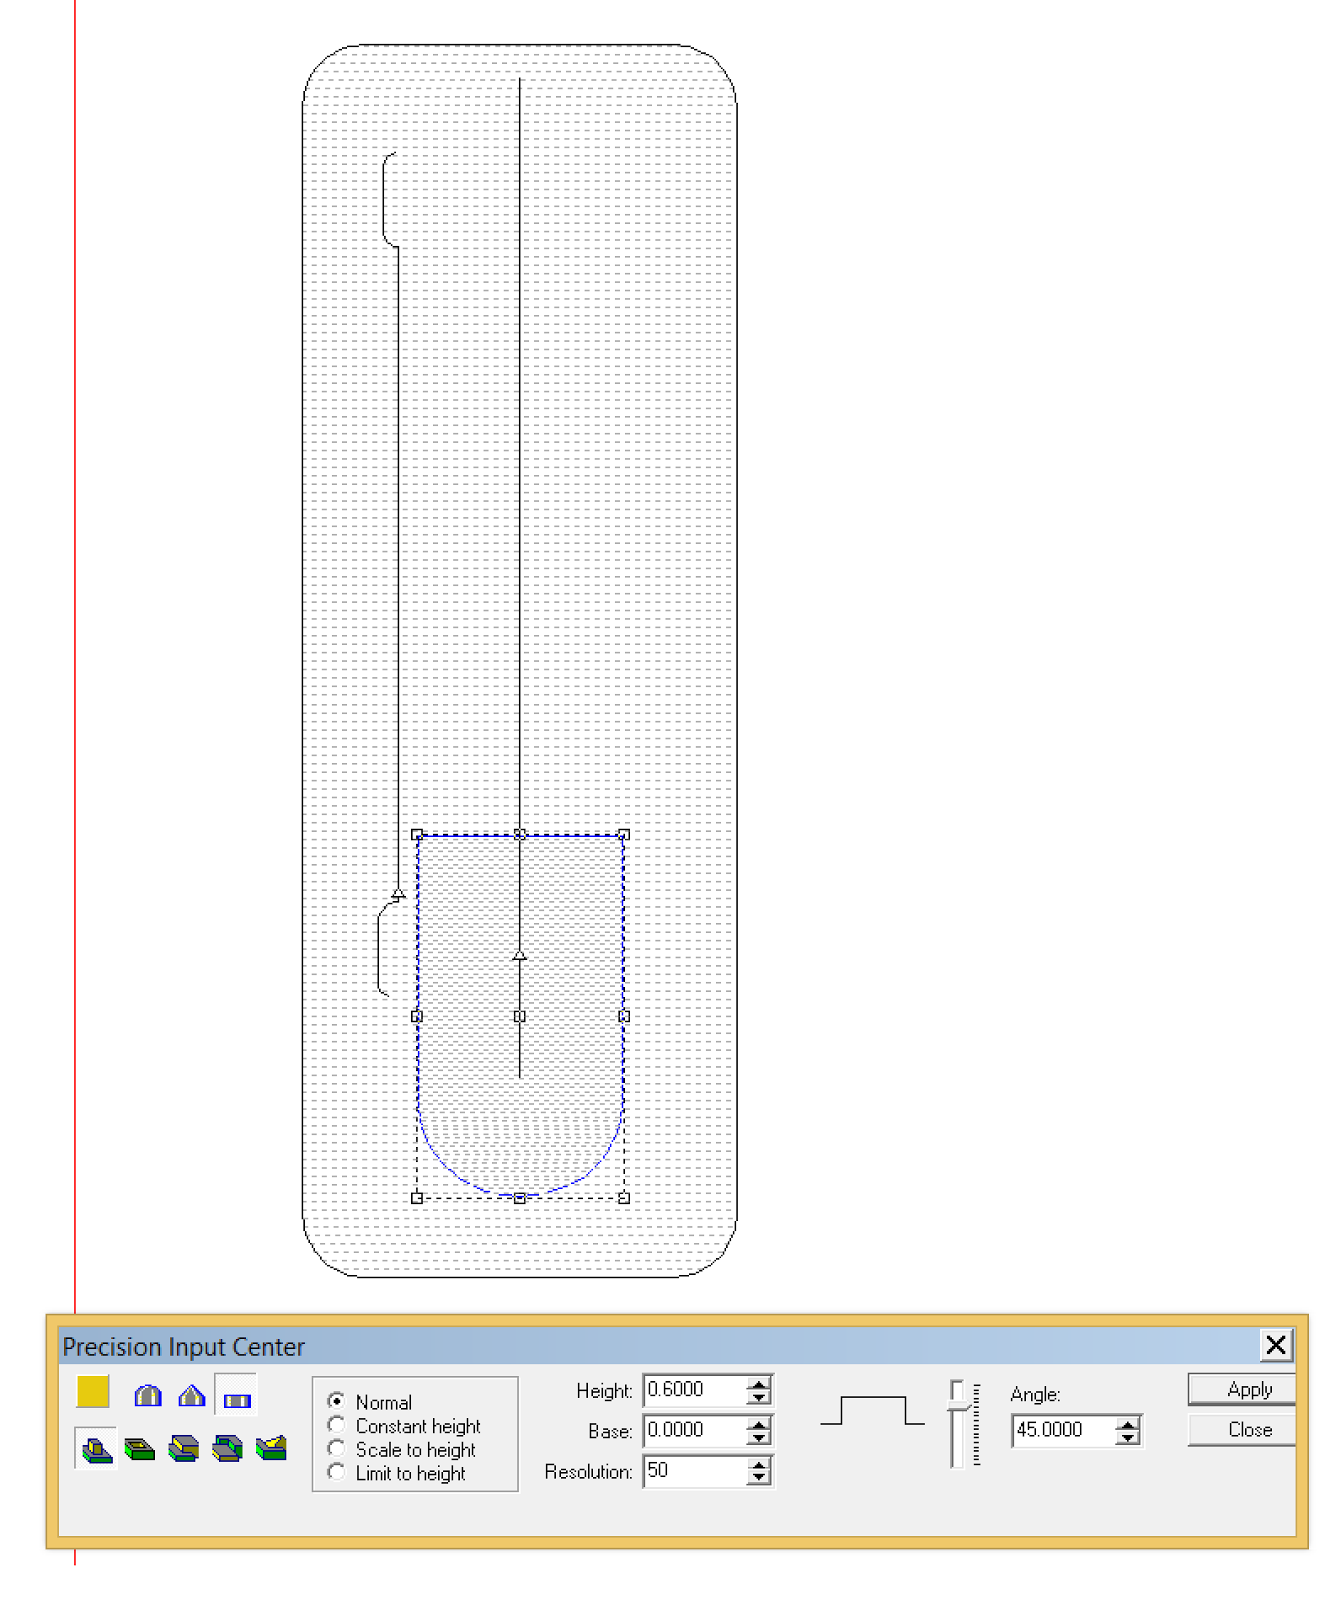
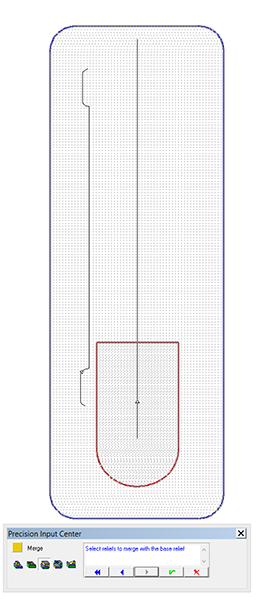
In a few clicks I had my cylinder shape. The next step was to add the flat flange which would protrude out of the bottom of the cylinder. I would build it as a separate relief.
This separate relief is then merged highest with the base relief.
Then I fitted on all of the PVC conduits with custom routed brackets. Some domed rivets were also routed and then glued onto the back board. It looks very industrial and steampunk in a hurry. The paint will add a lot in the next days.

