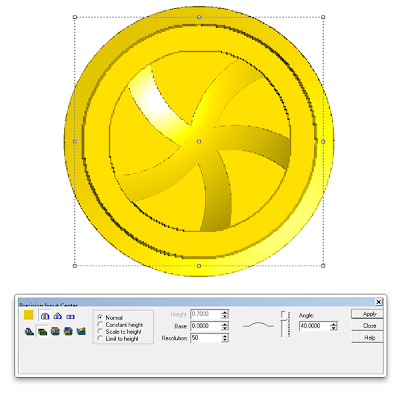
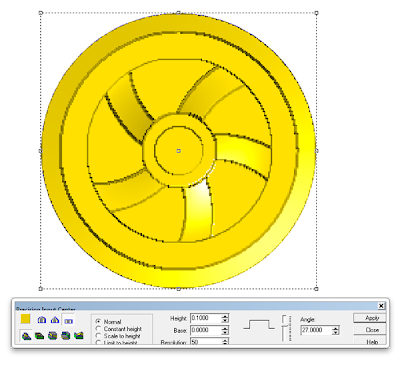
I’ll be referencing the assembly of the car and sign in the next post so I thought I would repost the wheel creation again for this one.
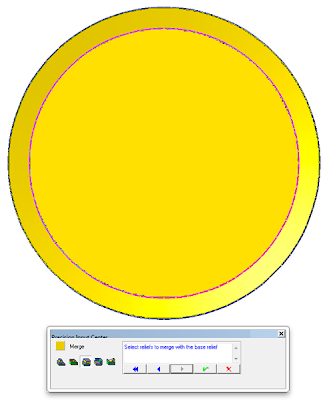
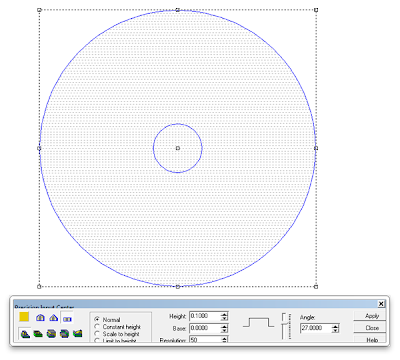
The back flanges on railway wheels are sloped so the first task was to create a disk using the largest vector circle. I kept it fairly shallow.
Then I selected the next vector and created a flat disk 0.9″ tall. This was then merged with the first tapered disk I created.
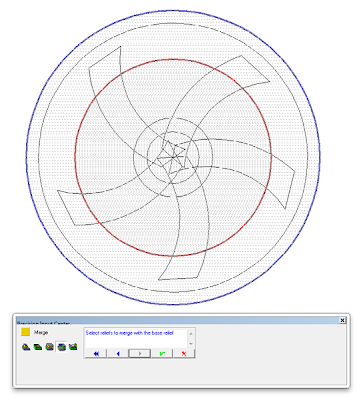
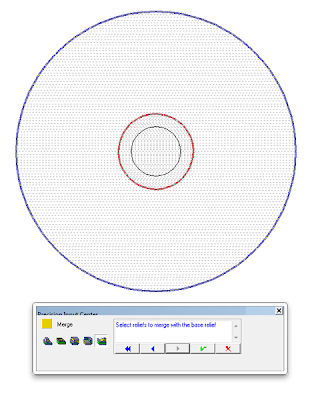
Then it was time to knock out the center to make room for the spokes and the hub of the wheel. I created a zero height relief which was then merged to the base relief.
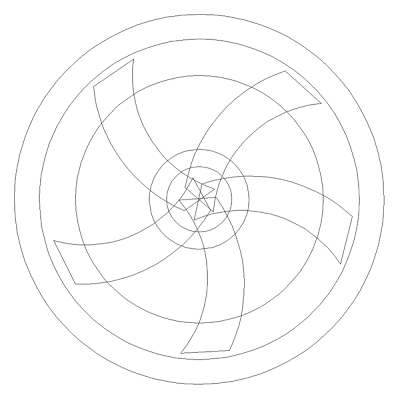
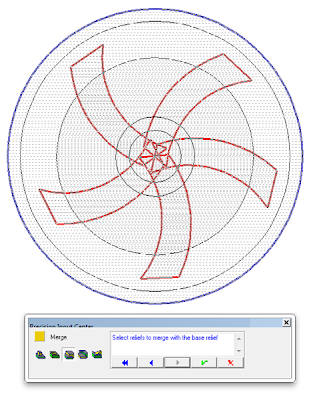
Next up was the spokes. I first created flat reliefs in the shape of the spokes.
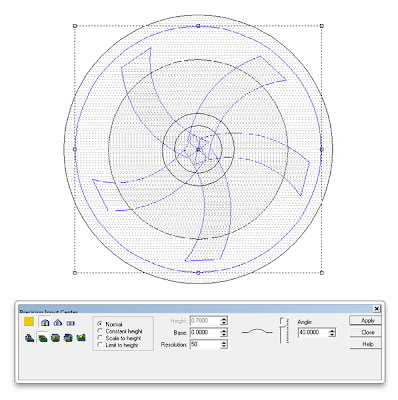
The spokes looked good but I wanted them to be curved on top and higher in the center. THis would need to be done in a couple of moved by modifying these reliefs. First ‘I used the done tool to puch down the center in a bowl shape.
Then I used the prism tool to modify the reliefs once more by building them over a cone shape.
These spokes were them merged highest with the base relief.
The last step was to add the center section of the hub by adding to the relief.
