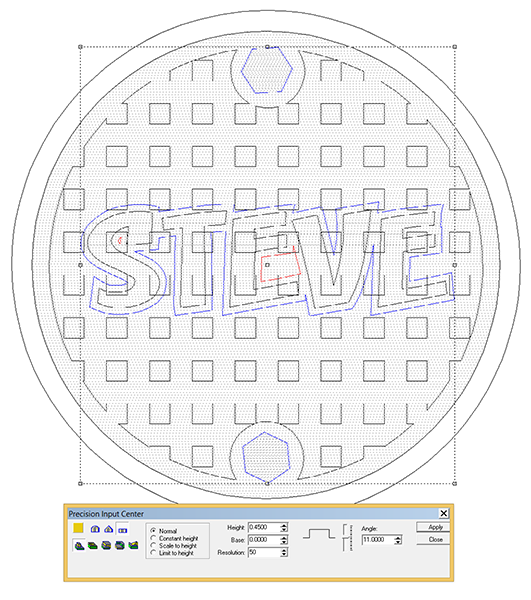
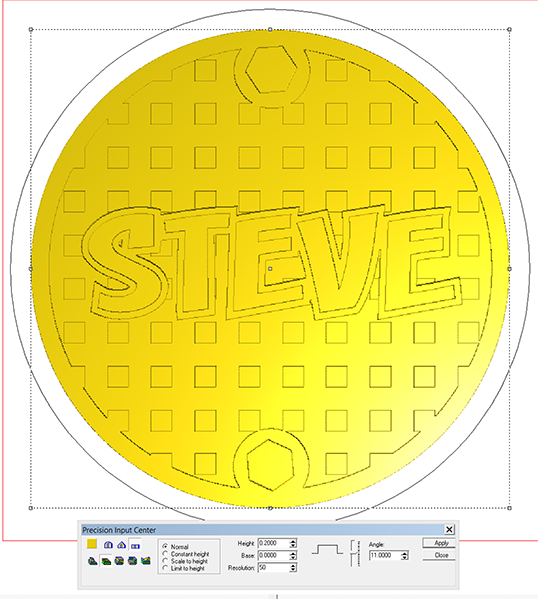
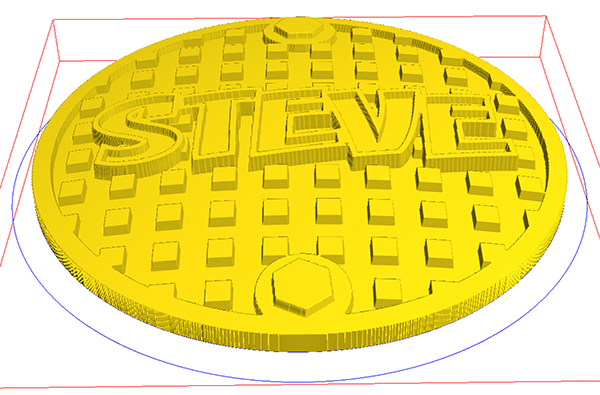
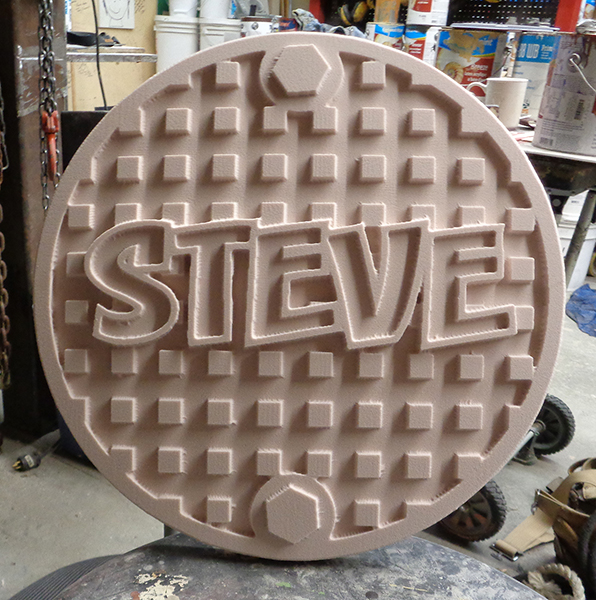
I then built the rest of the vectors (except the lettering)and centered the squares over the round shape. I then used the jigsaw tool to create the final vectors. I deleted the original vectors so there weren’t duplicates. The lettering was then added.
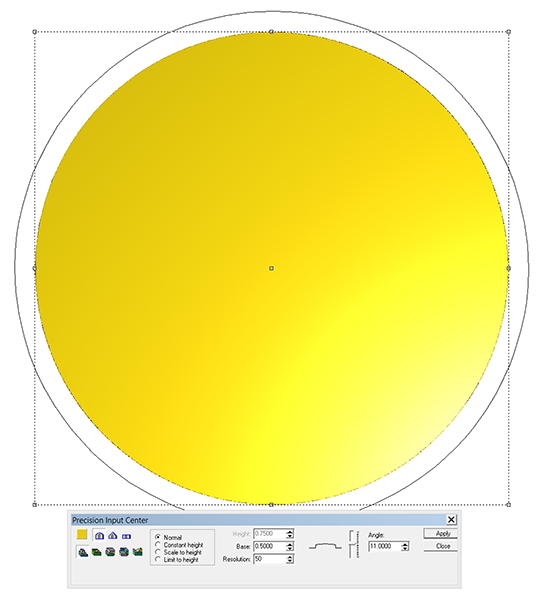
I then created the base relief using the dome tool. Note the outer circle vector. This was only used as a modification tool.
I then used the subtract tool to drop the centre of the relief down.
The lettering outline and the two bolts were built as separate flat reliefs.
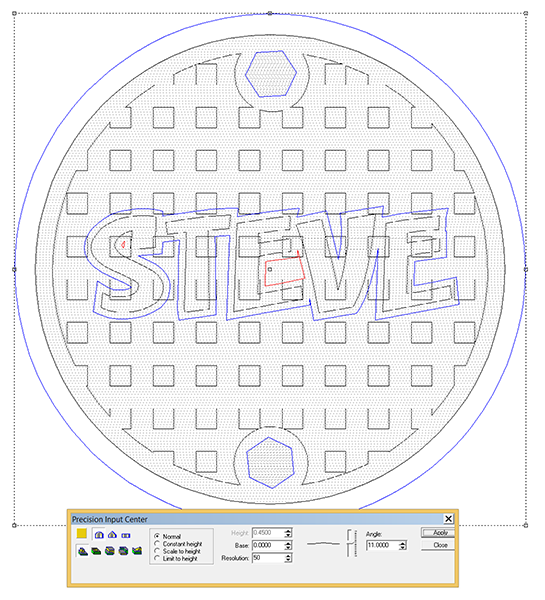
These flat reliefs were then modified using the dome tool and that outside vector I mentioned previously.
I then went to the front view to see where that new relief ended up in relation to the base relief vertically. The first arrow indicates where the lettering border ended up. The second arrow indicates where I want it to be. I then used the up arrow key to nudge it into position vertically.
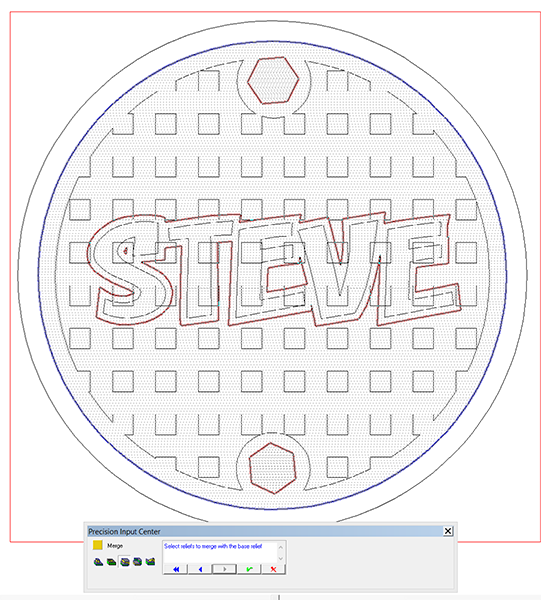
Once I was happy it was time to merge the lettering outline and the bolt heads to the base relief. (MERGE HIGHEST)
To make this plaque a little different from all the rest I dropped the letters into the lettering border. This should paint up real cool.
I then checked the rendering to make sure I ended up with what I had in mind. It looked good and so it was ready to tool path and send off to the router.


