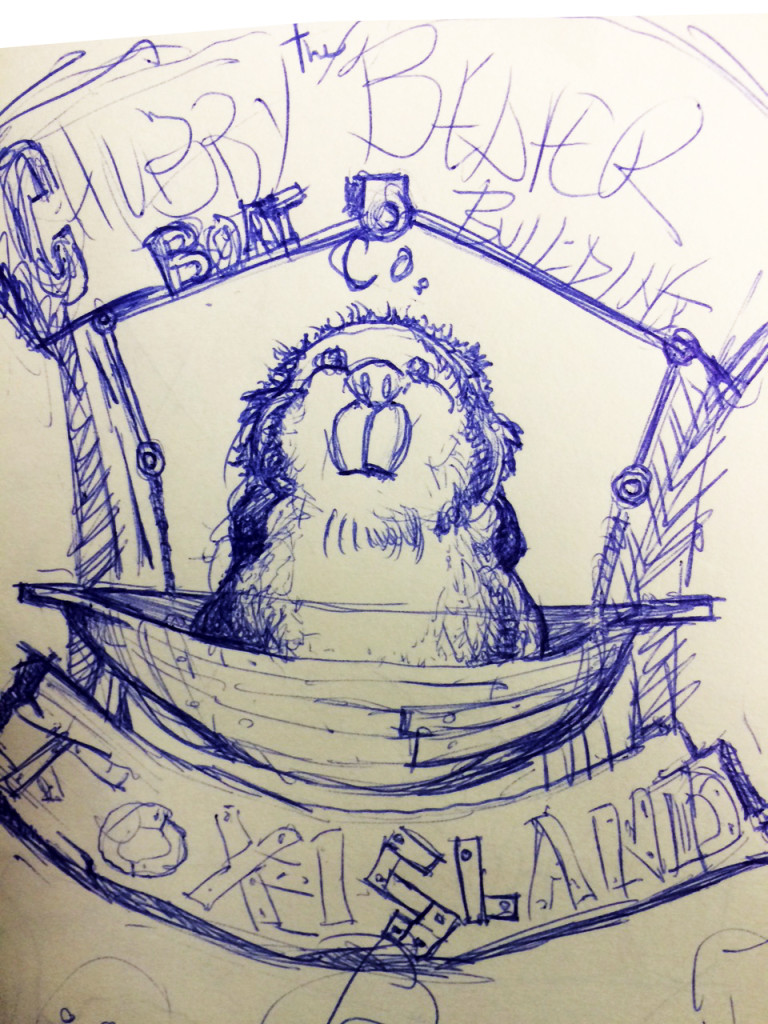
When working on larger projects it’s the little details that really make the difference for both the client and for us! Our current project is no different. We are creating a “themed” environment for the Fox Island Creamery & Café in Hewitt, NJ. We’ve created a nice little storyline and have developed some characters which should make the experience fun for both the kids and parents.
This sign is for a little beaver character that we created and his boat company. The Chubby Beaver Boat Building Co.
We started with a rough sketch, now I knew we would need a boat, a beaver and the back of the sign. So we started there.
Peter worked directly in Enroute Pro to create the shape and used some fun font styles for the carvings. We carved the sign out of 15# Precision Board HDU on our MultiCam 3000 CNC. Once the CNC was done with it’s job Peter hand carved the edges for the “beaver got to it” texture.
We sealed the foam with Aqua Resin, then primed and spray painted our base coat.
Using latex paint we painted two coats of a darker glaze to get a nice aged look on the wood.

Now are sign back is complete and its time to move on to our beaver!
I’ll carve the basics out of 15# Precison Board so I used Mudbox 3D Software to create the body and facial structure of the beaver. Once carved I used Magic Sculpt for the details.
Hmm, I think my little guy could use some glasses. I’ll use the 3D printer for this little detail. I printed 2 pairs different sizes, the larger ones look best.
We most definitely need a boat for this sign. This is a perfect task for our 3D Printer as well. I found a basic 3D boat online – downloaded the file and sized it perfectly to fit our beaver. 4 hours later we had our 3D printed boat. I love technology!
A few more details and paint and we are all done – Can’t wait to hang it!


