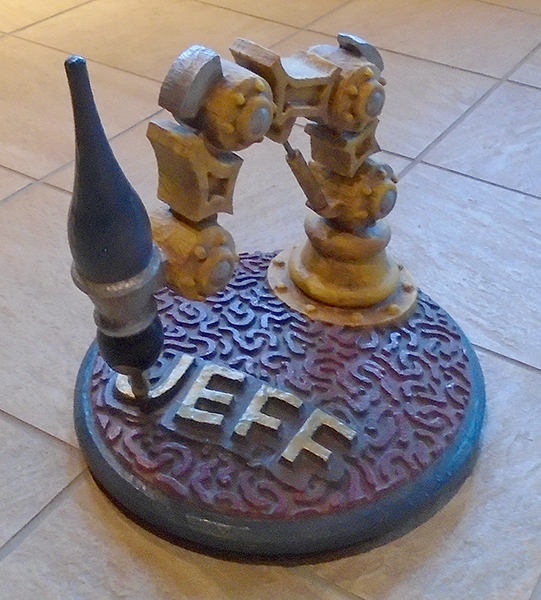
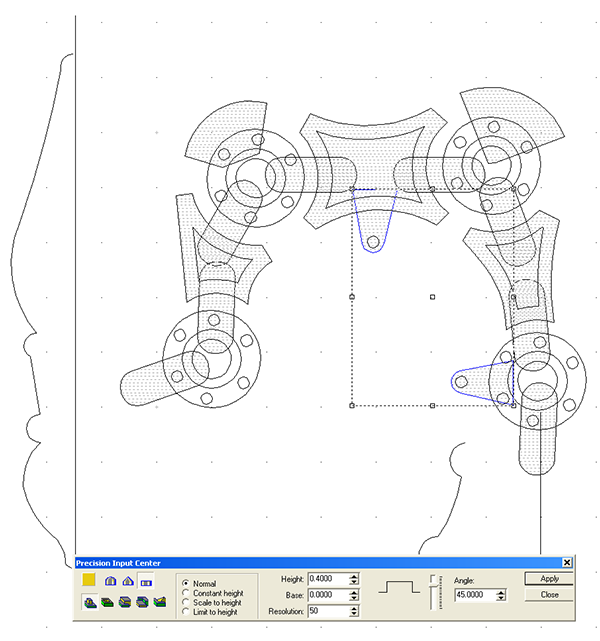
I also positioned the pill shaped pieces that would connect the elements.
Then it was time to start in on the reliefs beginning with the straight potion of the arms. These were made 0.75″ thick.
The sunken portions of the arms were then created by modifying the first reliefs by sinking the centres 0.25″.
After every maneuver it is a good idea to check on what happened to make sure it is what you wanted.
The pill shaped connectors were built as separate reliefs.
Ditto for the travel limiters on the top of the robot arm.
The hydraulic cylinder brackets also were created in the same manner.
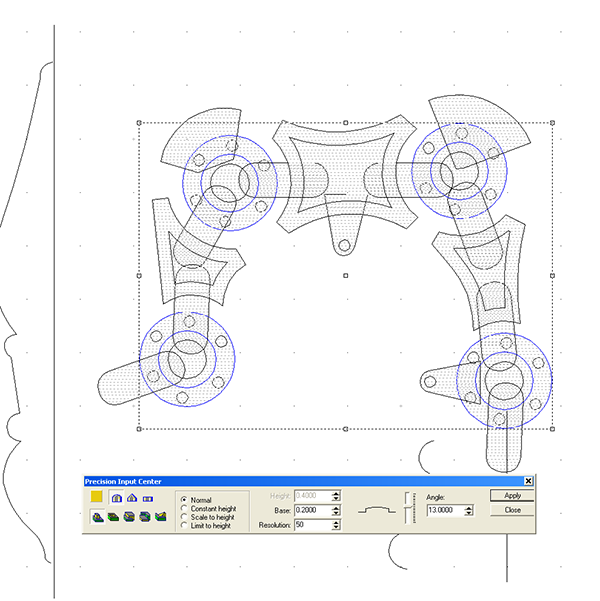
Next up was the robot arm hubs. I used the dome tool to create separate reliefs. The base (straight up portion) was set at 0.75″ and the angle of the done set at 18 degrees.
I then selected all of the reliefs and used the combine tool to make the whole assembly once piece.


