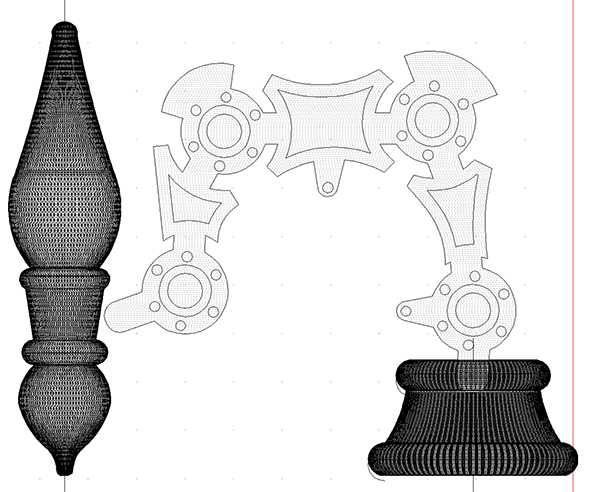
Now it is time to move on to the brush and pedestal of the robot arm. We use the create mesh/revolve tool for this operation. Open the dialogue box and simply follow the steps to create the mesh. I entered 100 for the values in the stacks and slices – this creates the resolution (number of facets) of the mesh.
As always it is important to do a render (in multiple views) to make sure that what happened was what you wanted.
The brush was created in the same manner.
Again I checked the render.
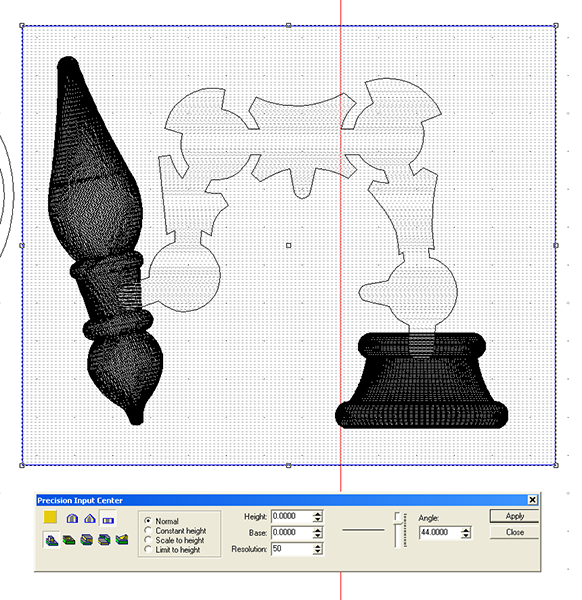
I then rotated the brush strictly by eye.
I then positioned the finished assembled over the base plate (not yet a relief) to make sure the brush and robot arm fit properly so the brush was painting the letters. I was happy with the result.
The next step was to make the meshes into reliefs as the router can’t deal with meshes. To do this I made a flat (zero height) relief.
I then selected this new flat relief and the meshes to light up the combine meshes button. Make sure you select the merge highest function. One click and it was done. In the render view the mech(red) and modified relief appear as mottled. The mesh (red in the render but green when selected without render) can now be eliminated.
The robot arm should also be merged (highest) with this new relief.
Published with permission from precisionboard.blogspot.com. Source.


