The second project study model we are building is a submarine. But it’s not a typical sub. This one is designed to appeal to kids… something they would imagine to explore the deep. The model will be a combination of CNC and hand sculpting. As always it started with a concept.
I drew the needed vectors for the claws, legs and tanks in EnRoute.
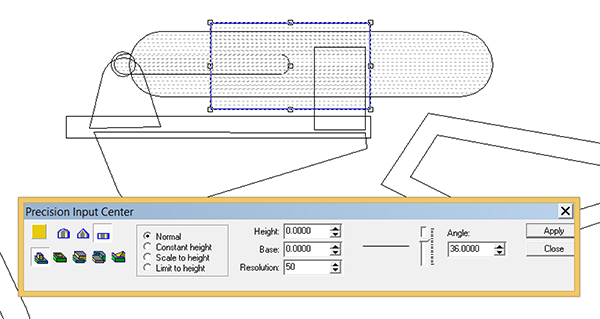
Then I began building the reliefs. The cylinders for the legs was first. I used the pill shaped vector to create a round shape using the dome tool. Then the piston rod in the same fashion.
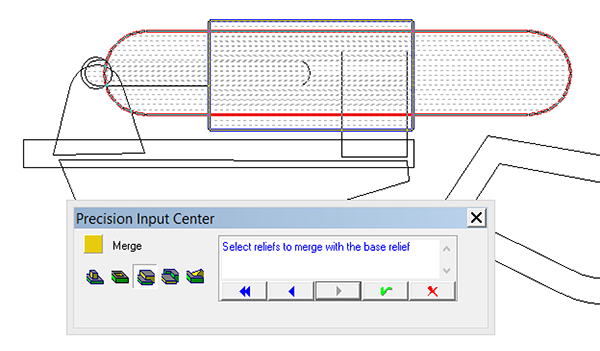
I then created a zero height relief which I would use to trim the cylinder to length using the merge highest function.
Then I began building the various relief – all as individual pieces.
The larger parts of the legs and claws were modified by sinking the centre portions.
The rivets and pins were added to the reliefs using the dome tool.
The dome tool was again used to create the ballast tanks.
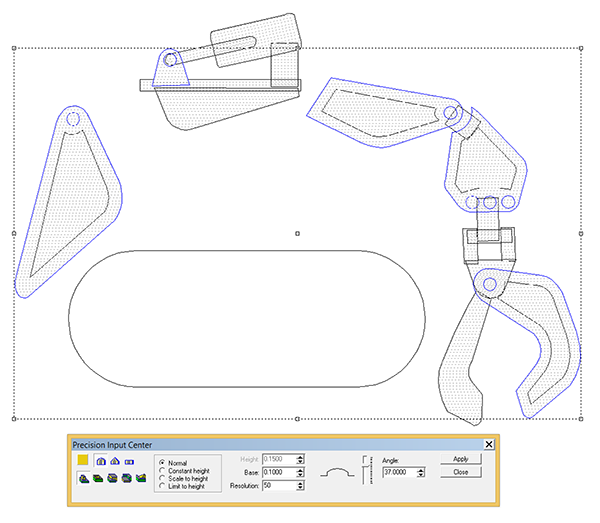
I then combined all of the reliefs to make the legs and claws one piece.
I then nested all of the pieces and created a zero height relief big enough to accommodate all of the pieces plus a border big enough to accept the bits I would be using. The pieces were merged to this base plate using the MERBE HIGHEST command. It was then ready for tool pathing and was sent off to the MultiCam to be cut from 1 sheet of 30 lb Precision Board. I purposely left an onion skin so the tiny pieces wouldn’t remove themselves from the vacuum table. Tomorrow we’ll glue them up and begin hand sculpting the rest of the crab.


