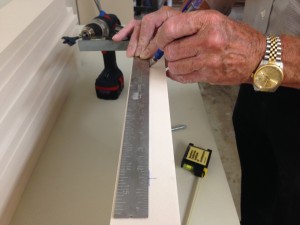
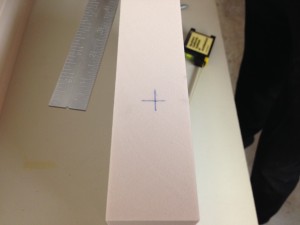
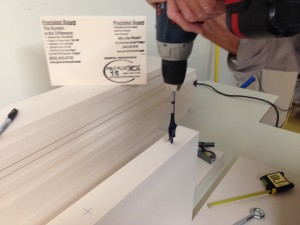
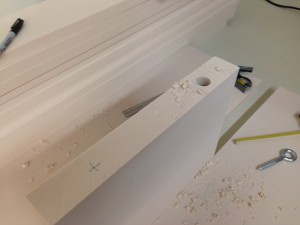
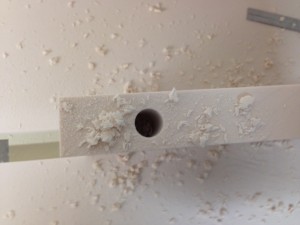
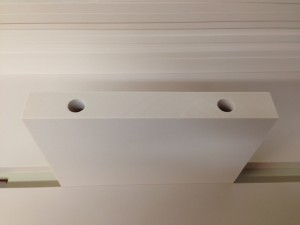
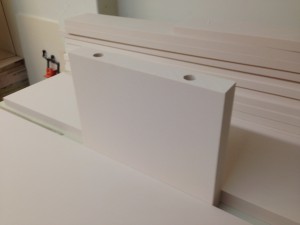
Drilling holes in Precision Board has many similarities to wood. However, there are some differences that should be noted. This blog will feature step one of two for hanging a sign using an eye-bolt. Here is a step-by-step picture and video guide to show you how to drill a proper hole in Precision Board to hang from an eye-bolt.
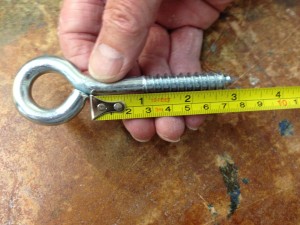
- Measure the eye-bolt.
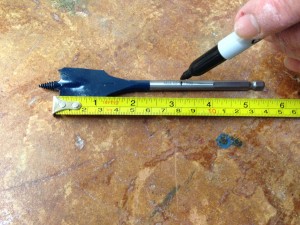
- Mark the spade drill bit for the length of your eye-bolt, PLUS ¼ of an inch.
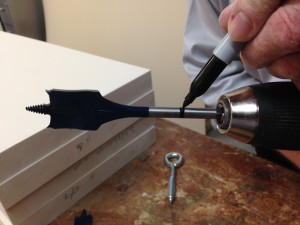
- Mark the drill bit for a stopping point reference.
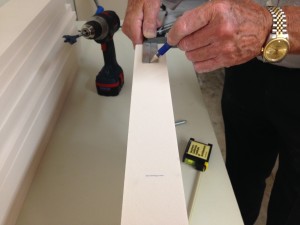
- Measure and mark equidistant cross hatches for accurate drilling points.
- Drill into the Precision Board ensuring your drill is straight and accurate down to the mark on your drill bit.
https://www.youtube.com/watch?v=2wh8ECrUt4M
- Clear away chips and enjoy your finished product!
Stay tuned next week to find out how to insert the eye-bolt using our two-part epoxy.
To learn more about Precision Board’s strength, check out the testing completed by West System epoxy.
