I was asked just how I might create a bottle cap in EnRoute. While I suppose there are many ways to go about it here’s my method.
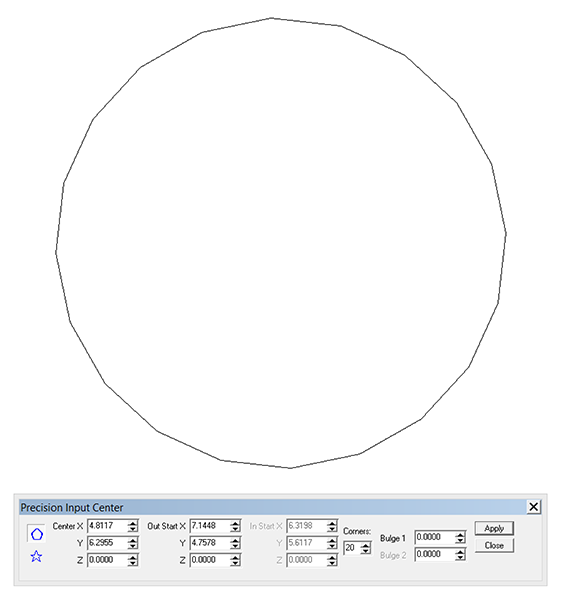
First, depending on how accurate you wish to be you would need to measure a bottle cap to get the proportions. I didn’t have a bottle cap handy and so I just guessed for this demonstration piece. I opened the star tool and defined my vector shape as having twenty corners. Now as I look at the menu I see a bulge function which would have saved me some of the next steps… but no matter. If I were using that I suspect it would have taken a negative number to get what I wanted. I did it by hand a couple of steps down.
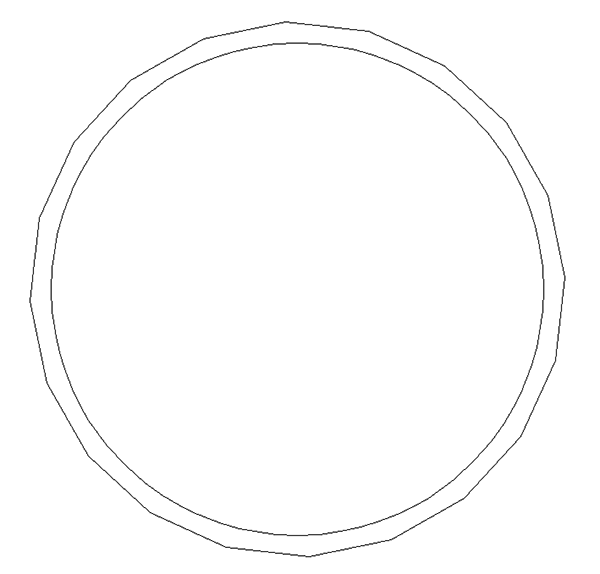
I then drew a circle and entered it in my faceted shape.
I modified the faceted vector using the point editing tool
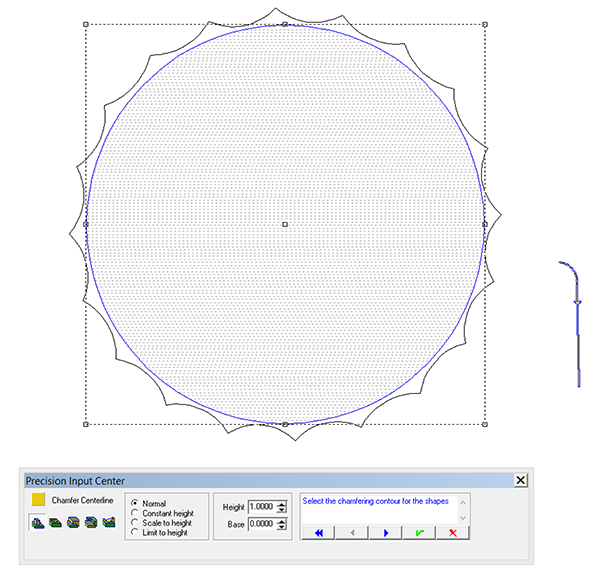
I then used the round shape to create a hero height relief.
I then Chamfered to centreline using a shape I had drawn. This created the tapered edge disk with rounded top edges.
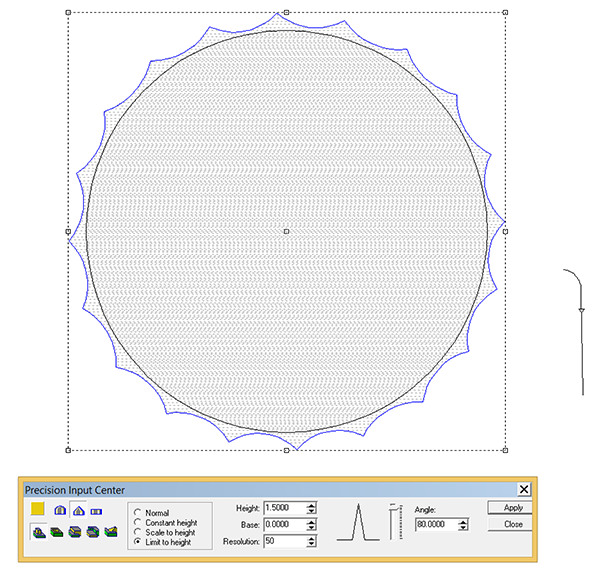
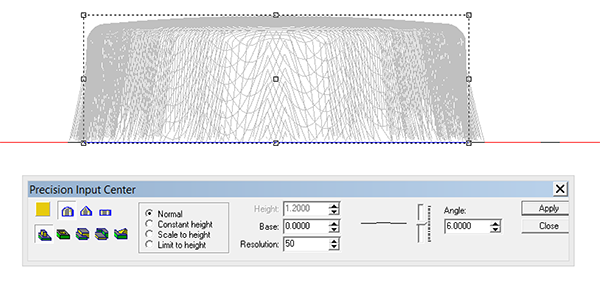
I then used my bevel tool (with an angle of 80 degrees) with limit to height to build the crimped edges of the bottle cap. This was done as a separate relief.
As a last step in modifying the relief I used the dome tool to add a slight roundness to the top of the cap.
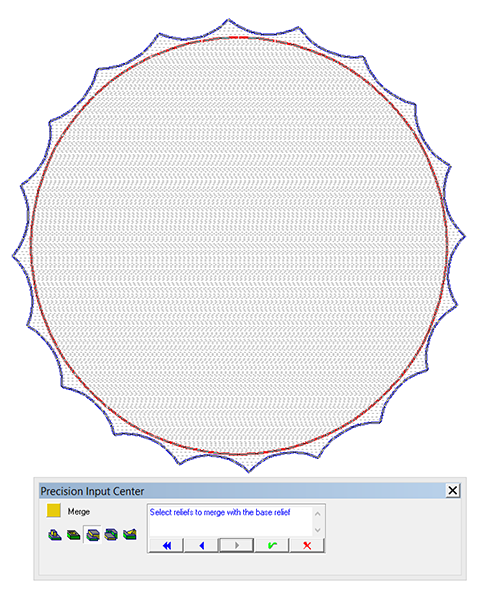
I them merged the two reliefs together using the merge highest function. I merged the round shape to the crimped edge shape.
Although my demonstration piece wasn’t quite to scale it shows how I would tackle a piece like this.
