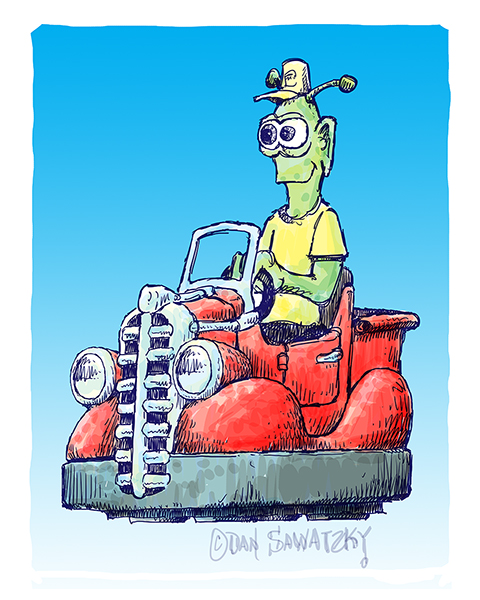
The Sign Challenge sculpture will have five hover vehicles circling around a central rocket. I built some common part files and then modified them to make each vehicle unique. I began by drawing up the concept art for two of the vehicles.
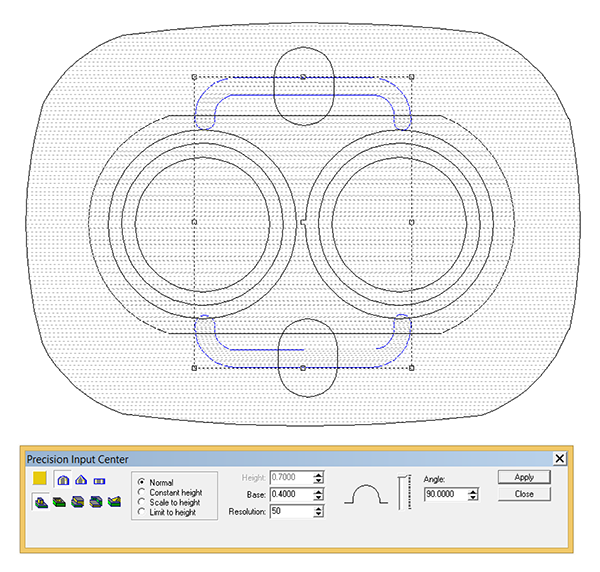
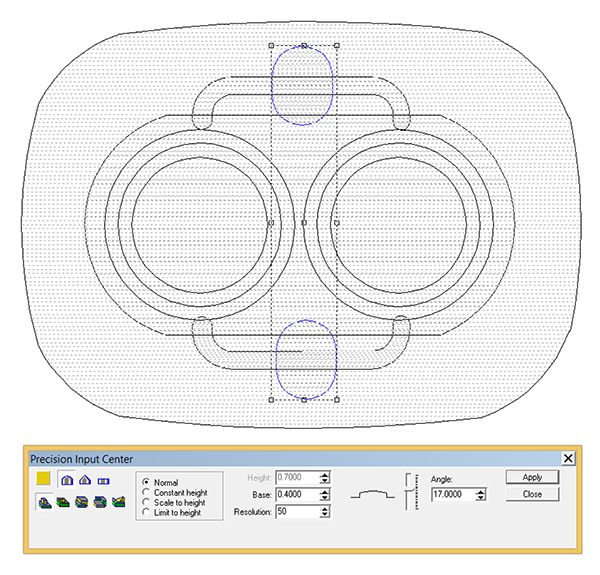
The file was built entirely in EnRoute. I built the vectors and then the reliefs as individual pieces, and then nudged them up or down in the front view to make everything work.
After I had built the reliefs I went into the front and side views to see how the pieces looked height wise in relation to each other. As needed I nudged them up or down.
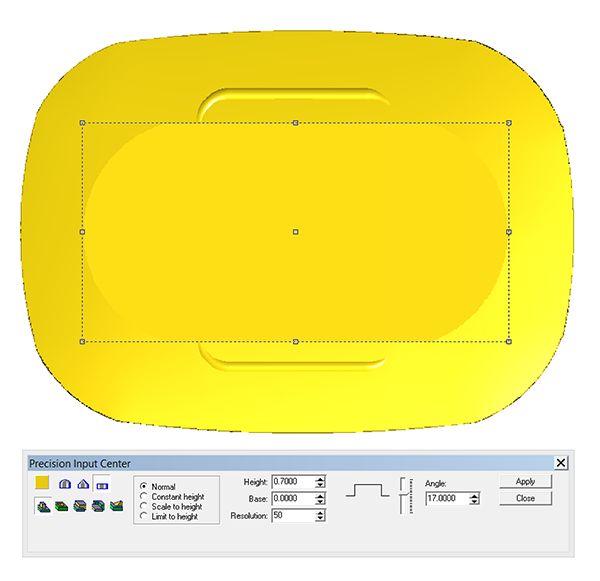
I also rendered the piece after every operation to make sure I was achieving the results I wanted.
The round reliefs were then modified by dropping the center about a quarter inch to form a pocket. The translucent lenses will be dropped into this space.
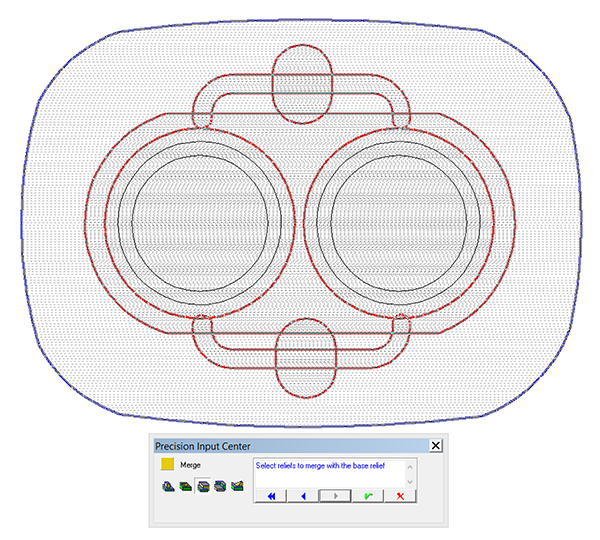
I then created a center relief with a zero height. This was merged lowest to form the hole in the center.
I duplicated these parts to form five pieces. Three were done in the size I built. Two were modified by scaling them, one shorter and one narrower. They were then tool pathed and sent off to the MultiCam to be routed from 1″ thick 30 pound Precision Board.
