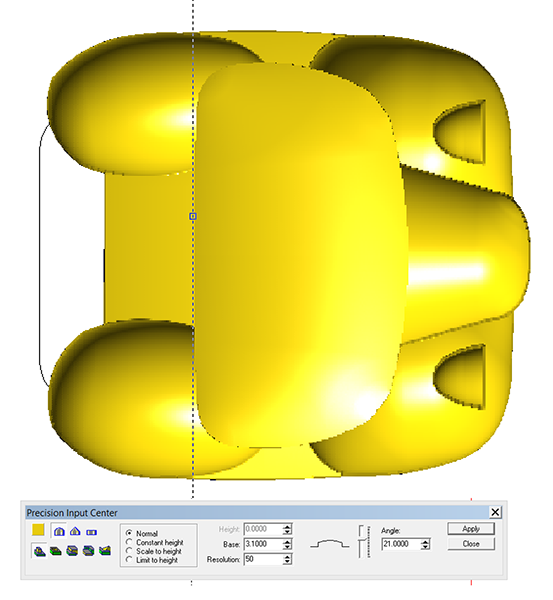
The vehicles would be a pickup, a long flatbed truck and a short flatbed cab over. Behind the bar were three round corner rectangles. I selected them and made them into a 1″ tall relief.
For the pickup I stretched it vertically to just below the convertible cab.
For the cab-over (Stubby nose truck) I didn’t stretch the back vertically as much.
For the last truck I stretched the back vertically so it became the box for a delivery van.
For the motorcycle I first shortened the width of the base. Then I created two vectors – an oval and the other a sort of egg shape. The headlight is one off of the other vehicles. These were made into a relief using the dome tool.
The seat was also created using the dome tool.
I combined the two reliefs then nudged the seat into position vertically.
Then I merged highest.
I now had four vehicles .
The vehicles next needed to be sliced vertically and EnRoute Slice tool made the job easy!
The slices were arranged and then sent off to the MultiCam to be routed from 1″ thick 30 lb Precision Board.
After they were routed I stacked up the test pieces for a look. (the center car was a test piece done previously)


