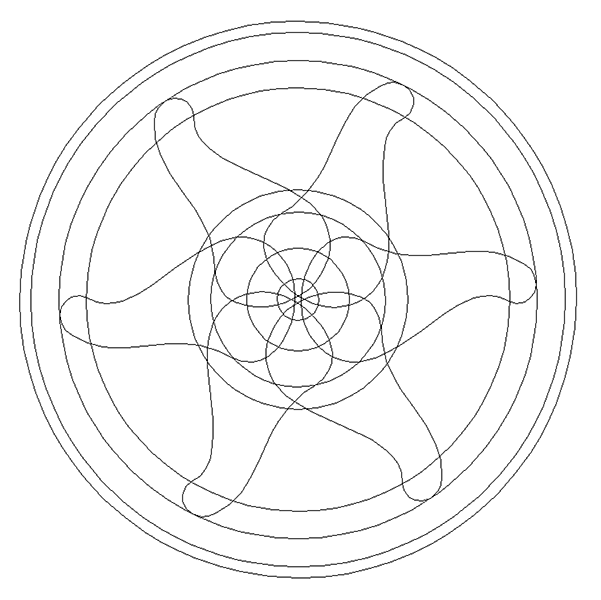
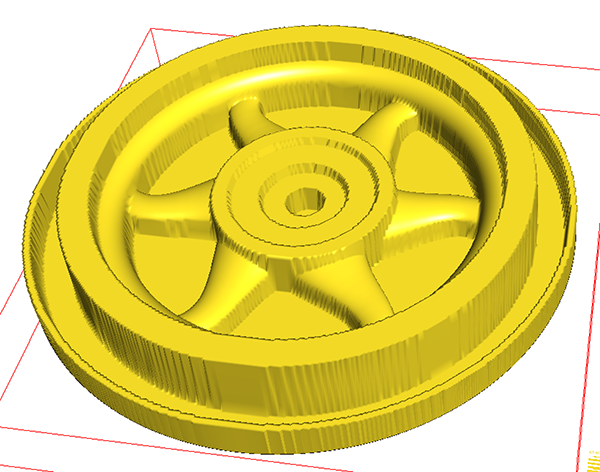
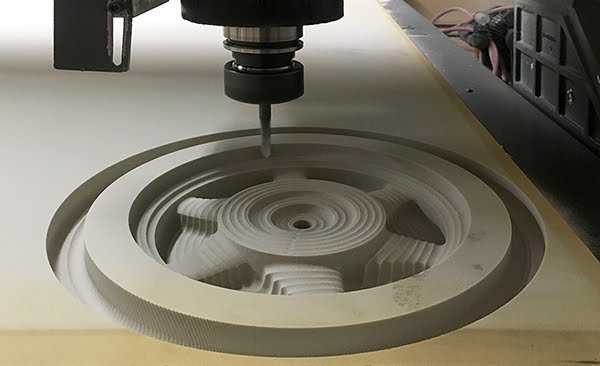
The flywheel for the ‘MARVELOUS MACHINE’ was a fun little project. Creating the file took a number of steps but it wasn’t overly difficult. The entire file was designed using EnRoute.
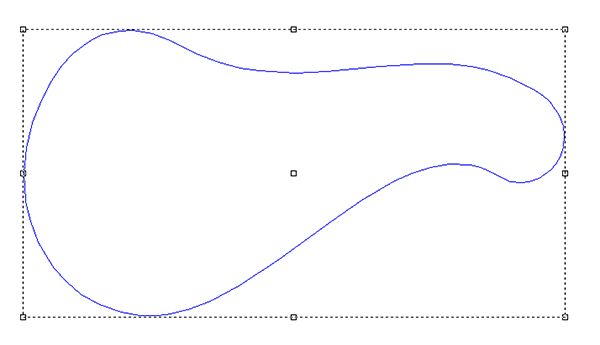
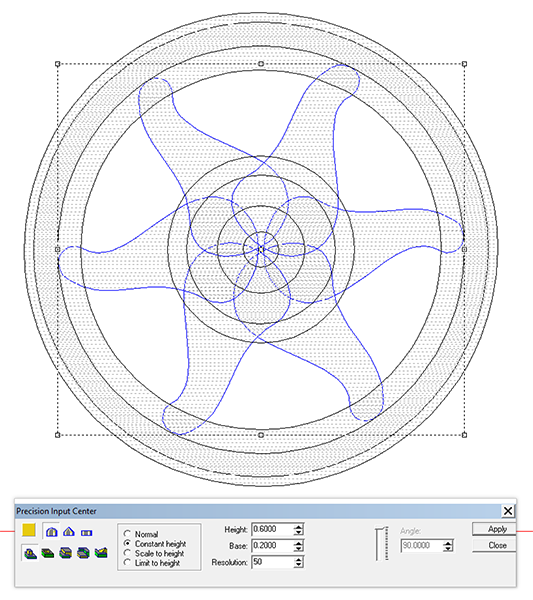
The spoke vectors looked a lot like giant tear drops I designed one, then duplicated it and flipped it. The two spokes were aligned and then grouped. These pairs of spokes were then duplicated rotated at intervals of 60 degrees, arranged and aligned around the wheel.
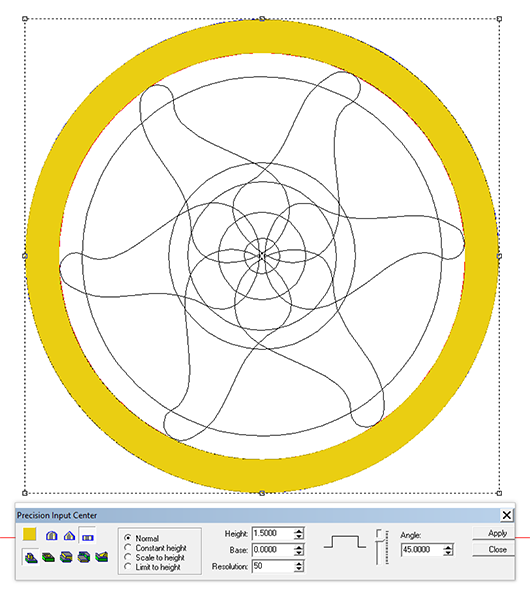
The first relief to be created was the outer rim. I made it a flat relief at 1.5″ tall.
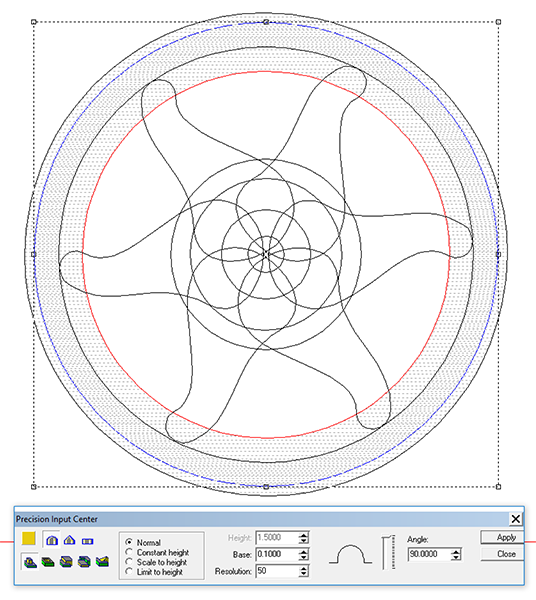
Next up was the rounded inner rim. I created it as a separate relief using the dome tool.
After I created the relief I checked it in the front view and nudged it upwards until I was happy with the look.
The spokes were next, created once again using the dome tool. These too were checked in the front view and nudged upwards to suit.
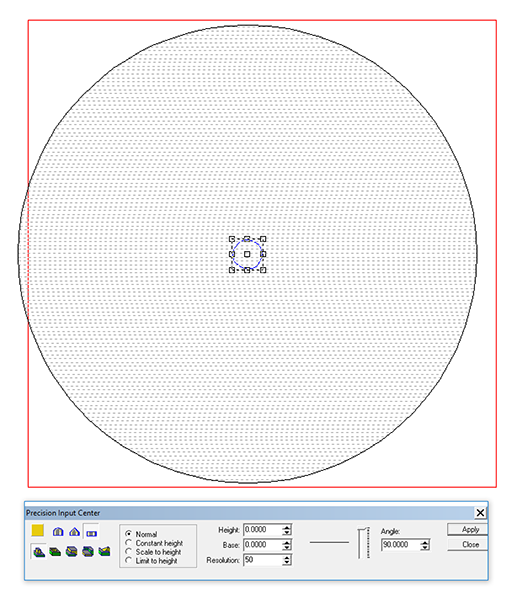
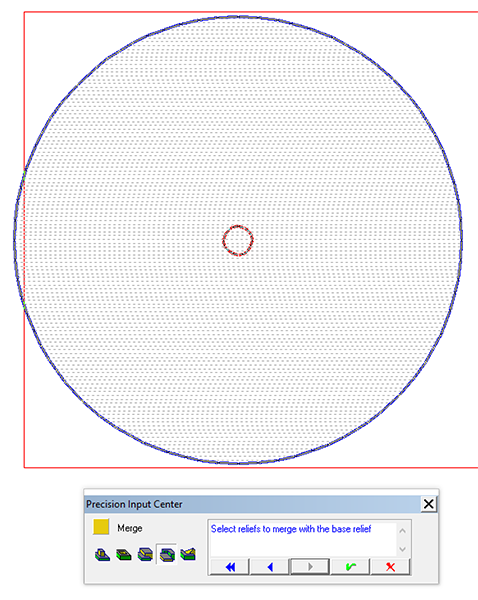
The inner hub was created as a flat relief. I then created a new round vector and created a zero height relief. I then merged all of the reliefs to this relief.
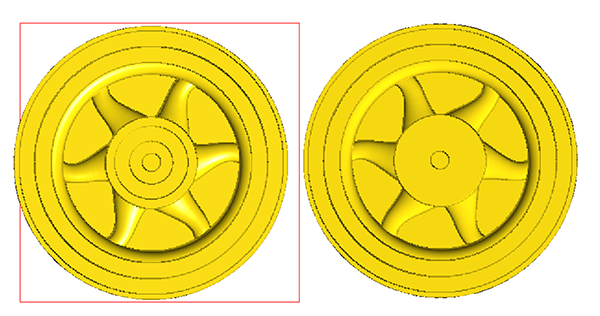
I duplicated the relief and flipped it to create the back of the flywheel. then modified this new relief by creating two depressions to accommodate the mounting hardware.
To bore the hole for the shaft I created a zero height relief. This was then MERGED LOWEST with the flywheel relief.
The files were then ready for tool pathing. The routing was done in two passes. The first rough pass was done with a 3/8″ ball nose bit with a 50% overlap while the finishing was done with a 1/8″ ball nose bit at 80% overlap.
Because it was to be a moving part I machined the flywheel from forty point Precision Board.
Published with permission from precisionboard.blogspot.com. Source.
