We all seem to collect tons of small pieces of Precision Board when we do lots of routing. The perfect use of these small pieces is display samples.
We are in the process of designing a very fun project for one of our theme park customers. We were asked to design up some small kiosks to be used for face painting, food carts and a character meet and greet. Since the theme is mechanical circus we decided the perfect theme for the kiosks was a circus train. Once I got started on the designs the ideas came thick and fast. There was no limit to the possibilities as there are an endless variety of animals to choose from.
We chose three of our favourites to model in about 1/12 scale. The elephant engine was a must and the giraffe and hippopotamus called my name. To build the scaled models we would use a variety of tools and materials. The wheels, undercarriages and basic shapes begged to be routed. The files would be easy and quick to model in EnRoute. The bulk of the rest would be faster to hand sculpt. More fun too!
The first one was the elephant engine – with the monkey on top.
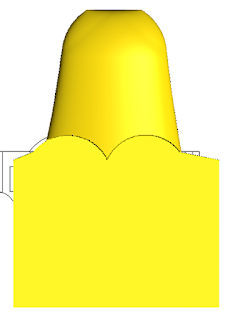
I designed the vectors in EnRoute. The first task was to create the domed top.
I then clipped the bottom using a zero height relief by merging lowest. I then used the slice tool to get rid of the remaining zero height bottom piece.
I then created the lower relief and combined it with the top domed piece. The front and rear bumpers, steam cylinder supports, and fenders were created as separate reliefs. The bumpers and fenders were combined with the big relief.
The steam cylinder supports were merged highest with the base relief.
Once the basics were dome it was time to move on to the details like the wheels. I did this by modifying the base relief. First was the wheel flanges, then the wheel tire. The centres were depressed in a series of steps to create the sidewalls on the steel rims.
The spokes were created as separate domed reliefs before merging (highest) with the base relief.
Next u came the wheel centers, counterweights and connecting rod supports. These were all built as separate reliefs.
Raised stars were then added to the wheel centers.
The separate reliefs were then merged highest with the base relief.
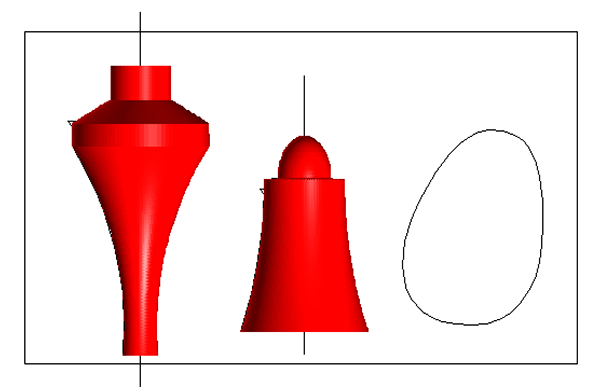
The smokestack and monkey drum were built as meshes using the revolve tool. These were then combined with a zero height relief. The zero height relief was also modified with the egg shipped relief and the dome tool. Two of these would form the basis for the elephant’s head.
I then duplicated and flipped the various pieces to create the front and back of the train engine. Everything was then ready to tool path and send off to the router. I machined all the pieces from scraps of 2″ thick 30 lb Precision Board. Between the engine and the two cars and various bits and pieces we used up a big pile of scraps.
As soon as the pieces were off the router it was an easy task to screw them together. There was a front and back as well as two layers of 2″ thick cutout for the centre. The next step was a bunch of hand sculpting.


