The center portion of the sign would be a giant oval but we didn’t need the whole thing as the bottom would be tucked into a themed base and the top would be in the canopy of the tree. By cutting these off we would save a lot of Precision Board, an important consideration as this portion of the sign would be a whopping fourteen inches thick.
The centre oval would be a concave dome and routed from 4″ thick precision Board. Because we were cutting the top and bottom off the oval we could get both pieces out of the same sheet.
We would build the reliefs in four pieces. First we created a four inch flat relief, the thickness of our board.
We then hollowed out the middle of the flat relief using the dome tool and the subtract command.
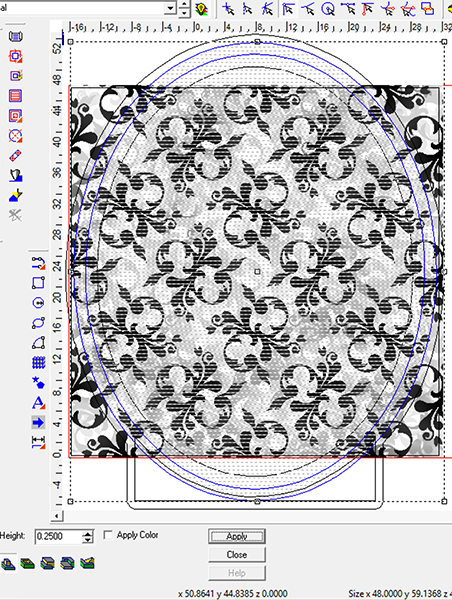
we added texture to the inside dome in two ways. The first was done using a custom made bitmap.
To add a subtle randomness to the texture Peter used a parametric texture called ‘cellular texture.’
It ended up that we would cut much of it off but Peter added a base to the sign. This was done as a separate relief.
He then created a lower height relief around the oval which would effectively cut the shape out in a fashion. Our bit was only 2.5″ long so it wouldn’t cut all the way through but it would give us a guideline and a head start.
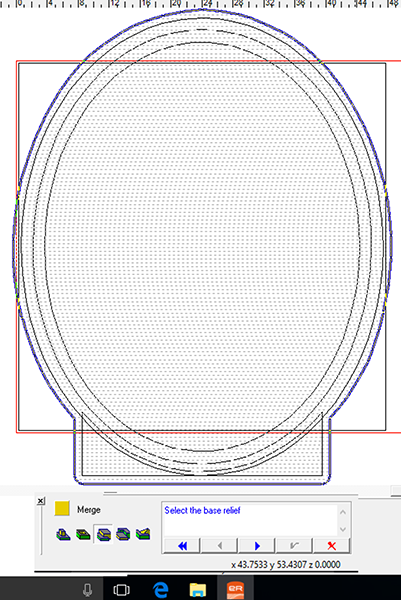
We then merged the pieces to the outside ‘bowl’ one at a time using the replace command. (Please not that merge highest is shown in the picture below. The Replace command s the one on the fair right.
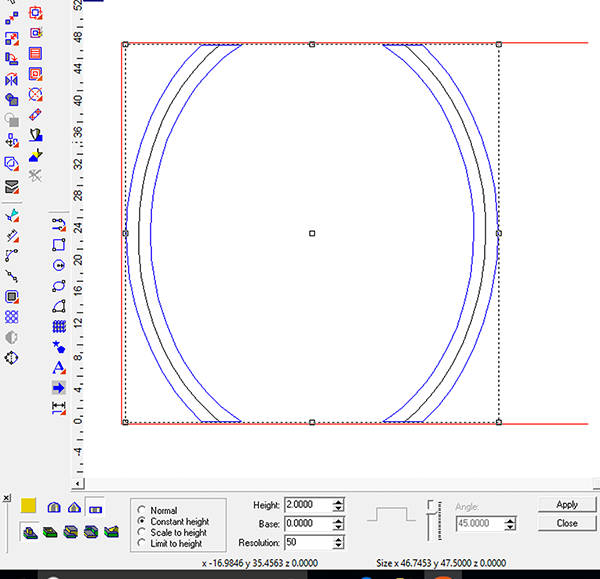
The outside of the oval would have another layer added. This would be undercut so we could place a ring of LED lights there to create a glow on the domed background behind the tree. This would be routed upside down. We first created a relief that was 2″ thick.
This relief was then modified by using the subtract command.
Lastly we created a 2″ filler layer. This was done as a simple offset cut file. We cut this in sections which would allow for the welded structural steel frame to be put inside the outer layers.


