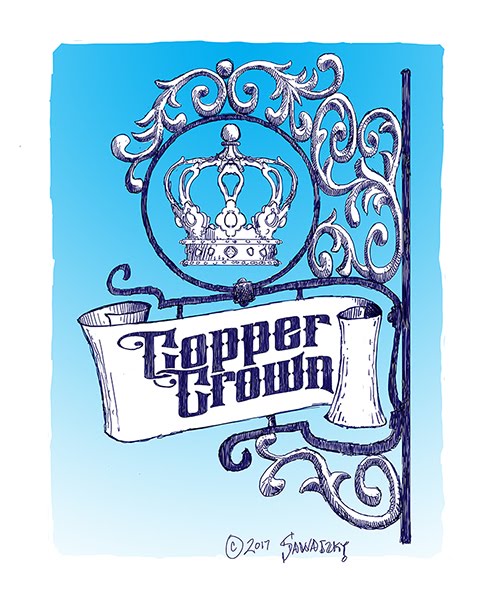
The second inn sign to go into production is the Copper Crown. To do this sign did we tried something new. The scroll would be routed, flipped and routed once more. We had a five inch thick piece of Precision Board which we’d been saving for something special.
We traced the vectors over the original concept drawing. To make the lettering curve to fit the scroll we used the transform tool called patch distort. The scroll was copied, flipped and then the lettering for the back of the scroll was done using the patch distort tool once again.
The fancy scroll work needed to be a little thinner so we could use sculpting epoxy to make it profiled. To do this we used the offset tool.
The bracket ended a mounting plate. We used some of the same elements of the scroll in it’s design.
The cutting file for the crown was also designed in EnRoute. The upper pieces were copied and duplicated.
The scroll relief.was created using sweep two rails function. The vectors were curved in both dimensions. To start We made a zero height relief. The relief was then modified using the curved vectors and the sweep to rails command.
We only had once chance to route the file in a single piece as we only had one piece of 5″ thick Precision Board. We marked out the spoil board and screwed some blocks onto it so we could flip the piece and then route the second side. The goal was to have everything line up perfectly. It did.
Once the routing was done We went over the scroll with the die grinder to add texture. We cleaned up the edges at the same time. From here on this sign was about assembly and hand finishing. I’ll cover that in the next post.
Published with permission from precisionboard.blogspot.com. Source.


