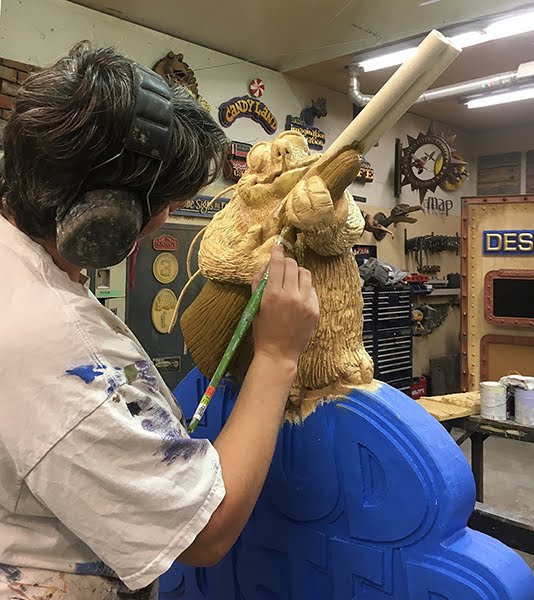
Im my last post about the Could Buster sign I had finished the sculpt and he was waiting for paint. As with many f our signs we started with a cot of Coastal Enterprises FSC-88 WB primer. It’s a heavy bodied water base primer that is sandal. Only our intention is not to smooth things out but instead add even more texture. This paint is the perfect ticket for that task. We brush it on, purposely leaving brush stroked behind. Later when we do the glazing those brush strokes make that task easier. Hand brushing our primer and paints gives our signs a definite hand crafted character. That adds value.
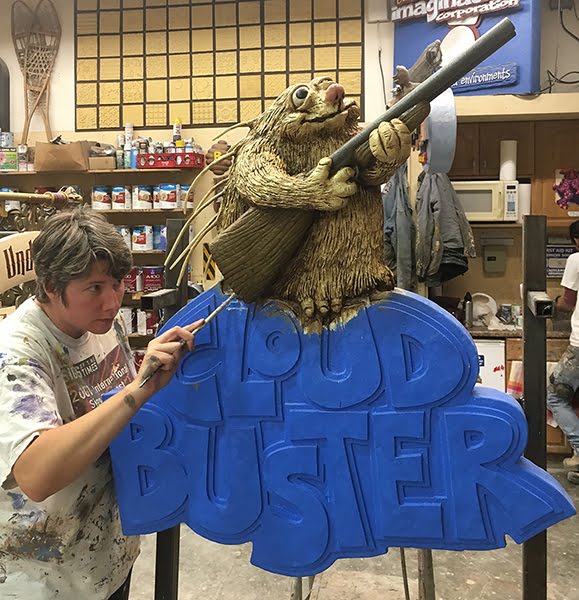
We started the painting process with three base coats of solid colour. We use premium acrylic house paint. We allow the paint to dry thoroughly between coats and a large industrial fan speeds up this process. With the paint dry it is time for the glazes. We start with the lightest colour, in this case a light tan. The glaze is brushed on and then wiped off, leaving it in the crevices and ridges.
The next coloured glaze would be a dark brown and would go over the ‘wooden’ gun stock as well as the porcupine. This meant we had to brush the base colour on the gunstock before the next glaze.
By doing things in a specific order it cuts down on the time for cutting the edges of the painted areas.
Becke also painted the base colours on the barrel of the gun, eyeballs and nose of the little creature.
She then worked quickly over the entire surface, always keeping a wet line in her glaze and wiping it off before it dried.
The back of the porcupine received the same treatment as the front. Not many people will look here but if they do it is finished as good as the front.
Next the blues of the bottom will get their final coats and then the lettering is last. I’ll show the finished sign next time. Stay tuned…
Published with permission from precisionboard.blogspot.com. Source.


