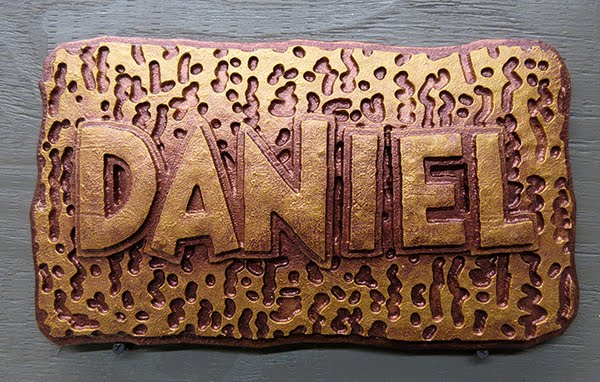
With Christmas fast approaching it’s a great time to do up some name plaques for those you love. They make great presents and you can practice your painting and glazing techniques at the same time. I’ll show three name plaques in this post – all different colours to better demonstrate our techniques.
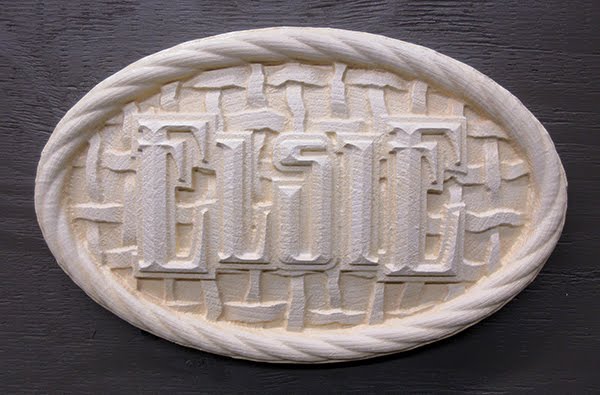
The first is Elsie’s name plaque. We started by painting it an off white colour. We did three coats of colour and allowed them to dry thoroughly in-between. An industrial fan really speeds up the drying.
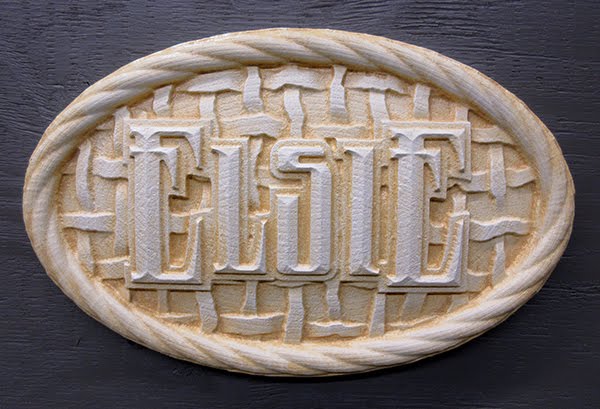
A light tan was the first glaze. We make our own glazes using a 50/50 mix of clear base (paint with no pigment added at the paint store) with the colour of our choice. The glaze was brushed on liberally nd then wiped off with a soft terry towel rag. The first glaze is only lightly wiped off. The glaze stays in the lower areas.
The first glaze is allowed to dry thoroughly nd then a second glaze is brushed on and wiped off a teeny bit more thoroughly than the first. This allows the first to peek through and creates a subtle blend effect.
The third glaze is a dark brown and this is wiped off quite a bit. Once this has dried we go back with a brush and add the glaze on the border around the letters. This dark colour makes them pop. Once the last glaze was dry we painted the letters metallic gold.
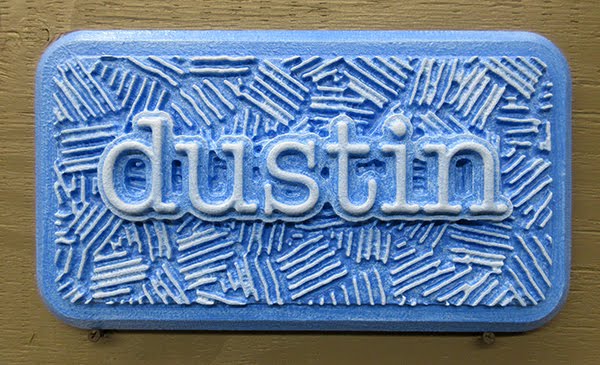
Dustin’s name plaque was done much the same way, one;y with various shades of blue glaze. The lettering was again painted last with two coats of metallic gold.
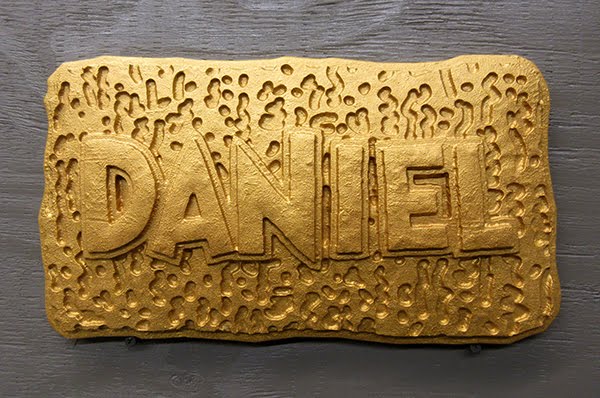
Daniel’s name plaque was first painted with a metallic gold and then the glass were accomplished in two shades of copper. The lettering was back to the gold.
Any combination of colours is possible but it is important not to get too much of a contrast in the glazes at the start. A gradual buildup of coloured glaze leaves a much richer and pleasing result.
Published with permission from precisionboard.blogspot.com. Source.

