We love using Precision Board in our shop to create unique dimensional signs and we go through literally tons of it each year. Precision Board is versatile and easy to work with as it accepts almost any finish and is durable over the long haul. Even so, it is rare that we only use Precision Board to make our creations as it’s often combined with other materials, a recent pub sign project is a good example of this.
The pub sign is a sample piece that hangs in our studio. The name of the fictional enterprise is Tottering Tortoise and we decided to add the 1954 date to ensure some history (1954 happens to be my birth year). We have more than 150 such samples of dimensional signs on display in our studio. These samples allow us to experiment with new methods and materials and build our skills, but most importantly, they help us sell a tremendous amount of quality work. This sign has already proved its investment by selling a large new project with similar signs.
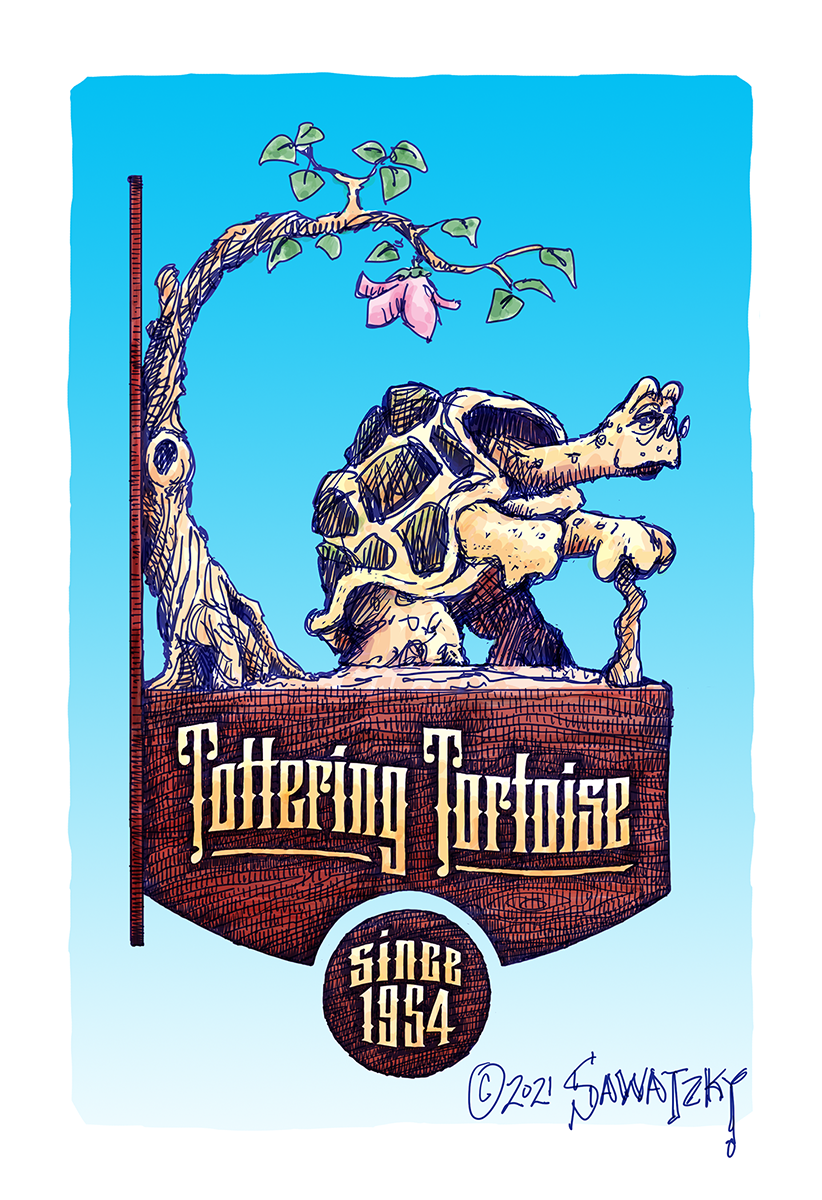
The first order of business was to create the concept art. The concept art allows us to work out the bugs of a new design. These drawings are quick and easy, done in a loose style that allows plenty of room for interpretation as we build. This was accomplished by freehand using an iPad as a digital drawing surface and Adobe Photoshop as the program.
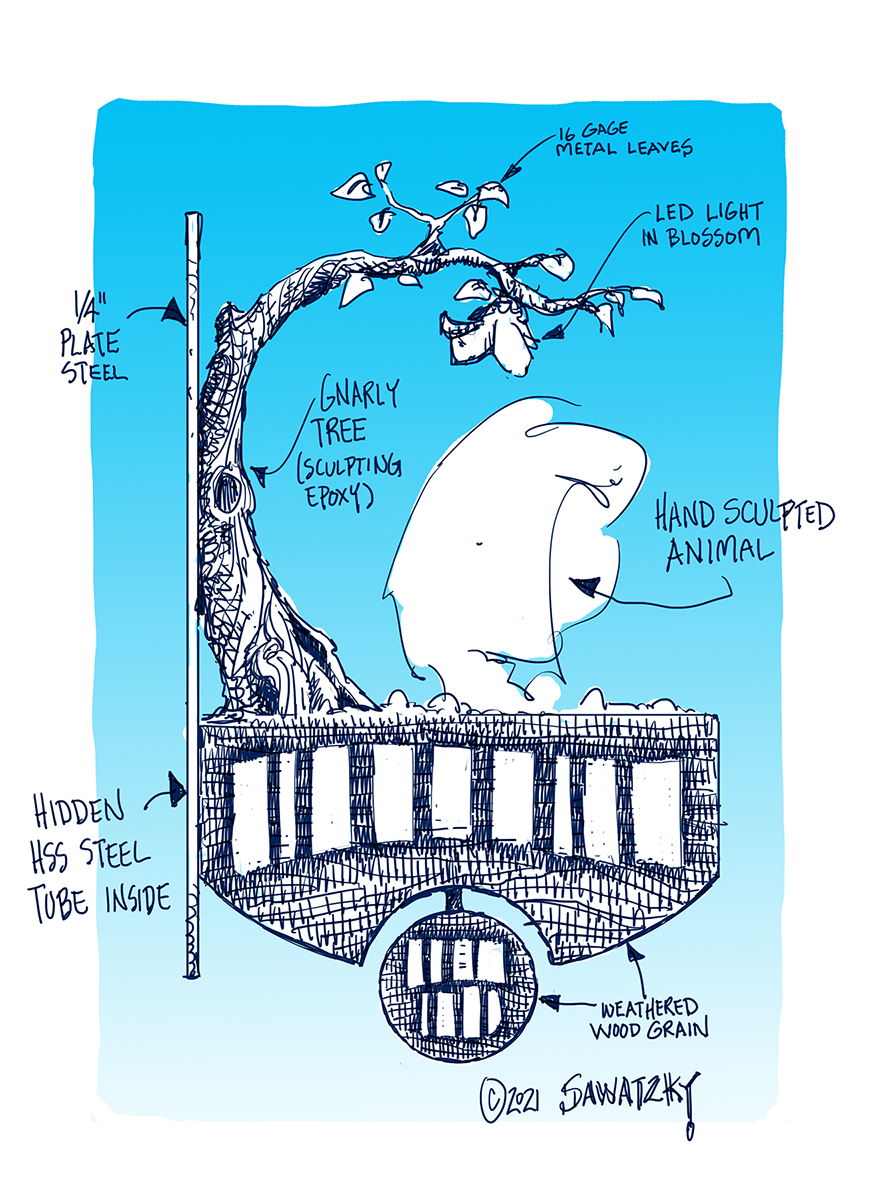
Typically, when creating a project for a client, I produce a second drawing with more information on it such as measurements and notes which is pictured above. I wanted to replicate my normal process in case anyone has questions on this specific project.
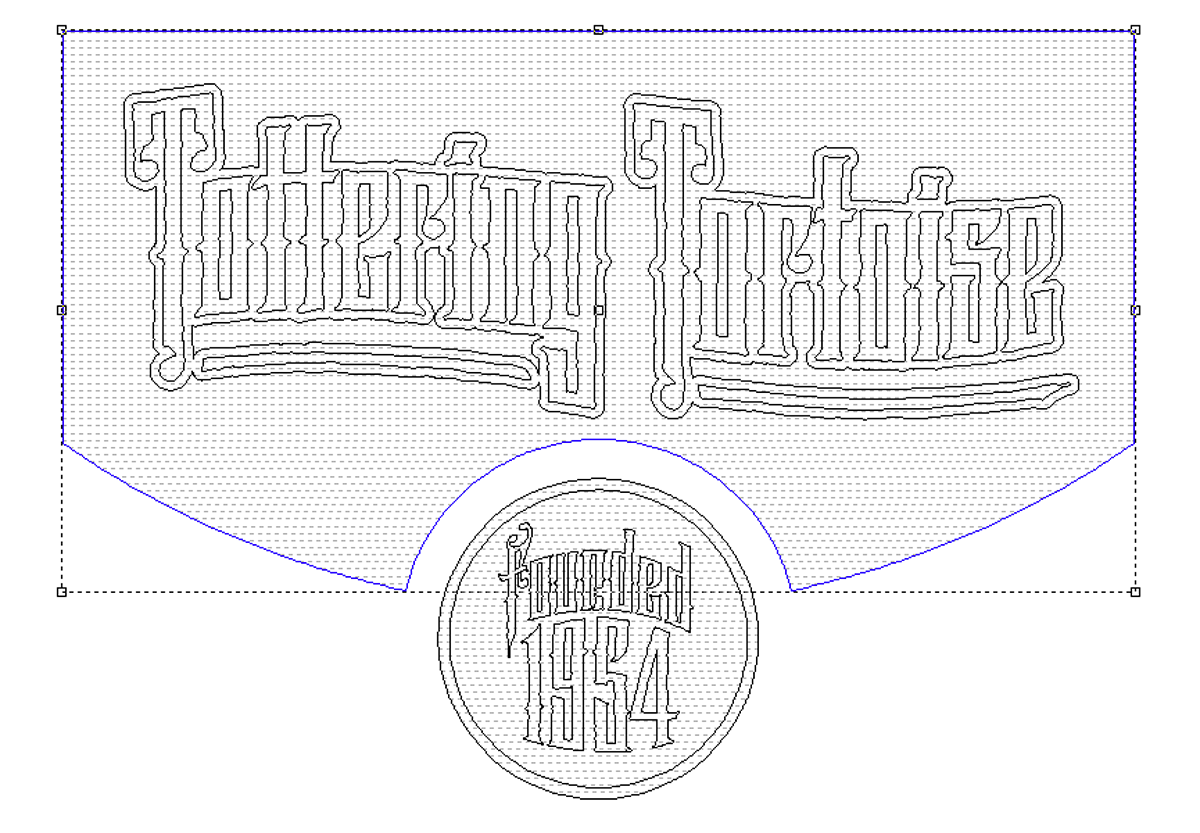
I then produced the needed lettering vectors using Adobe Illustrator before importing the file into EnRoute Pro to generate the CNC routing files. This drawing is tight and not changeable (the client never sees this portion of the artwork).
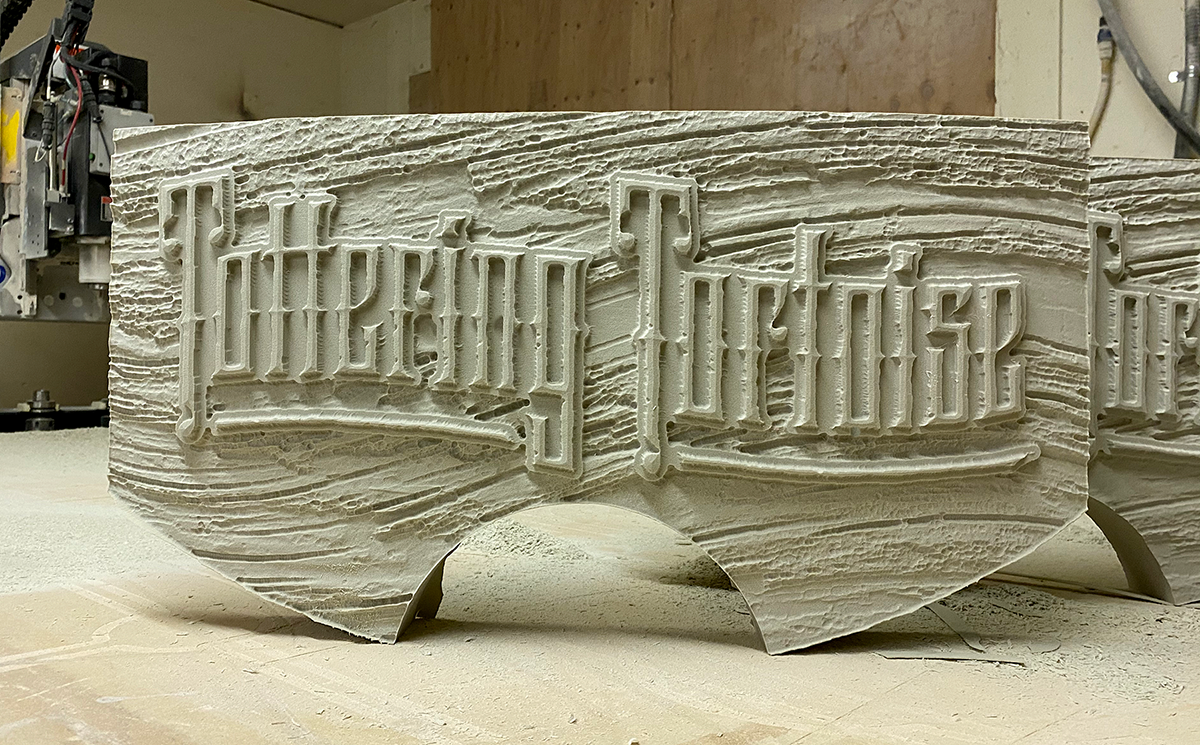
We created two identical routed panels on our MultiCam CNC router from 1.5” thick PBLT-25 Precision Board. A centrepiece was also created with a hole in it to accept the horizontal square tubing frame. We welded that to the steel mounting plate, which was attached to the wall. The two sides and the centre were laminated together using Coastal Enterprises PB Fast Set glue, then clamped until they were cured. This is a glue we love as it is one-part and sets in less than an hour.
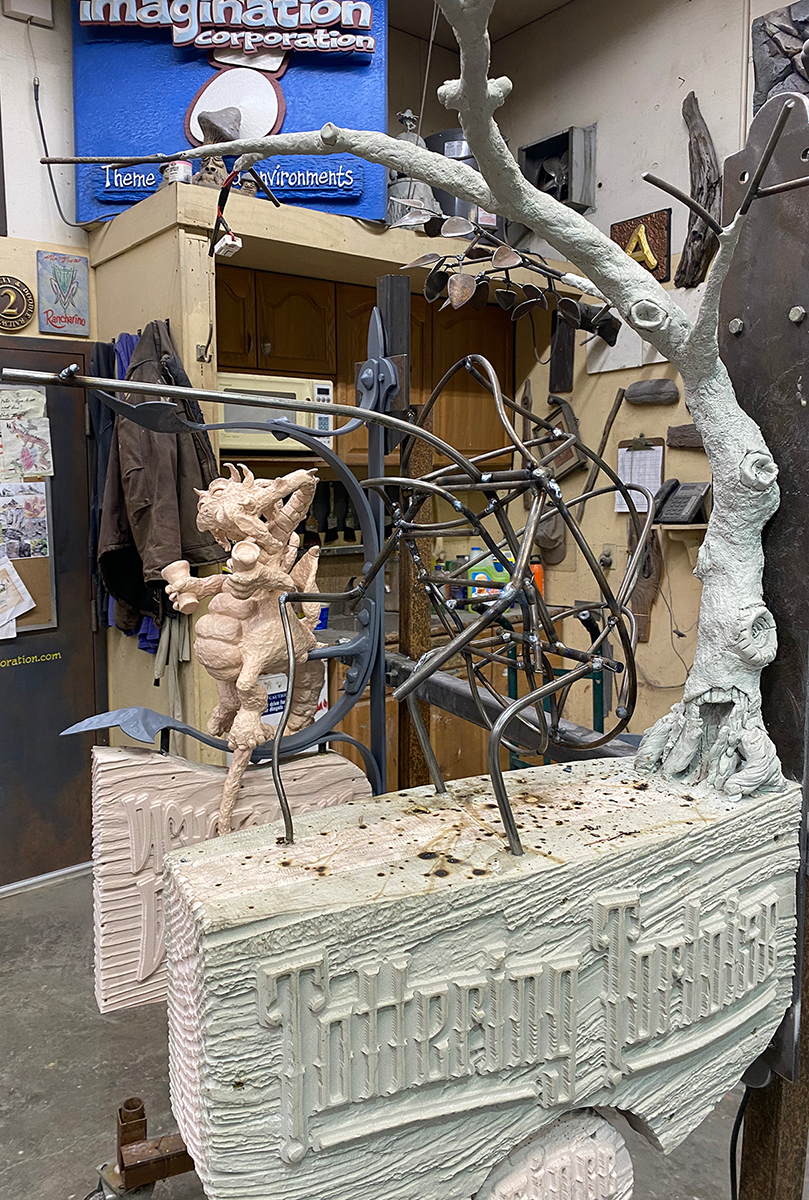
We then welded a steel armature for the tortoise and the tree using 1/4” steel pencil rod. It is easily formed by hand and then welded together. 1/4” holes were drilled into the Precision Board sign for the steel rod to be glued into. We used Sculpting Epoxy to first form the tree and then sculpt the tortoise. Additional final textures were added by pressing crumpled tin foil onto the surface.
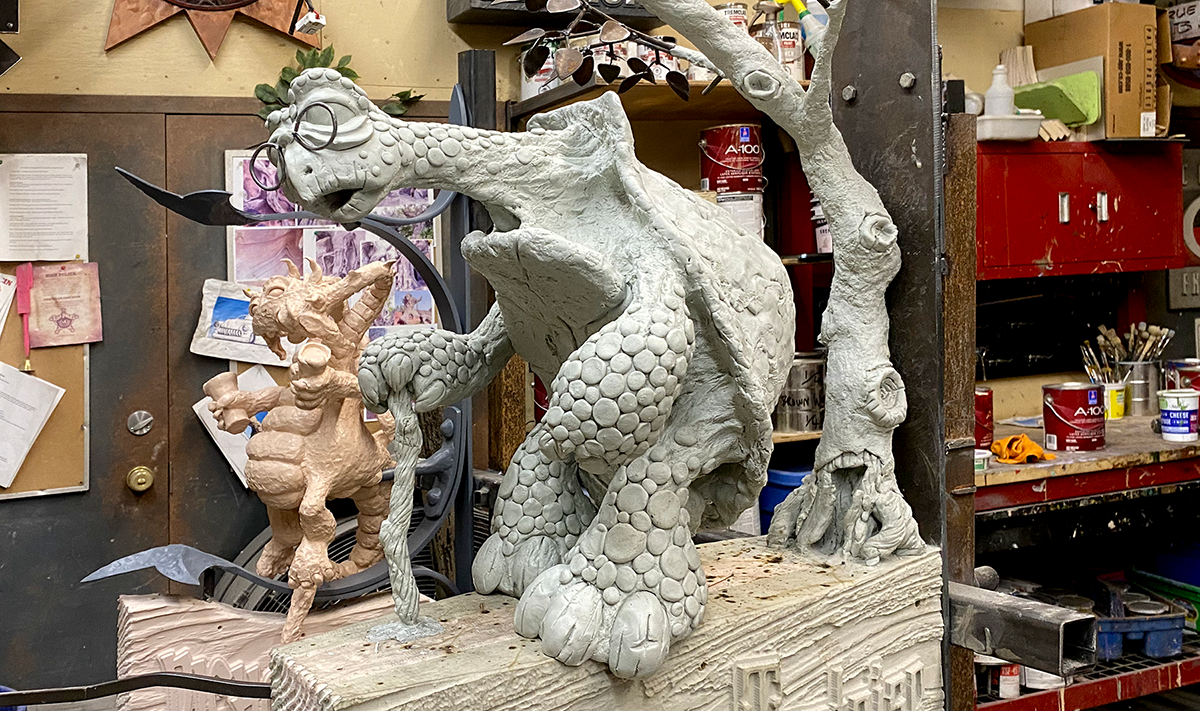
Next, we welded scores of plasma cut steel leaves to the branches of the tree. While it looks complex, the sculpture is relatively simple. I find sculptures with a lot of character and age much easier than most.


We applied three coats of base color (acrylic house paint) and then a series of glazes to bring out the texture and detail. After each glaze color was applied, much of it was wiped off with a soft towel.
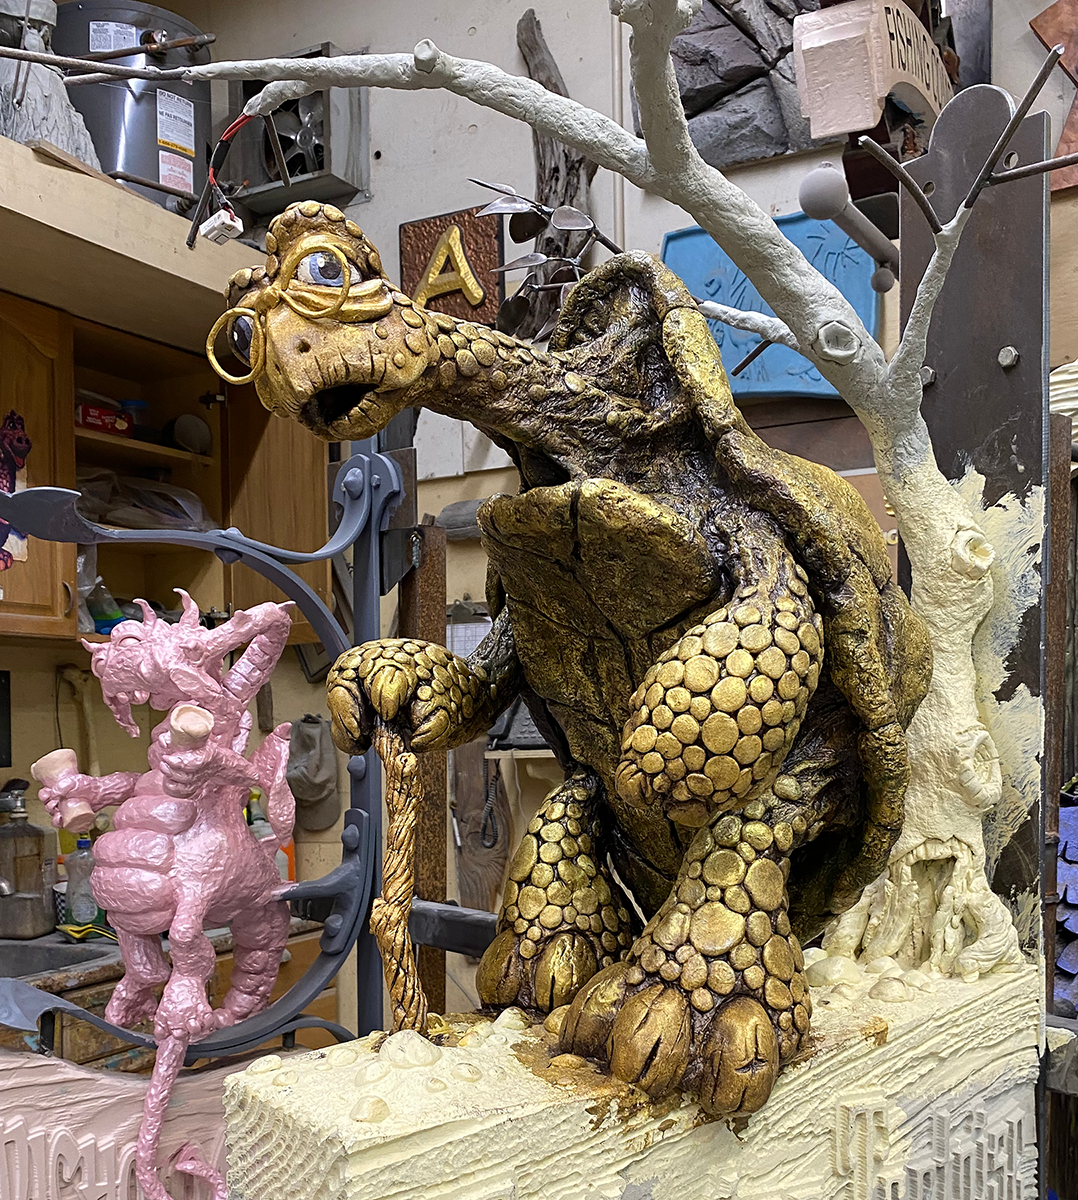
Since the tortoise was the most complicated and the messiest part of the painting, we did this first, then masked him off to do the balance of the painting. Once the min part of the tortoise was finished I went back and added the details such as the eyes.
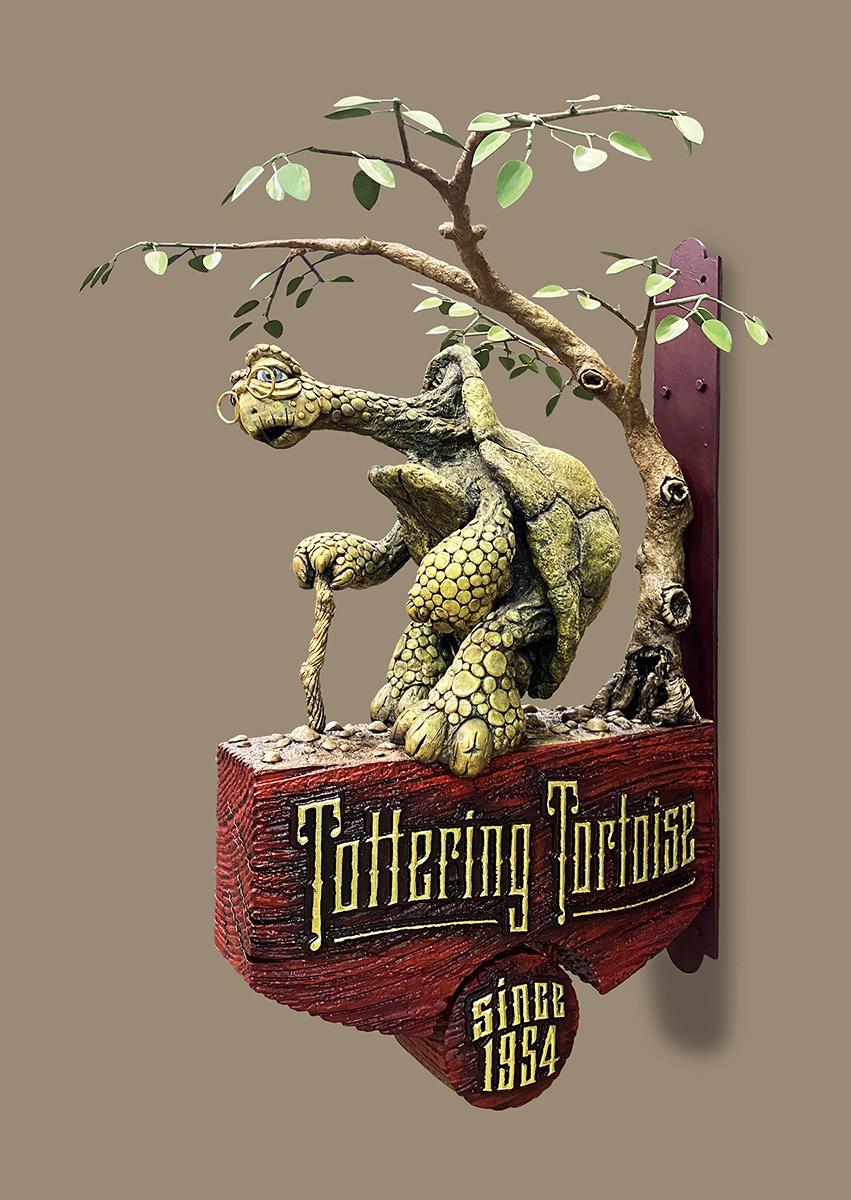

The finished sign featured 23k gold leaf letters for some extra bling. The combined materials of Precision Board, steel and epoxy work together to create a very strong and durable sign. The detail in each part is superb. Unless you touch the sign, it is almost impossible to tell which part is made from which material. That is the way the components of a sign should work together!