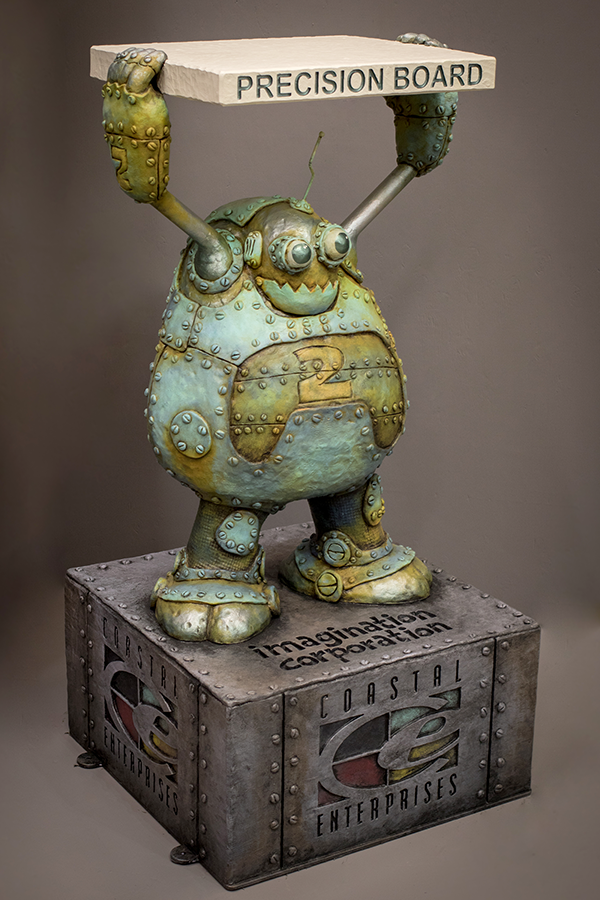
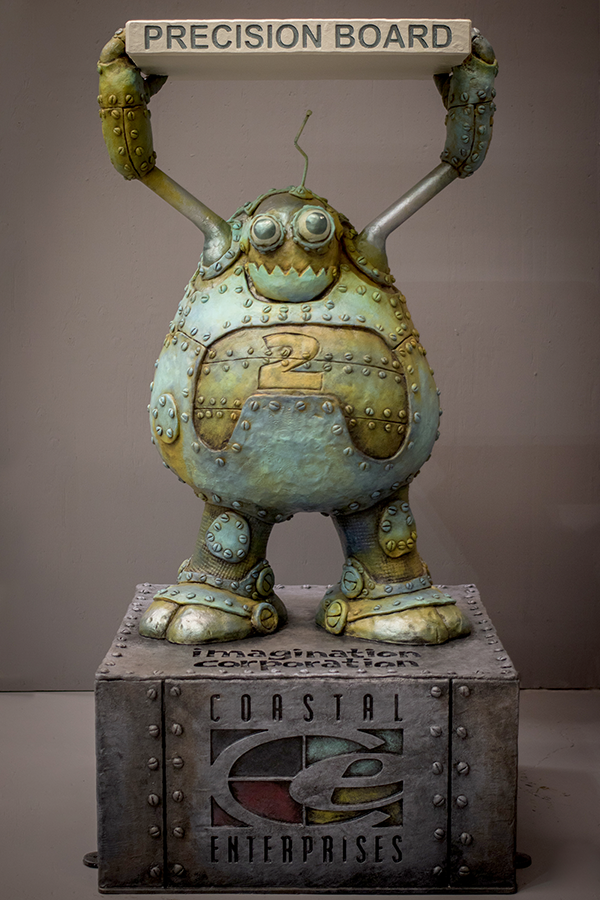
Coastal Enterprises, manufacturers of Precision Board HDU, is proud to announce a series of guest blogs written by Dan Sawatzky of Imagination Corporation, which will be posted on the Precision Board Blog at the end of each month. In his debut entry, Dan tells us how he created a robot table out of PBLT-4 and PBLT-30 that will be part of the Coastal Enterprises booth at the ISA International Sign Expo Trade Show in March.
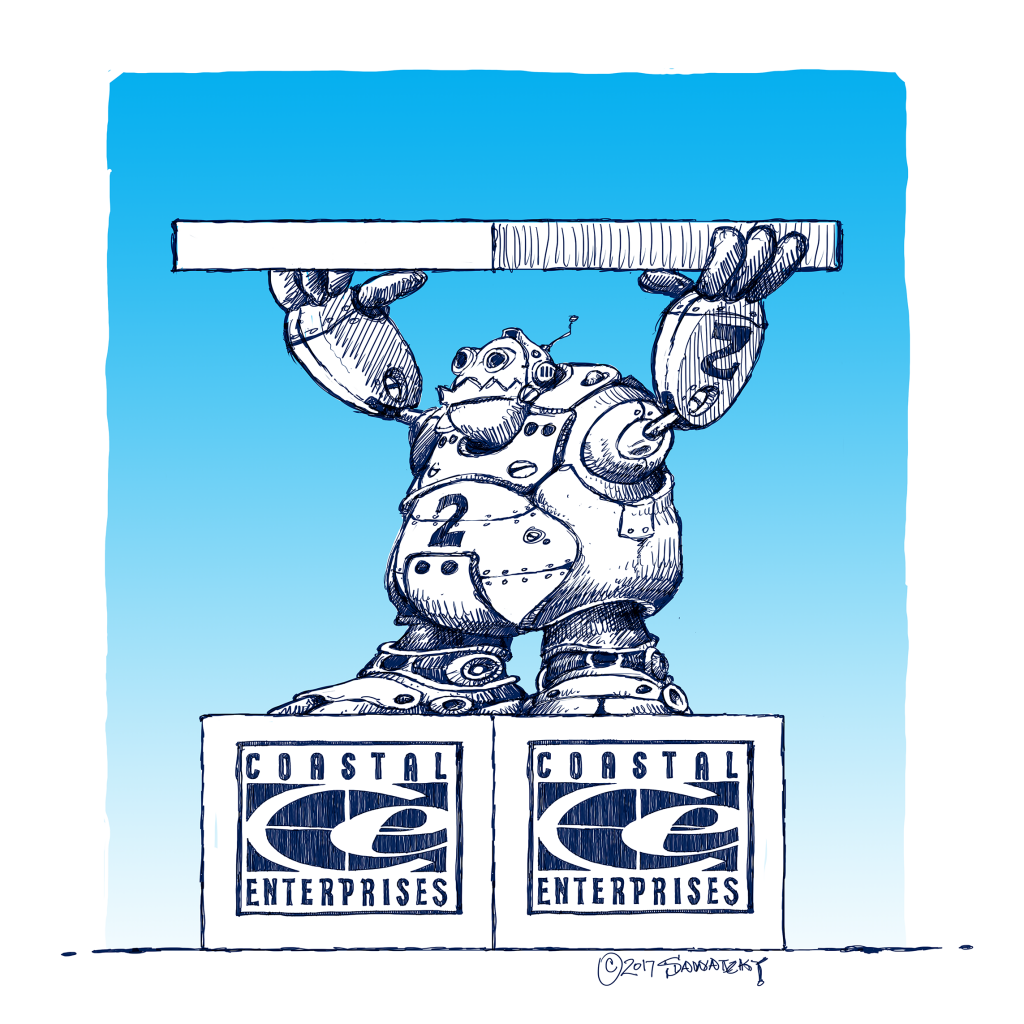
Space in a trade show booth is always in short supply and so I decided a small 24″ x 24″ table to display product samples would be just the ticket. Coastal Enterprises makes Precision Board, glues and primers which we use in our shop exclusively. I did up the concept, not worrying too much about details. We would work this out as we went along.

The project is made of three pieces…a base pedestal with Coastal Enterprises’ logo routed into each side, the strongman robot, and the tabletop. I designed the routing files in Enroute. The sides of the base had the Coastal enterprises logo routed into them. I’ll be hand texturing the faces and top and add the rivets using sculpting epoxy. For the feet of the robot I drew the vectors of the feet on top of the base top to get the scale right and to make sure it didn’t overlap our company ID.

The routed sides and top of the base were screwed to a plywood box which I had previously built. It was fastened to a 1/4″ steel plate which I cut on the MultiCam CNC plasma cutter. The feet of the robot were done in two layers which stacked on top of each other to give me the 3″ depth I wanted. These were fastened to the base top. I then hand sculpted the detail over these forms using Sculpting Epoxy.
I’ve stated many times that we use 30 lb Precision Board exclusively in our shop. This is true when it pertains to CNC routing… but when we are hand sculpting high density urethane that will be coated with sculpting epoxy we sometimes use four-pound foam. It is so soft I can practically carve it with my hands which makes roughing out basic shapes a whole lot easier!
The rough armature for the robot body was a great place to use this less dense foam. It needed to be fit around the welded steel armature and then roughed into shape. I used three layers of 3″ four-pound foam. Since I was going to coat it in sculpting epoxy I wasn’t concerned with gaps or rough edges. I used PB Bond Fast Set which cures in only one hour. I glued it up before I went to lunch and when I returned I was able to remove the clamps and get busy sculpting over the new form.
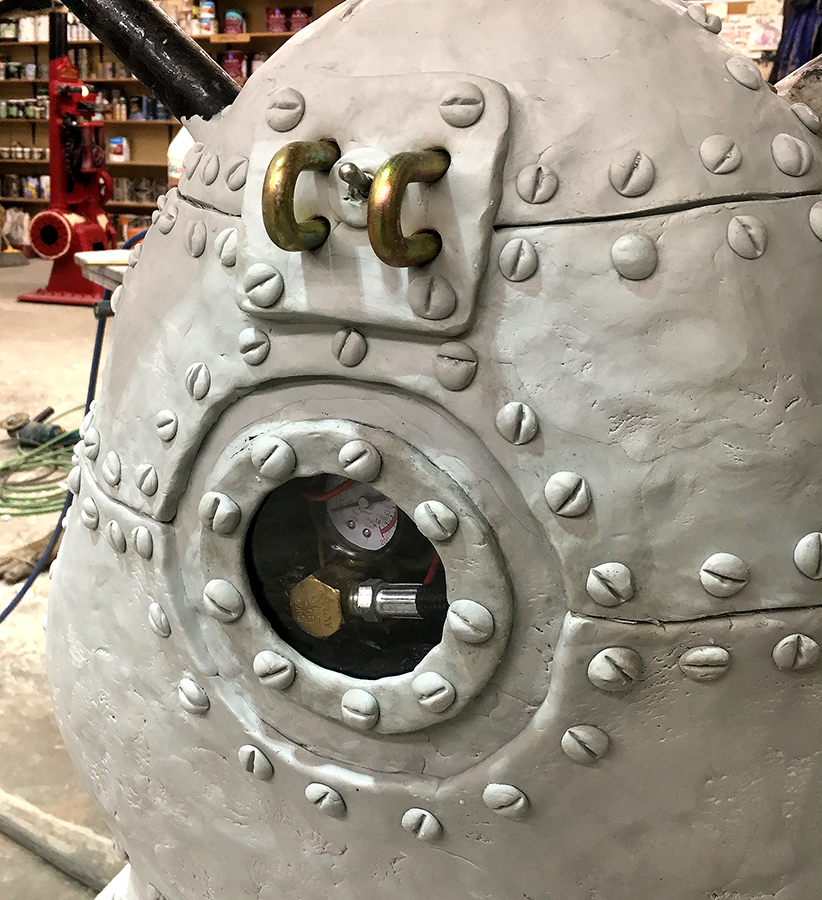
I used crumpled tinfoil to fill the gaps and holes and then pressed on a layer of sculpting epoxy. Once this had set I did another layer that was detailed. In a few hours, I did the legs and the bulk of the front of the robot body. Rather than my usual rivets I opted to sculpt flat head screws for more of a retro feel.
As an extra little feature, I added a window hatch with some small details inside using short lengths of wire, a spare air pressure gauge and some bits of hose. The detail will be a reward for the few who take the time to look at the back of the robot table. I also added an on/off switch above it as well – just for fun.

The upper arms were routed from two pieces of 1″ thick 30 lb Precision Board with a slot cut into them to fit around the 1″ X 2” structural steel. I routed the table top in four pieces. The main part of the top was built as a lower and upper section. I routed a cross slot in the top to accept a welded 1″ X 1″ square tubing frame. I applied some PB Bond fast set glue to the two halves and then screwed them together. Two more pieces for the front and back of the table top were then fastened to the top. These two pieces had the words ‘Precision Board’ routed into them. I then sculpted a layer of sculpting epoxy over the arm pieces to add detail and add the fingers and thumb to each arm. The table top was textured on all sides with an air powered die grinder.
We decided to go with a colourful retro colour scheme with heavy patina and aging. This is a well-used robot that’s been around a long time. We started with a thick coat of Coastal Enterprises FSC88-WB primer. We purposely left plenty of random brush strokes in the heavy bodied primer to add more texture. This adds a lot of character and makes adding the glazes later a whole lot easier!
Then it was on to the base colours. We use 100% acrylic house paint for the most part. Things looked pretty garish at this point but we would fix that in a hurry. Once the base colours were on and dry we started in with the glazes which we custom mix using a 50/50 blend of clear base paint (without tint) and the colour of our choice. The glazes are brushed on and then judiciously wiped off with a terry towel rag, leaving it in the crevices and in the texture of the piece. Amazing effects can be done with this technique. The top was only glazed in the letters as we wanted the square shape to look similar in colour to raw Precision Board when we were done, but have the lettering jump out.

The end result of efforts was a funky little table which should draw plenty of interest at the International Sign Association EXPO in Orlando in March. If you are at the show drop by and take a look!
Sawatzky’s Imagination Corporation is a small family company that specializes in the design and creation of dimensional signs and environments. They tackle projects of any size from small signs to entire theme parks. Their work has garnered numerous national and international awards.
Dan Sawatzky is best described as a creative force and visual storyteller extraordinaire. His art career spans almost fifty years of magic. Dan’s passion is to design and create imaginative places that take people from the normal world to a setting of delight and wonder.
You can get free samples of Precision Board HDU, request a quote, and sign up for the monthly Blog Roundup from Coastal Enterprises.
RELATED:
Signing Off (Dan Sawatzky’s Blog)
Why Dan Sawatzky Exclusively Uses PBLT-30 Precision Board HDU
Imagination Takes Flight: Our Interview With Dan Sawatzky